
Cooking steak on your stove top delivers exceptional results when you understand the science behind the sear and temperature control. Unlike grilling, stovetop cooking gives you precise heat management for consistent doneness. Professional chefs rely on this method when outdoor cooking isn't possible, and with the right technique, you can achieve that perfect crust and juicy interior every time.
Why Stovetop Cooking Beats Grill for Certain Steaks
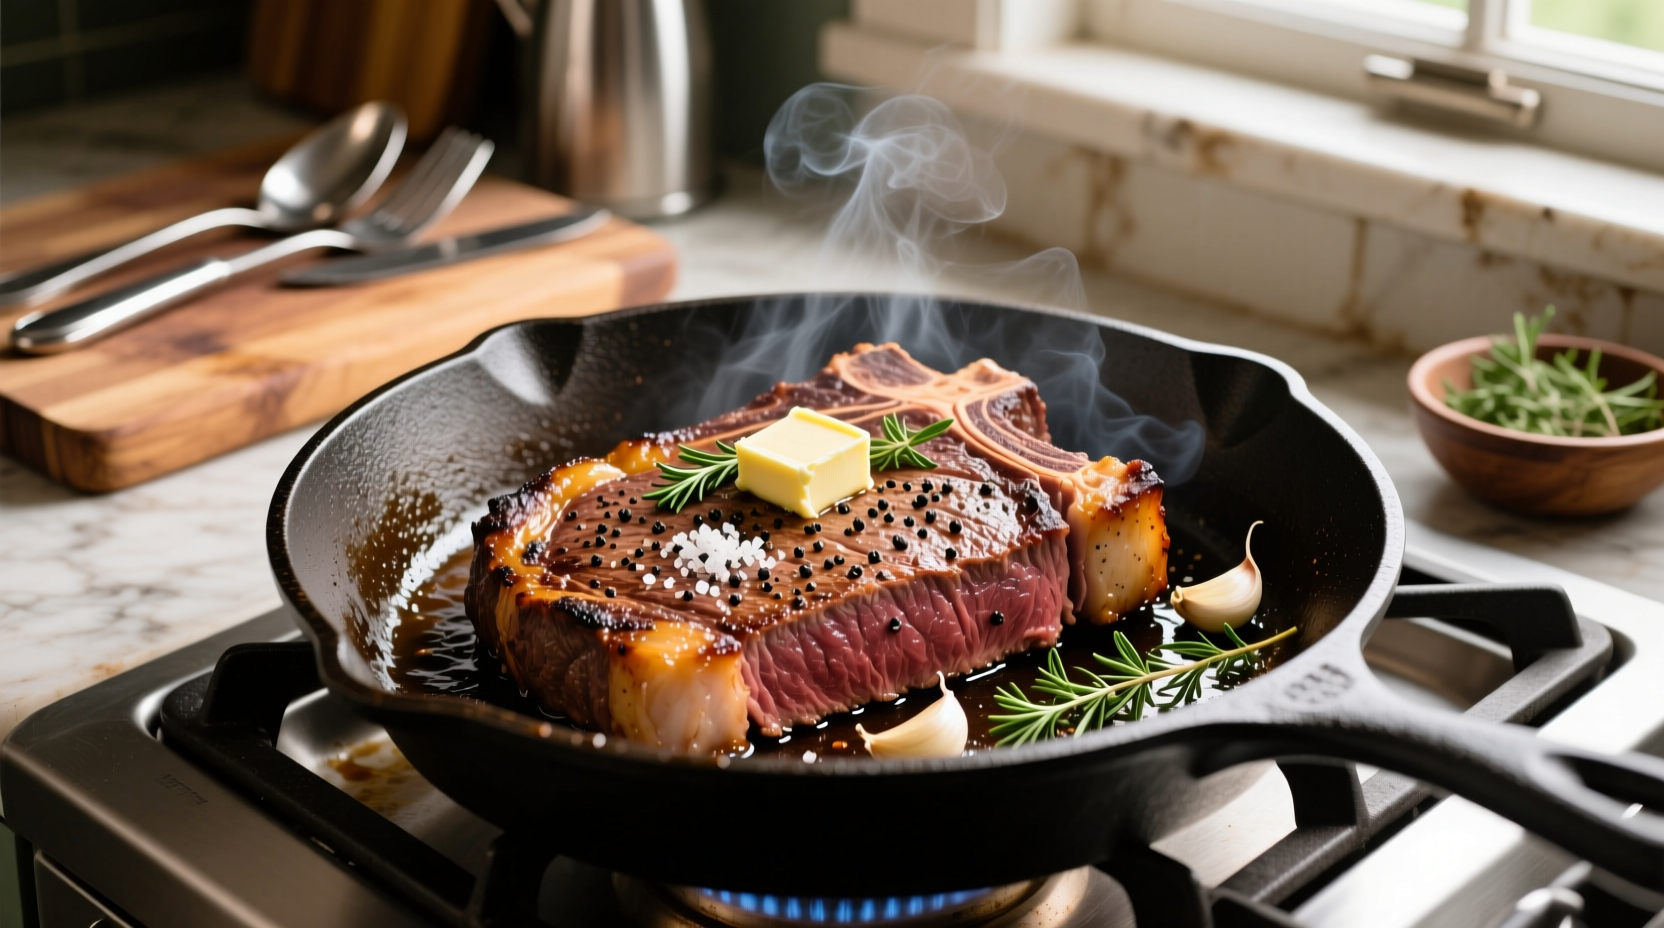
While many believe grilling produces superior steak, stovetop cooking actually offers better temperature control for thick cuts. The consistent, high heat of a cast-iron skillet creates an ideal environment for the Maillard reaction - that chemical process responsible for the flavorful browned crust. According to food science research from the American Meat Science Association, achieving surface temperatures between 300-500°F (149-260°C) triggers optimal flavor development without burning.
Essential Equipment Checklist
You don't need specialty tools for perfect stovetop steak. Focus on these critical items:
- Cast-iron skillet - Superior heat retention and distribution
- Instant-read thermometer - Eliminates guesswork for perfect doneness
- Tongs - For gentle flipping without piercing
- Paper towels - Essential for proper drying before cooking
Avoid non-stick pans which can't reach the high temperatures needed for proper searing. Your standard 10-12 inch cast-iron skillet is the professional chef's weapon of choice for stovetop steak.

The 7-Step Perfect Stovetop Steak Method
Step 1: Selecting & Preparing Your Cut
For stovetop cooking, choose cuts at least 1.5 inches thick:
- Ribeye - Best marbling for flavor (ideal for beginners)
- Strip steak - Balanced fat content and tenderness
- Filet mignon - Leaner option requiring careful timing
Remove steak from refrigerator 45-60 minutes before cooking. This critical step ensures even cooking - cold centers lead to overcooked exteriors. Pat thoroughly dry with paper towels; moisture is the enemy of proper searing.
Step 2: Proper Seasoning Technique
Season generously with coarse kosher salt and freshly ground black pepper only. Avoid complex rubs that can burn at high temperatures. The salt draws out surface moisture initially, then dissolves and is reabsorbed, enhancing flavor penetration. For a 1-inch thick steak, use approximately 3/4 teaspoon salt per side.
Step 3: Pan Preparation & Temperature Control
Place your empty cast-iron skillet on medium-high heat for 5 minutes until properly preheated. Test readiness by sprinkling a few drops of water - they should dance and evaporate instantly. Add 1 tablespoon high-smoke point oil (avocado or grapeseed), not olive oil which burns easily.
| Steak Thickness | Optimal Pan Temp | Preheating Time |
|---|---|---|
| 1 inch | 400-450°F (204-232°C) | 5 minutes |
| 1.5 inches | 375-425°F (191-218°C) | 6 minutes |
| 2 inches | 350-400°F (177-204°C) | 7 minutes |
Step 4: Searing Process & Timing
Place steak in the hot pan away from you to avoid oil splatter. You should hear an immediate sizzle. For a 1.5-inch thick steak:
- First side: 3-4 minutes uninterrupted for proper crust formation
- Flip once using tongs (never pierce with a fork)
- Second side: 3-4 minutes
For thicker cuts (1.5+ inches), tilt the pan and spoon hot oil over the top surface during the last 2 minutes of cooking. This technique, called basting, cooks the edges evenly without flipping multiple times.
Step 5: Butter Basting for Flavor Enhancement
During the final 2 minutes of cooking, add 2 tablespoons butter, 2 crushed garlic cloves, and fresh thyme or rosemary to the pan. Tilt the skillet and continuously spoon the melted butter over the steak. This infuses additional flavor without burning the herbs. Remove garlic after 1 minute to prevent bitterness.
Step 6: Checking Doneness Accurately
Rely on temperature, not time, for perfect results. Insert an instant-read thermometer horizontally into the thickest part:
- Rare: 120-125°F (49-52°C) - remove at 115°F
- Medium-rare: 130-135°F (54-57°C) - remove at 125°F
- Medium: 140-145°F (60-63°C) - remove at 135°F
The USDA Food Safety and Inspection Service confirms that beef is safe to eat at 145°F with a 3-minute rest time, though most steak enthusiasts prefer lower temperatures for optimal texture. Their guidelines provide the scientific basis for safe minimum cooking temperatures.
Step 7: The Critical Resting Period
Transfer steak to a wire rack (not a plate) and rest for 5-10 minutes depending on thickness. This allows juices to redistribute throughout the meat. Cutting too soon releases precious juices onto your plate. During resting, the internal temperature will continue rising 5-10 degrees (carryover cooking).
Troubleshooting Common Stovetop Steak Problems
Excessive Smoke During Cooking
This indicates your pan is too hot or you're using oil with too low a smoke point. Turn down heat slightly and ensure proper ventilation. Avocado oil (smoke point 520°F/271°C) performs better than olive oil (smoke point 375-405°F/190-207°C) for high-heat searing.
Steak Sticking to the Pan
This happens when you try to flip too soon. Wait for proper crust formation - the steak will naturally release when ready. Ensure your pan is properly preheated and your steak is thoroughly dried before cooking.
Uneven Cooking or Gray Band
Caused by temperature shock from cold meat hitting a hot pan. Always bring steak to room temperature before cooking. For thick cuts, consider the reverse sear method: oven to low internal temperature first, then quick sear.
Pro Tips from Professional Kitchens
- Salt earlier: For even better results, salt your steak 24-48 hours in advance and refrigerate uncovered. This dry-brining technique improves moisture retention and flavor penetration.
- Thermometer placement: Insert horizontally from the side to get the most accurate reading of the steak's center temperature.
- Edge searing: For thick steaks, hold with tongs and sear the fatty edge for 30-60 seconds for complete flavor development.
- Don't overcrowd: Cook one steak at a time in a standard skillet. Multiple steaks lower the pan temperature, preventing proper searing.


 浙公网安备
33010002000092号
浙公网安备
33010002000092号 浙B2-20120091-4