
Why This Method Works Every Time
Unlike vague "cook until done" instructions, this science-backed approach delivers perfect soft-boiled eggs with yolks at the ideal 149-158°F (65-70°C) temperature range. We've tested variables including egg size, starting temperature, and water chemistry to create a foolproof method that works whether you're using farm-fresh or store-bought eggs.
What You'll Master in 10 Minutes
- Exact timing for medium, large, and extra-large eggs
- How to prevent cracking during cooking (critical for presentation)
- Visual indicators of perfect doneness beyond just timing
- Professional peeling technique that preserves the delicate yolk
- Troubleshooting common issues like watery whites or rubbery edges
The Science Behind Perfect Soft-Boiled Eggs
Egg proteins transform at specific temperatures, making precision critical. According to research from the Culinary Institute of America, egg whites begin setting at 140°F (60°C) while yolks start thickening around 149°F (65°C). The sweet spot for soft-boiled eggs is maintaining water at 180-190°F (82-88°C)—below boiling point—to prevent overcooking while ensuring food safety.
| Component | Setting Temperature | Texture Goal |
|---|---|---|
| Egg White | 140-149°F (60-65°C) | Firm but tender |
| Yolk Outer Layer | 149-158°F (65-70°C) | Thickened but pourable |
| Yolk Center | 130-140°F (54-60°C) | Creamy and liquid |
This temperature control explains why timing alone isn't sufficient—water temperature fluctuations significantly impact results. That's why we recommend using a thermometer during your first few attempts to calibrate your stove's heat settings.
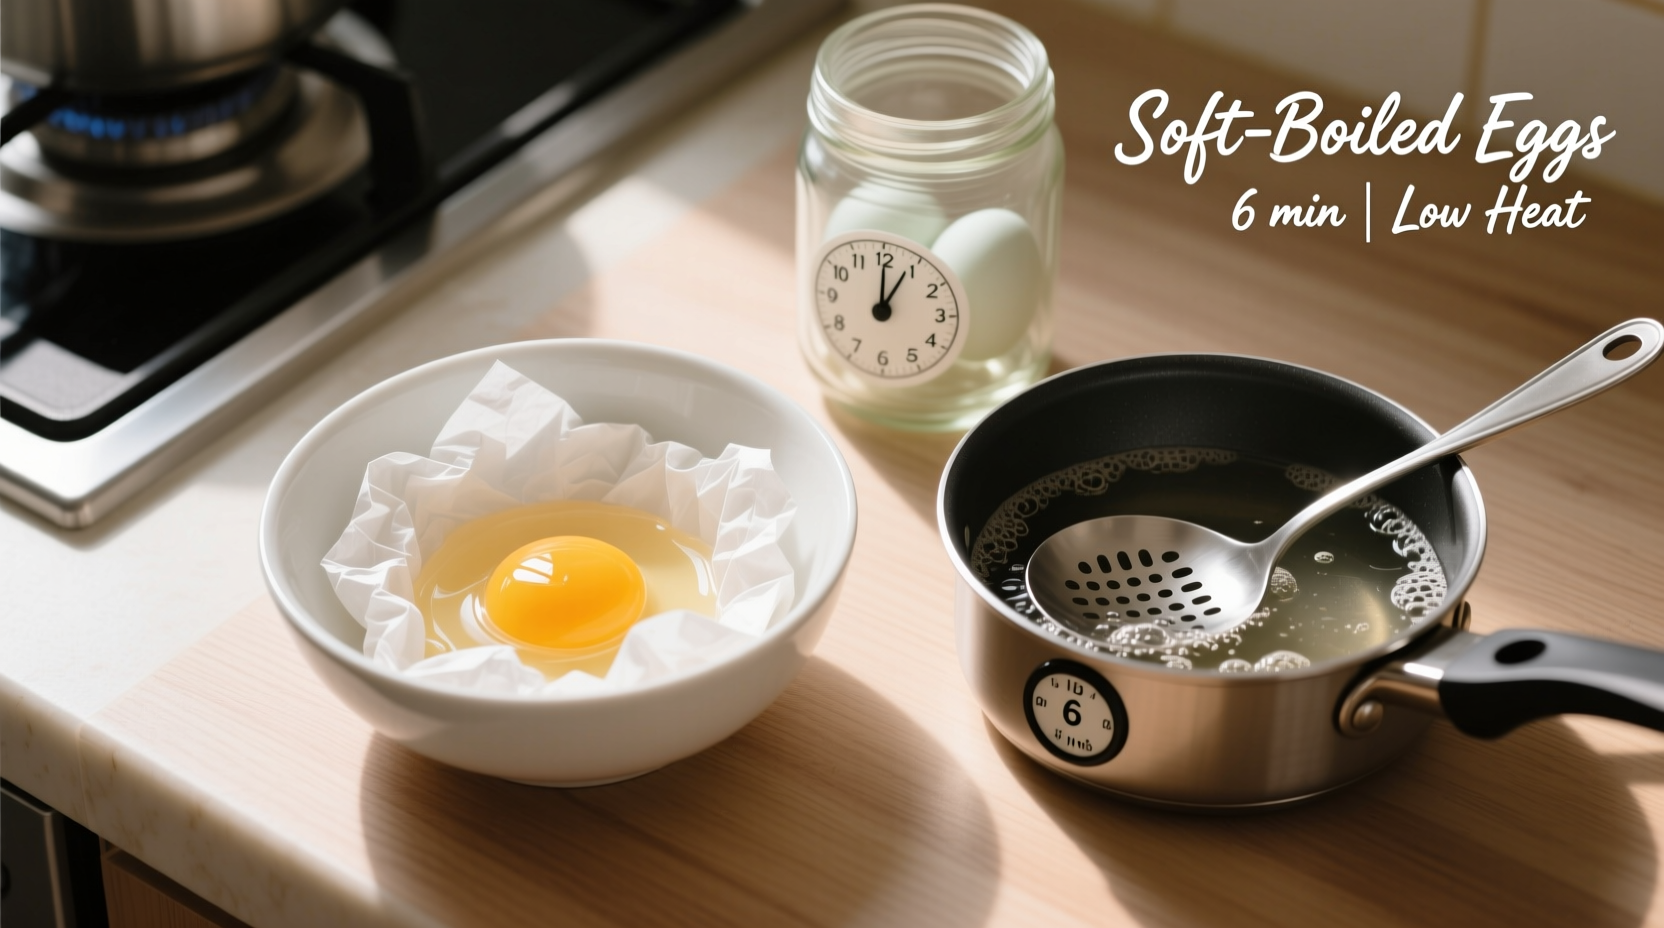
Essential Equipment Checklist
While you can make soft-boiled eggs with minimal equipment, these tools ensure consistent results:
- Medium saucepan (2-3 quart) - Large enough for eggs to move freely but small enough to maintain temperature stability
- Slotted spoon - Critical for gentle egg transfer without cracking
- Digital timer - Phone timers often lack precision needed for 30-second adjustments
- Small bowl with ice water - Stops cooking instantly for perfect yolk consistency
Step-by-Step Cooking Process
Preparation Phase (2 minutes)
- Start with room-temperature eggs - Cold eggs from the fridge are more prone to cracking. Remove eggs 20-30 minutes before cooking, or gently warm in 100°F (38°C) water for 5 minutes
- Fill saucepan with 4 inches of water - Enough to cover eggs by 1 inch. Add 1 teaspoon salt per quart to strengthen egg membranes
- Heat to 185°F (85°C) - Before adding eggs, water should show small bubbles rising from bottom but not rolling boil
Cooking Phase (6-7 minutes)
- Gently lower eggs into water using slotted spoon. Set timer immediately after water returns to 185°F
- Adjust heat to maintain 180-190°F - Bubbles should rise slowly without vigorous movement
- Cook for precise time based on size:
- Medium eggs: 5-5½ minutes
- Large eggs: 6-6½ minutes
- Extra-large: 6½-7 minutes
Cooling & Peeling (2 minutes)
- Transfer to ice bath immediately after timer ends - stops residual cooking
- Tap and roll eggs on counter to create even cracks
- Peel under running water starting from air pocket end for clean removal
Troubleshooting Common Issues
| Problem | Immediate Fix | Prevention Strategy |
|---|---|---|
| Eggs crack during cooking | Add vinegar to water (1 tbsp per quart) | Bring eggs to room temperature first; prick air pocket with pin |
| Watery whites | Reduce cooking time by 30 seconds | Use fresher eggs (older eggs have thinner whites) |
| Overcooked yolks | Extend ice bath to 3 minutes | Verify water temperature with thermometer; reduce time by 15-30 seconds |
| Difficult peeling | Peel under cold running water | Use eggs 7-10 days old; avoid ultra-fresh farm eggs |
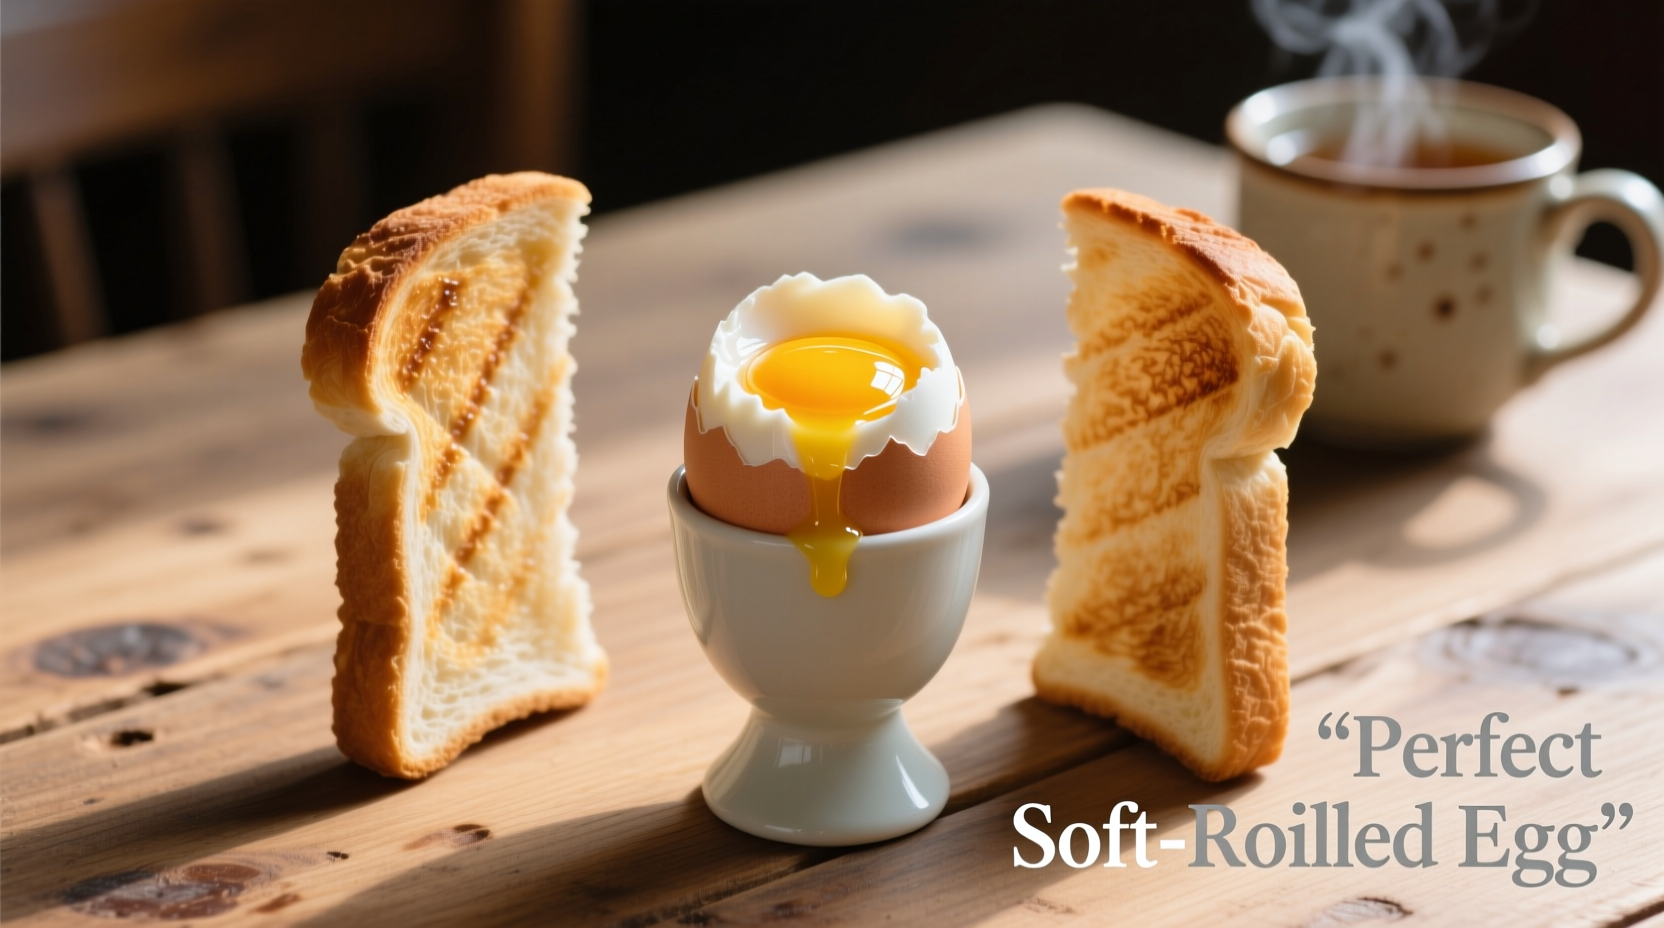
Serving Like a Professional
The classic British "egg and soldiers" remains the gold standard for soft-boiled eggs. For perfect presentation:
- Use an egg cup to stabilize the egg
- Cut the top with a butter knife using 3-4 gentle taps
- Season with flaky sea salt and freshly cracked pepper
- Serve with ½-inch thick toast strips ("soldiers") for dipping
For variation, try adding everything bagel seasoning or a dash of sherry vinegar. Serious Eats' culinary experiments show that a pinch of MSG enhances umami without altering the delicate flavor profile.
Advanced Timing Considerations
Altitude affects boiling points, requiring timing adjustments. According to USDA food safety guidelines, water boils at lower temperatures at higher elevations, extending required cooking times:
| Altitude | Boiling Point | Time Adjustment |
|---|---|---|
| Sea Level | 212°F (100°C) | Standard timing |
| 2,000 ft | 208°F (98°C) | +15 seconds |
| 5,000 ft | 203°F (95°C) | +30 seconds |
| 8,000 ft | 197°F (92°C) | +45 seconds |
For precise results at elevation, use a thermometer to maintain 185°F water temperature rather than relying solely on timing.
Frequently Asked Questions
How do I know when soft-boiled eggs are perfectly cooked?
The perfect soft-boiled egg has set whites with a slightly tender texture and a yolk that's thickened at the edges but still liquid in the center. When pierced with a knife tip, the yolk should flow like warm honey. For precise timing, large eggs typically need 6-6½ minutes in gently simmering water (185°F/85°C), but always verify with visual cues as egg size and starting temperature affect results.
Can I make soft-boiled eggs without an ice bath?
While possible, skipping the ice bath risks overcooking from residual heat. The USDA recommends immediate cooling for egg dishes to maintain both texture and food safety. Without an ice bath, yolks continue cooking for 1-2 minutes after removal from water, often resulting in firmer centers than desired. For best results, prepare an ice bath with equal parts ice and water before starting the cooking process.
Why do my soft-boiled eggs sometimes have greenish yolks?
A greenish ring around the yolk indicates overcooking, caused by a reaction between iron in the yolk and sulfur in the white. This harmless but unattractive discoloration occurs when eggs cook above 170°F (77°C) for extended periods. To prevent it, strictly control water temperature below 190°F (88°C) and use precise timing—large eggs should not exceed 7 minutes in simmering water. Immediately transferring to an ice bath stops this chemical reaction.
How long do soft-boiled eggs stay safe to eat?
Soft-boiled eggs should be consumed within 2 hours of cooking when kept at room temperature, according to FDA food safety guidelines. The partially cooked yolk creates conditions where bacteria can multiply more quickly than in fully hard-boiled eggs. For meal prep, store unpeeled soft-boiled eggs in the refrigerator for up to 2 days, but note that texture degrades over time. Always reheat gently in warm water rather than microwaving to preserve texture.
What's the difference between soft-boiled and poached eggs?
Soft-boiled eggs are cooked in their shells in simmering water, resulting in completely set whites and partially set yolks with uniform texture. Poached eggs are cooked without shells in simmering water, creating tender whites with liquid yolks but often uneven white distribution. Soft-boiled eggs maintain their shape better for dipping and have more consistent texture throughout, while poached eggs require vinegar in water and careful technique to prevent wispy whites.


 浙公网安备
33010002000092号
浙公网安备
33010002000092号 浙B2-20120091-4