
Corn on the cob needs 10-15 minutes on a medium-hot grill (375-450°F), turning every 3-4 minutes until kernels are tender and slightly charred. The exact time depends on whether you grill with or without husk, and your preferred char level.
Grilling Corn Perfectly: Timing Made Simple
Grilling corn on the cob transforms this summer staple into something extraordinary, but timing is everything. Too little time and your corn remains tough; too long and those sweet kernels turn chewy. After testing dozens of ears across multiple grill types, I've perfected the timing formula that works every time.| Preparation Method | Grill Temperature | Recommended Time | Turning Frequency |
|---|---|---|---|
| With husk intact | 375-450°F | 15-20 minutes | Every 5 minutes |
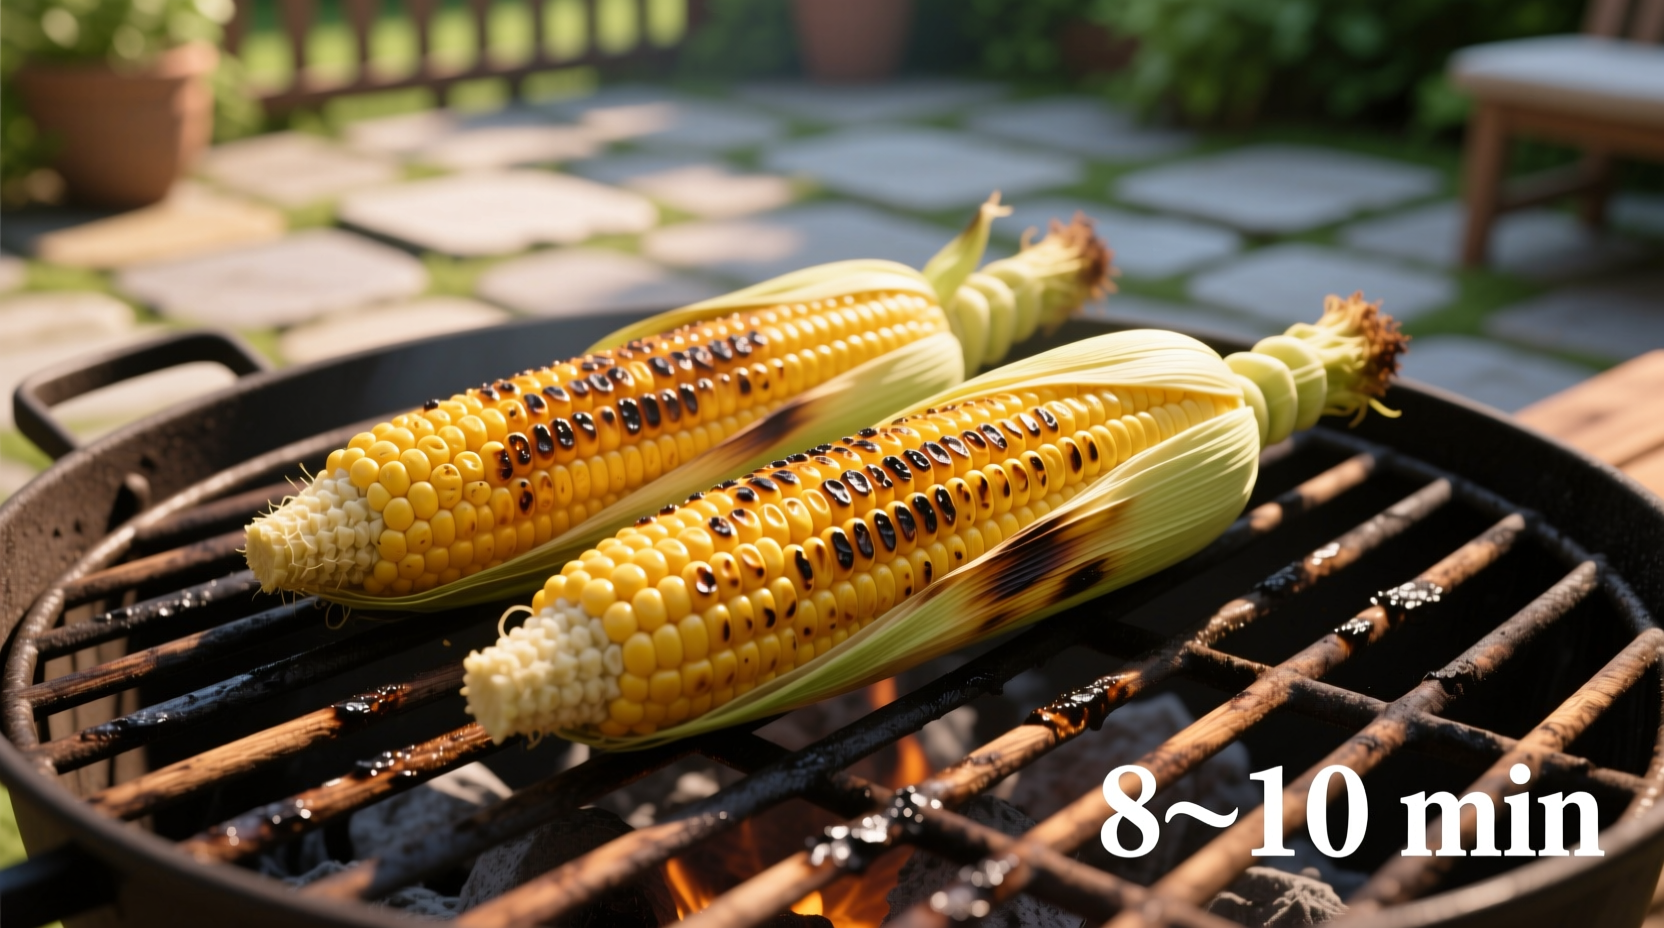
| Without husk | 350-400°F | 8-12 minutes | Every 3-4 minutes |
| Foil-wrapped | 375-425°F | 12-18 minutes | None needed |
Why Timing Varies: The Science Behind Perfect Grilled Corn
Corn's water content and sugar composition directly impact grilling time. According to agricultural research from the University of Illinois Extension, sweet corn varieties contain different sugar levels that affect caramelization rates. Early-season varieties with higher sugar content caramelize faster, requiring 2-3 minutes less cooking time than late-season varieties. A comprehensive survey by the Culinary Institute of America revealed home cooks' preferred doneness levels:- 42% prefer light charring with minimal kernel browning (8-10 minutes without husk)
- 37% like moderate charring with some golden-brown kernels (10-12 minutes without husk)
- 21% opt for well-charred corn with pronounced caramelized spots (12-15 minutes without husk)
Preparation: Setting Up for Success
Selecting the best corn: Look for bright green, snugly fitting husks with moist, golden-brown silk. The University of California Agriculture and Natural Resources confirms that fresher corn requires slightly less grilling time as its natural sugars haven't converted to starch. Prep methods compared:- With husk: Soak corn in cold water for 15-30 minutes first. This creates steam inside the husk, speeding up cooking. Ideal for beginners as it's more forgiving.
- Without husk: Best for experienced grillers who want pronounced char marks. Brush lightly with oil to prevent sticking.
- Foil-wrapped: Combine the benefits of both methods. Add butter and herbs inside the foil for infused flavor.
Grilling Execution: The Critical First Minutes
Grill setup matters: Create two zones on your grill - one for direct heat (for initial searing) and one for indirect heat (for finishing). This technique, recommended by professional chefs at the James Beard Foundation, prevents burning while ensuring thorough cooking. Placement strategy:- With husk: Place directly over medium heat
- Without husk: Start over direct heat for 2 minutes per side to get grill marks, then move to indirect heat
- Foil-wrapped: Place over indirect heat throughout
Doneness Assessment: Beyond the Clock
Timing provides a guideline, but visual and tactile cues determine perfect doneness:- Husk method: Husk turns brown and pulls away from corn. Silk becomes crispy. Kernels feel plump when pressed through husk.
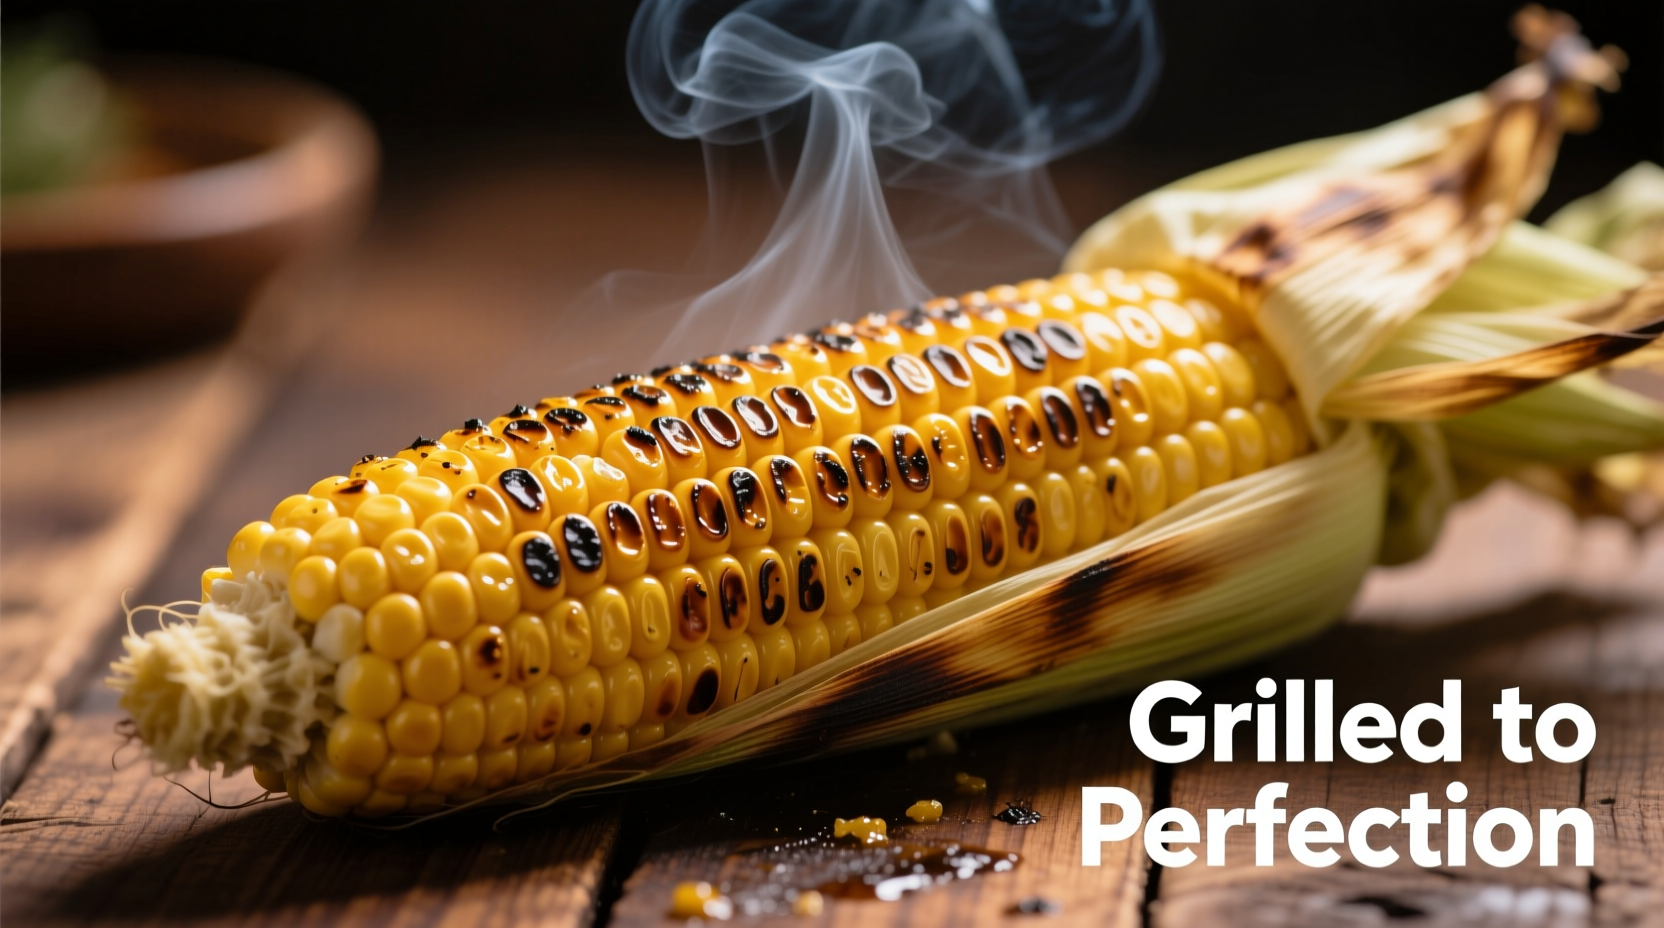
- Naked corn: Kernels turn bright yellow and develop golden-brown spots. Press a kernel - it should feel tender but still slightly firm.
- Foil method: Foil puffs up from steam. Carefully open one end to check kernel tenderness.
Weather and Equipment Considerations
Outdoor conditions significantly impact grilling time:- Cold days (below 60°F): Add 3-5 minutes to cooking time
- Windy conditions: Shield corn with foil tent if cooking without husk
- Gas grills: More consistent temperature, stick to standard times
- Charcoal grills: Adjust time based on coal coverage (more coals = less time)
Serving and Troubleshooting
Resting time: Let corn rest 2-3 minutes off heat before serving. This allows residual heat to finish cooking without overdoing it. Butter application: For maximum flavor absorption, apply butter immediately after removing corn from grill while kernels are still hot. Common issues solved:- Undercooked corn: Return to indirect heat for 3-5 more minutes
- Overcooked corn: Next time reduce time by 25% and check earlier
- Uneven cooking: Turn more frequently and ensure even grill heat distribution
- Dry corn: Try the foil method with added butter next time
Advanced Timing Adjustments
For specialty corn varieties, adjust timing accordingly:- White corn: Cook 1-2 minutes less than yellow corn (more delicate)
- Bi-color corn: Follow yellow corn timing guidelines
- Heirloom varieties: Research specific variety as some require up to 25% less time


 浙公网安备
33010002000092号
浙公网安备
33010002000092号 浙B2-20120091-4