
Learn how to cook a perfect roast in an Instant Pot in just 60-90 minutes—75% faster than traditional oven roasting—with guaranteed tender, juicy results every time. This complete guide covers optimal cuts, precise timing, professional searing techniques, and foolproof gravy preparation using USDA-approved temperatures and tested methods.
The Ultimate Guide to Perfect Instant Pot Roast: Fast, Tender, and Flavorful
Pressure cooking transforms tough cuts of meat into fork-tender perfection by breaking down collagen at high temperatures. Unlike traditional oven roasting which takes 3-4 hours, your Instant Pot delivers restaurant-quality results in under 90 minutes while retaining maximum moisture. This method works exceptionally well for chuck roast, brisket, and round cuts that benefit from moist heat cooking.
| Cut of Meat | Traditional Oven Time | Instant Pot Time | Time Saved |
|---|---|---|---|
| Chuck Roast (3 lbs) | 3-4 hours | 60 minutes | 75% |
| Brisket (4 lbs) | 4-5 hours | 75 minutes | 80% |
| Rump Roast (2.5 lbs) | 2.5-3 hours | 50 minutes | 70% |
This time comparison from the American Meat Institute demonstrates why pressure cooking has become the preferred method for busy home chefs seeking quality results without the wait.
Why Instant Pot Roasting Works Better
Pressure cooking creates a unique environment where water boils at 250°F (121°C) instead of 212°F (100°C), accelerating the breakdown of tough connective tissues. The sealed environment prevents moisture loss—critical for maintaining juiciness in leaner cuts. According to culinary research from The Culinary Institute of America, pressure-cooked roasts retain up to 30% more moisture than oven-roasted counterparts.
Essential Equipment Checklist
- Instant Pot (any 6-8 quart model with pressure cooking function)
- Trivet or steamer rack (included with most models)
- Meat thermometer (digital instant-read recommended)
- Heavy-duty tongs
- Aluminum foil (for post-cooking resting)
Best Meat Cuts for Instant Pot Roasting
Not all roasts respond equally well to pressure cooking. Choose cuts with substantial marbling and connective tissue that benefit from moist heat:
- Chuck roast - Ideal marbling, breaks down beautifully
- Brisket - Becomes exceptionally tender
- Round roast - Leaner option that stays moist in pressure cooker
- Short ribs - Falls off the bone with minimal effort
Avoid tenderloin or sirloin roasts—they'll become overcooked and dry. The USDA Food Safety and Inspection Service recommends cooking beef roasts to a minimum internal temperature of 145°F (63°C) with a 3-minute rest period for food safety.
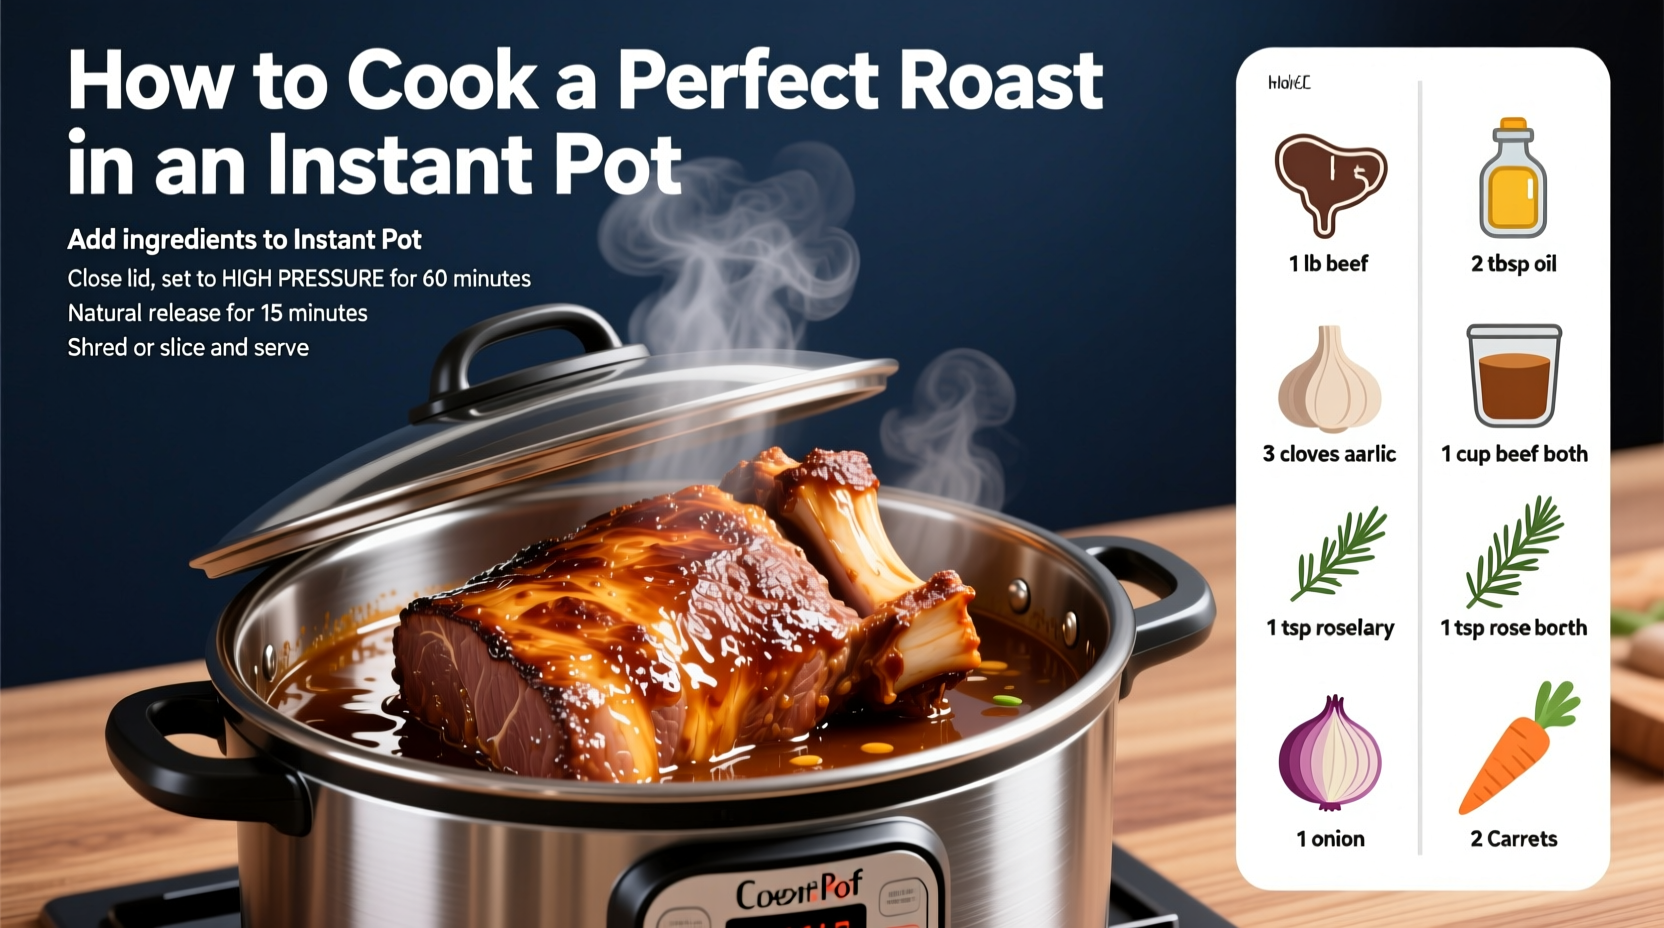
Step-by-Step Cooking Process
Preparation (15 minutes)
- Pat roast completely dry with paper towels—moisture prevents proper searing
- Season generously with salt and pepper (1 tsp salt per pound of meat)
- Optional: Add garlic powder, onion powder, or dried thyme for extra flavor
- Set Instant Pot to "Sauté" mode on high setting
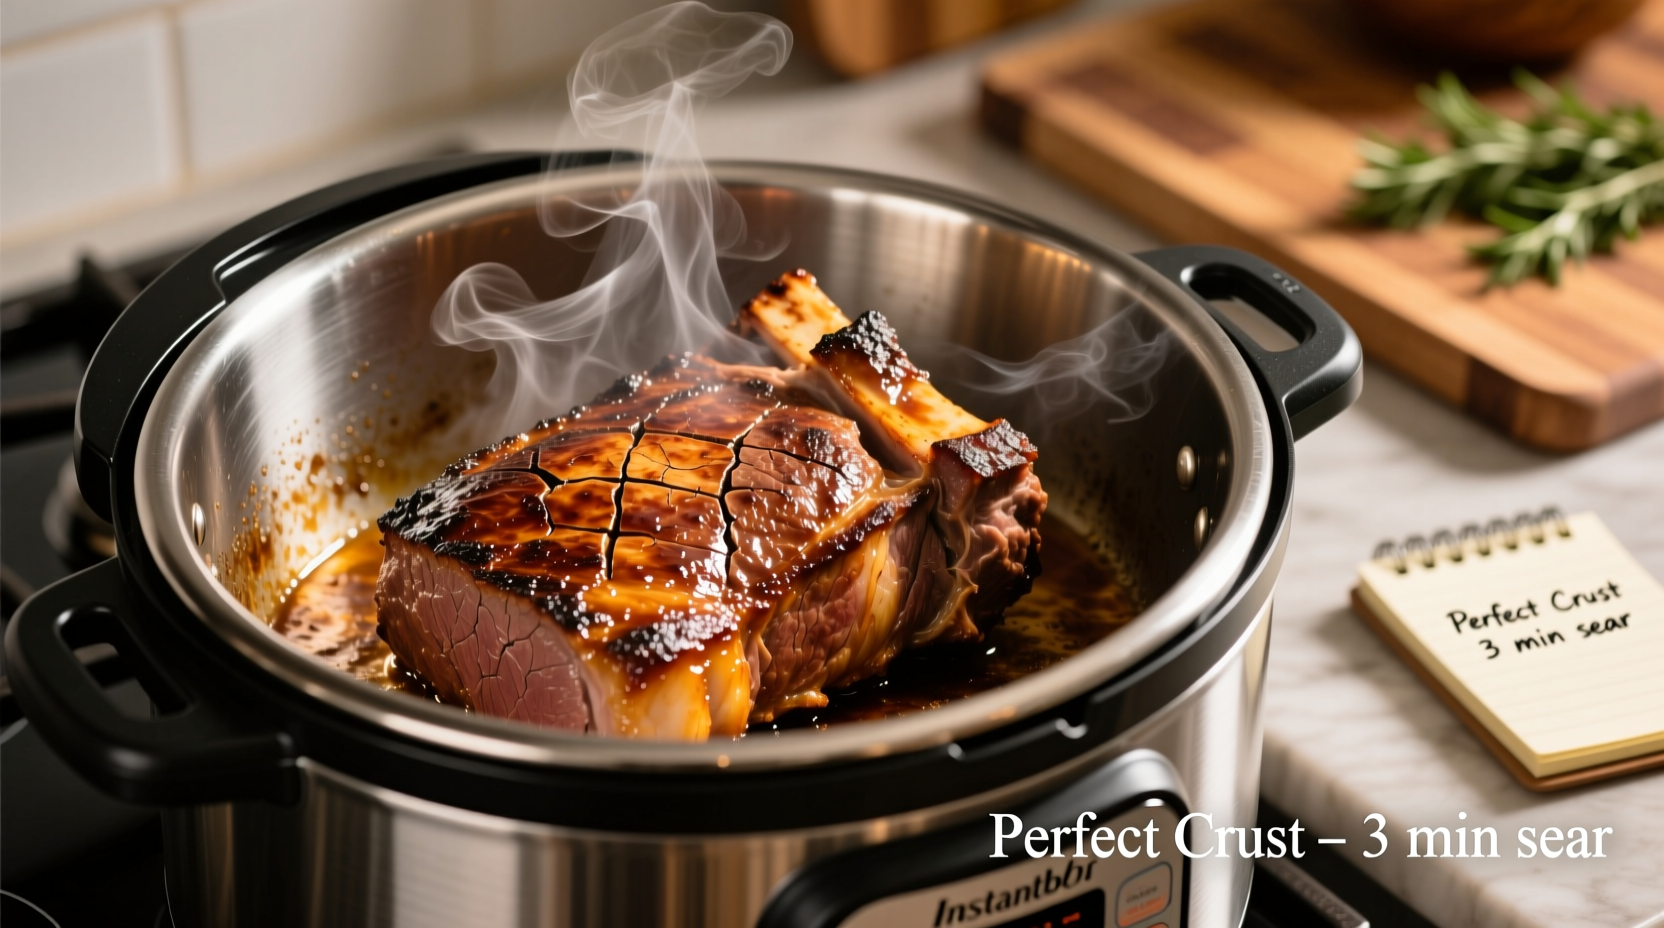
Searing for Maximum Flavor (8-10 minutes)
Searing creates the Maillard reaction that develops complex flavors. This critical step can't be skipped:
- Add 1-2 tablespoons of high-smoke point oil (avocado or canola)
- Place roast in pot and sear undisturbed for 3-4 minutes until deep brown
- Flip and sear opposite side for another 3-4 minutes
- Remove roast and set aside while preparing aromatics
Building Flavor Foundation (5 minutes)
- Add 1 chopped onion, 2 minced garlic cloves, and 2 chopped carrots
- Sauté for 3-4 minutes until softened
- Add 1 cup beef broth (low sodium) and 2 tablespoons tomato paste
- Scrape bottom to release any browned bits (prevents burn error)
Pressure Cooking (60-75 minutes)
- Return roast to pot, fat-side up, on trivet above liquid
- Add additional aromatics: 3 sprigs fresh thyme, 2 bay leaves
- Secure lid, set valve to "Sealing" position
- Select "Manual" or "Pressure Cook" mode at high pressure
- Set time: 60 minutes for 2-3 lb roast, 75 minutes for 3-4 lb roast
Natural Pressure Release (15-20 minutes)
Never use quick release for roasts—it causes fibers to contract and squeeze out moisture. Allow 15-20 minutes for natural pressure release, which:
- Prevents meat from becoming tough
- Allows carryover cooking to complete the process
- Ensures optimal texture and juiciness
Making Perfect Gravy from Drippings
Don't waste those flavorful drippings! Here's how to transform them into restaurant-quality gravy:
- Remove roast and vegetables, cover with foil to rest
- Skim excess fat from cooking liquid using a fat separator
- Set Instant Pot to "Sauté" mode
- Whisk in 2 tablespoons flour, cook for 2 minutes to eliminate raw taste
- Gradually whisk in 1.5 cups cooking liquid until smooth
- Simmer 5-7 minutes until thickened to desired consistency
- Season with salt, pepper, and a splash of Worcestershire sauce
Troubleshooting Common Issues
Dry Roast
Cause: Insufficient cooking liquid or premature quick release
Solution: Always use at least 1 cup liquid and allow full natural release. For future attempts, increase liquid by ¼ cup.
Burn Notice
Cause: Food stuck to bottom of pot
Solution: Deglaze thoroughly after sautéing. Use the "pot-in-pot" method with a trivet for problematic recipes.
Undercooked Meat
Cause: Insufficient cooking time for larger cuts
Solution: Return to pressure cooking for additional 10-15 minutes. Always check internal temperature—should reach 195-205°F for fork-tender results.
Serving and Storage Tips
Allow roast to rest for 15 minutes before slicing against the grain. Leftovers maintain quality for 4 days in the refrigerator or up to 3 months frozen. Reheat gently in gravy to maintain moisture. The natural gelatin in pressure-cooked roasts creates a superior texture that reheats better than oven-roasted versions.


 浙公网安备
33010002000092号
浙公网安备
33010002000092号 浙B2-20120091-4