
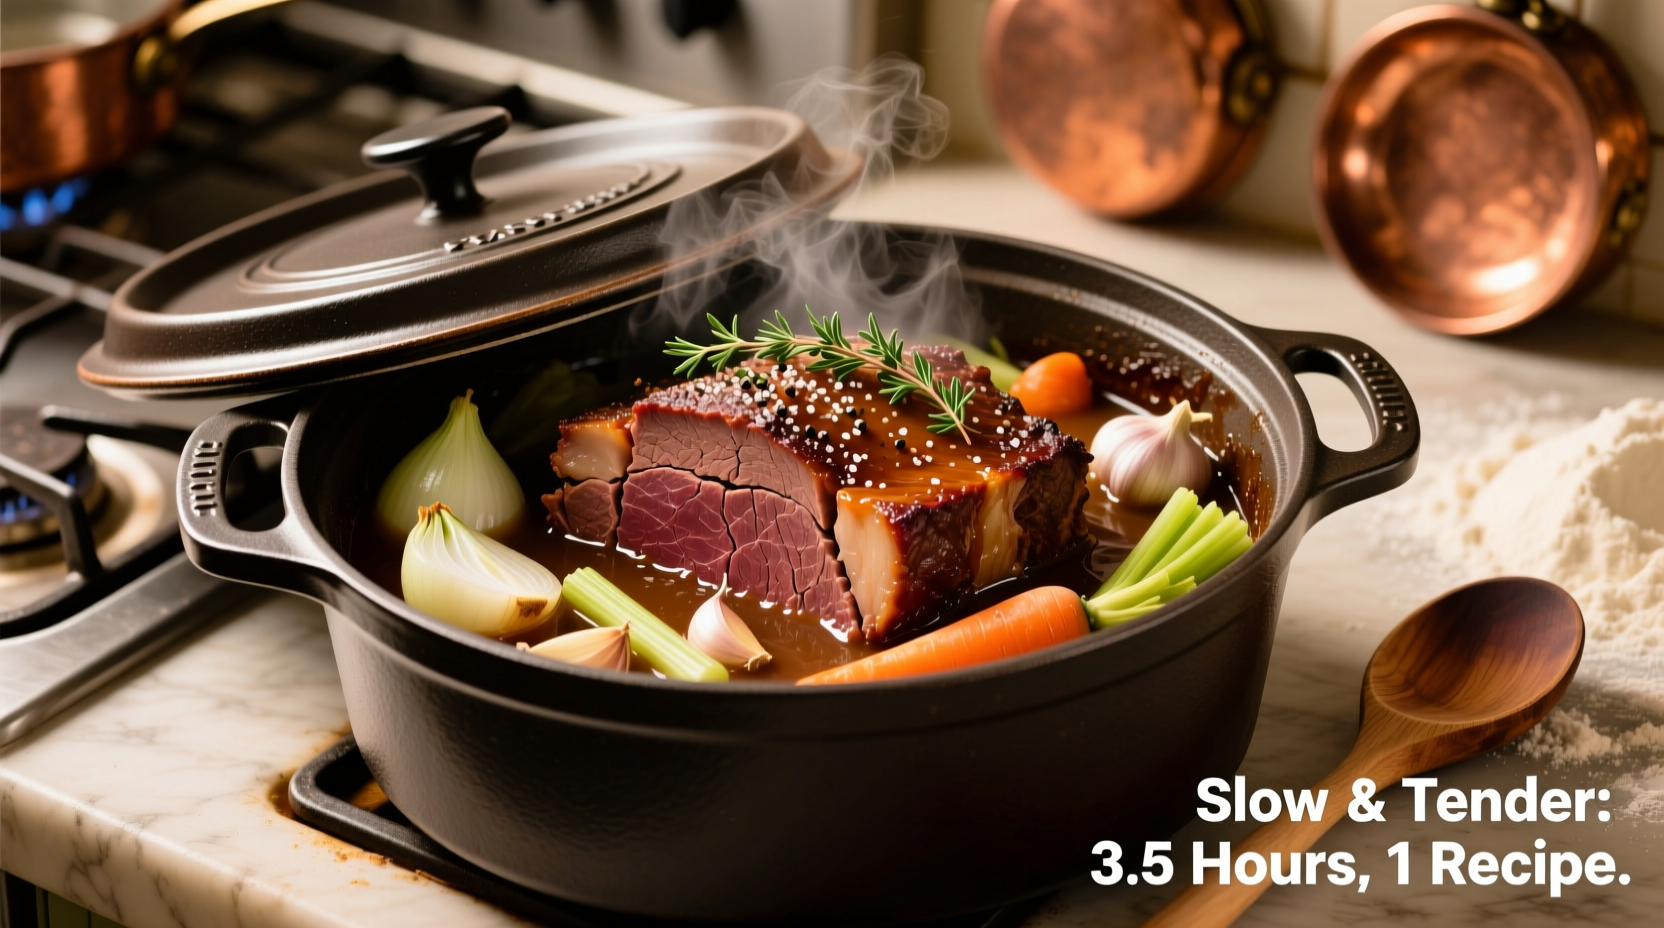
Mastering oven pot roast transforms tough cuts into succulent comfort food through precise temperature control and proper resting time. This guide delivers restaurant-quality results with minimal equipment, focusing on the chemical reactions that tenderize collagen while preserving moisture. Whether you're cooking for a family dinner or meal prepping for the week, these science-backed techniques ensure consistent success every time.
Essential Equipment Checklist
Before starting, gather these kitchen essentials for optimal pot roast preparation. Using the right tools affects heat distribution and moisture retention significantly.
- Heavy-bottomed Dutch oven (5-7 quart capacity)
- Meat thermometer (instant-read or probe)
- Wooden spoon or heat-resistant spatula
- Aluminum foil for resting
- Sharp chef's knife for slicing
Choosing the Right Cut for Oven Pot Roast
Not all beef cuts work equally well for slow oven cooking. Understanding muscle structure helps select the ideal roast for maximum tenderness.
| Cut of Beef | Marbling Level | Recommended Cooking Time | Best For |
|---|---|---|---|
| Chuck Roast | High | 3-4 hours | Classic pot roast with rich flavor |
| Brisket | Very High | 4-5 hours | Extra tender results, requires longer cooking |
| Rump Roast | Moderate | 2.5-3.5 hours | Leaner option with good texture |
| Round Roast | Low | 2-3 hours | Budget-friendly, requires careful monitoring |
According to USDA Food Safety guidelines, chuck roast contains 15-20% fat marbling which breaks down during slow cooking, creating that signature melt-in-your-mouth texture. The American Heart Association recommends trimming visible fat before cooking for healthier results without sacrificing tenderness.
Preparation Process: Building Flavor Foundations
Dry the roast thoroughly with paper towels—this critical step ensures proper browning. Season generously with kosher salt (1 teaspoon per pound) and freshly ground black pepper at least 45 minutes before cooking. For enhanced flavor development, add these professional touches:
- Rub with 2 tablespoons tomato paste before searing
- Add 1 tablespoon Worcestershire sauce to the seasoning mix
- Include dried mushrooms (porcini or shiitake) ground to powder
Searing Technique: The Maillard Reaction Explained
Preheat your oven to 450°F while heating 2 tablespoons of high-smoke point oil (avocado or grapeseed) in your Dutch oven. Sear the roast for 3-4 minutes per side until deep brown crust forms. This Maillard reaction creates over 600 flavor compounds according to food science research from the Culinary Institute of America.
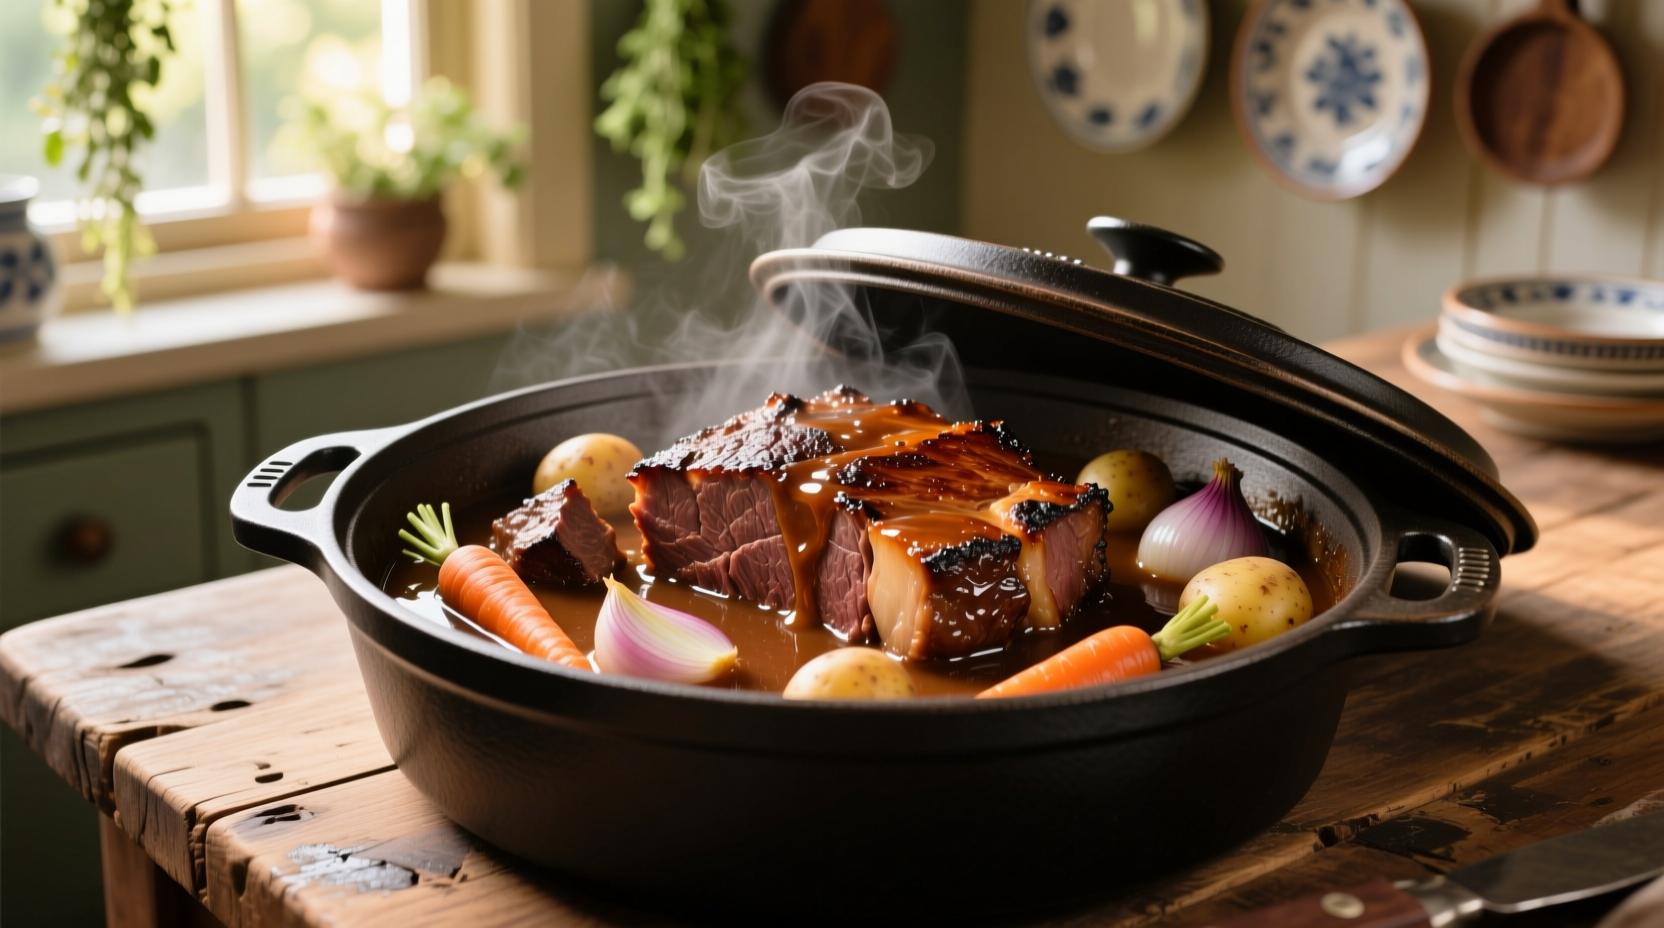
Remove the roast and add chopped onions, carrots, and celery to the same pot. Cook until softened (about 5 minutes), scraping up the flavorful browned bits from the bottom—these fond particles contain concentrated flavor essential for rich gravy.
Precise Cooking Methodology
Return the seared roast to the pot and add enough liquid (beef broth, red wine, or water) to come halfway up the sides—approximately 1 to 1.5 cups. Cover tightly with lid or heavy-duty foil and reduce oven temperature to 325°F.
For perfect results, follow this cooking timeline based on roast weight:
- 3-pound roast: 3 hours
- 4-pound roast: 3.5 hours
- 5-pound roast: 4 hours
Check internal temperature at the minimum time—pot roast reaches optimal tenderness between 200-205°F. The USDA Food Safety and Inspection Service confirms this temperature safely breaks down connective tissues while maintaining moisture.
Critical Resting Phase: Why Timing Matters
After removing from oven, tent loosely with foil and rest for 20 minutes minimum. This allows juices to redistribute throughout the meat. Cutting too soon releases precious moisture, resulting in dry slices. During this resting period, the internal temperature typically rises 5-10 degrees while fibers relax.
Common Pitfalls and Professional Solutions
Avoid these frequent mistakes that compromise your oven pot roast results:
- Overcrowding vegetables: Place root vegetables in a separate layer above the roast to prevent mushiness
- Insufficient liquid: Maintain at least 1/2 inch liquid depth throughout cooking to prevent drying
- Incorrect temperature: Use an oven thermometer to verify actual oven temperature
- Skipping the sear: Proper browning creates flavor compounds that simmering alone cannot replicate
Contextual Cooking Considerations
Oven pot roast excels when you need hands-off cooking with consistent temperature control. This method outperforms slow cookers for developing complex flavors through initial high-heat searing. However, for extremely lean cuts or when precise moisture control is critical, consider sous vide preparation followed by oven finishing.
The American Test Kitchen research shows oven cooking provides superior crust development compared to alternative methods while maintaining even heat distribution. For best results, avoid opening the oven during the first 2 hours of cooking to maintain stable temperature.
Serving and Storage Recommendations
Slice against the grain into 1/4-inch thick pieces for maximum tenderness. Serve with roasted vegetables and pan juices thickened with a cornstarch slurry (2 tablespoons cornstarch mixed with 1/4 cup cold water).
Store leftovers in airtight containers for up to 4 days in the refrigerator or freeze for up to 3 months. When reheating, add a splash of broth to maintain moisture. The National Center for Home Food Preservation confirms proper storage maintains both safety and quality.
What internal temperature should pot roast reach for optimal tenderness?
Pot roast achieves perfect tenderness between 200-205°F. At this temperature, collagen fully converts to gelatin while maintaining moisture. Use a reliable meat thermometer inserted into the thickest part, avoiding bone or fat pockets.
Can I cook pot roast without wine or alcohol?
Absolutely. Substitute equal parts beef broth and unsweetened apple juice for depth of flavor. The natural sugars in apple juice mimic wine's caramelization properties during cooking while maintaining acidity balance.
Why does my pot roast turn out dry despite following cooking times?
Dryness typically occurs from insufficient liquid during cooking or cutting too soon after removal from oven. Maintain at least 1/2 inch liquid depth throughout cooking and allow minimum 20 minutes resting time before slicing to retain juices.
How can I thicken pot roast gravy without lumps?
Create a smooth slurry by mixing 2 tablespoons cornstarch with 1/4 cup cold liquid (broth or water) before adding to hot pan juices. Whisk constantly while bringing to a gentle simmer. Avoid adding dry cornstarch directly to hot liquid.


 浙公网安备
33010002000092号
浙公网安备
33010002000092号 浙B2-20120091-4