
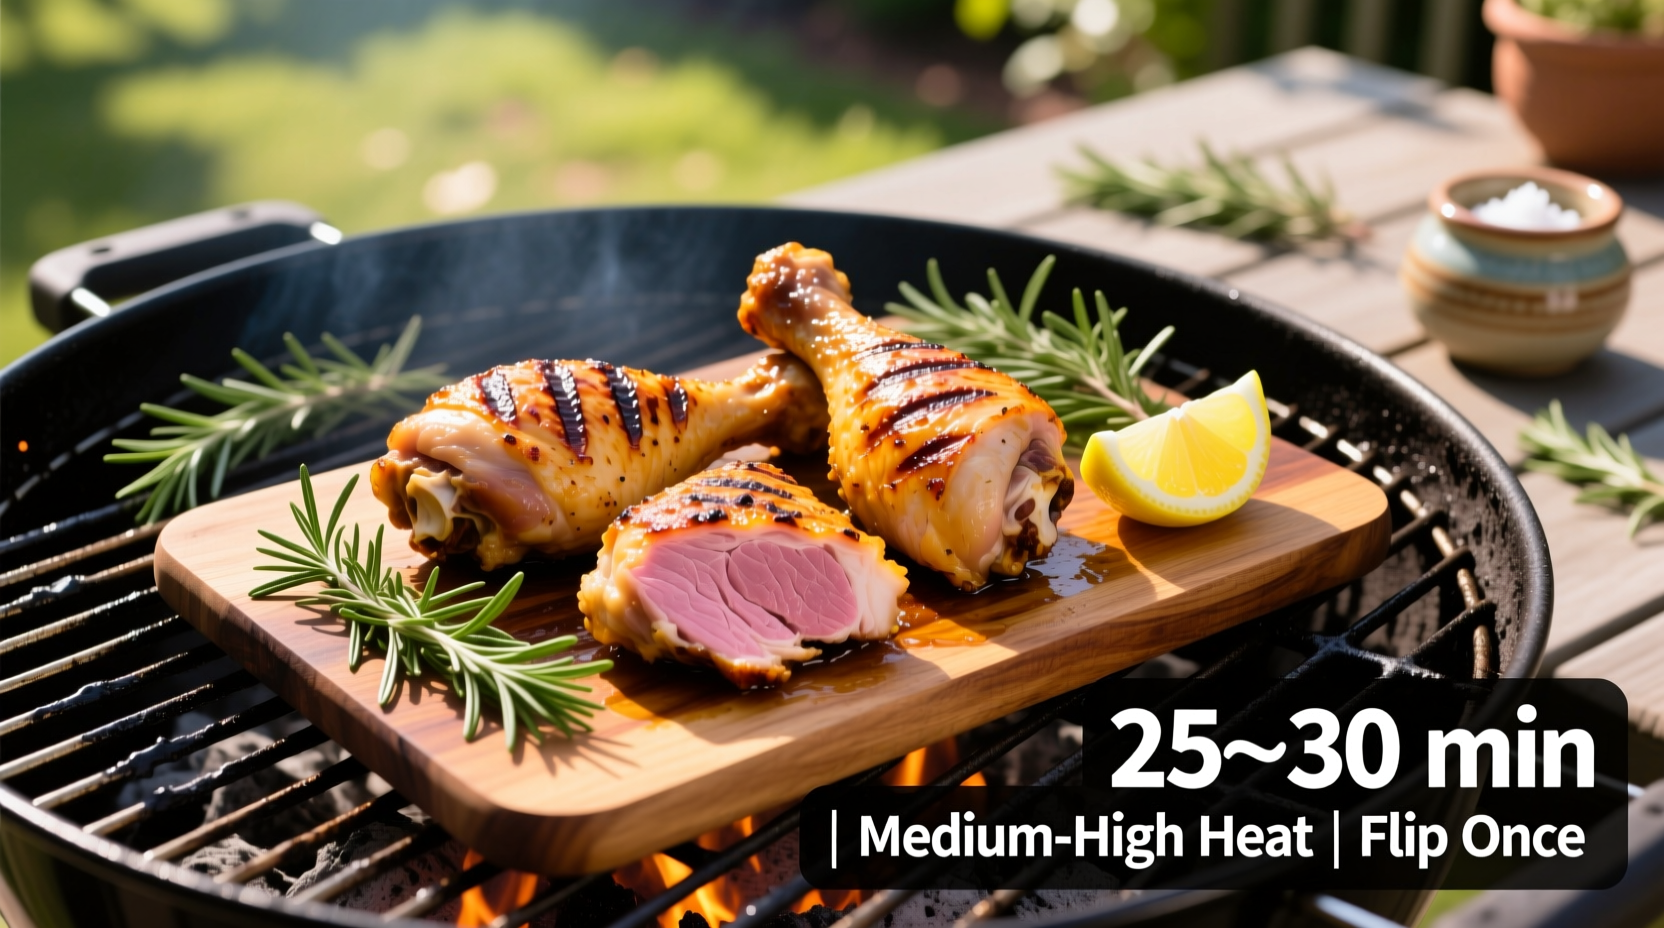
Grilling chicken legs perfectly combines crispy skin with juicy, flavorful meat when you master the timing. As a professional chef who's cooked thousands of chicken legs across various grill setups, I've found the sweet spot between food safety and optimal texture requires understanding several key variables beyond just timing.
The Science Behind Perfectly Grilled Chicken Legs
Chicken legs contain more fat and connective tissue than breasts, making them more forgiving on the grill but requiring precise temperature management. The USDA Food Safety and Inspection Service mandates that all poultry reach 165°F (74°C) internally to eliminate harmful bacteria like salmonella. This isn't just a suggestion—it's a critical food safety requirement you can verify with an instant-read thermometer inserted into the thickest part without touching bone (USDA Poultry Guidelines).
| Grill Temperature | Estimated Cooking Time | Visual Doneness Indicators |
|---|---|---|
| 350-375°F (177-190°C) | 40-50 minutes | Golden brown skin, clear juices when pierced |
| 375-400°F (190-204°C) | 35-45 minutes | Crispy skin, slight shrinkage from bone |
| 400-425°F (204-218°C) | 30-40 minutes | Deep golden color, easily pulls from bone |
Pre-Grill Preparation: Setting Up for Success
Proper preparation significantly impacts your cooking timeline. Pat legs dry with paper towels—moisture creates steam instead of sear. For best results, bring chicken to room temperature 20-30 minutes before grilling. This reduces cooking time variance between the skin and interior. Season generously with salt at least 45 minutes prior to grilling; this allows penetration beyond surface level for better flavor distribution.
When using marinades, remember they primarily affect surface flavor. Acidic components (like vinegar or citrus) can partially "cook" the exterior if left too long, leading to uneven texture. For optimal results, marinate no longer than 12 hours—extended times break down proteins excessively, resulting in mushy texture.
Mastering Your Grill Setup
The two-zone cooking method is essential for perfect chicken legs. Create a hot zone (direct heat) for searing and a cooler zone (indirect heat) for finishing. For charcoal grills, pile coals on one side; for gas grills, light only half the burners. Start chicken skin-side down over direct heat for 5-7 minutes to develop grill marks and crisp skin, then move to indirect heat to finish cooking without burning.
Outdoor temperature significantly affects cooking time—expect 10-15% longer in cold weather. Wind direction matters too; position your grill so prevailing winds don't cool one side disproportionately. Keep your grill lid closed as much as possible; each lift adds approximately 15°F temperature drop and extends cooking time.
Step-by-Step Grilling Process
Step 1: Preheat grill to 400°F (204°C) with two-zone setup. Clean and oil grates thoroughly.
Step 2: Place chicken legs skin-side down over direct heat. Grill 5-7 minutes until skin releases naturally.
Step 3: Flip and move to indirect heat zone. Close lid and cook 25-35 minutes.
Step 4: Flip every 10 minutes for even cooking. Baste during last 10 minutes if using sauce.
Step 5: Check internal temperature in thickest part. Remove at 160°F (71°C)—carryover cooking will reach 165°F.
Step 6: Rest 5-7 minutes before serving to redistribute juices.
Troubleshooting Common Issues
Burnt skin but raw inside: Your grill temperature is too high. Next time, start over indirect heat or reduce temperature by 25°F.
Dry meat: Overcooking is the culprit. Invest in an instant-read thermometer and remove at 160°F for carryover cooking.
Flare-ups: Move chicken to indirect zone immediately. Trim excess fat before grilling to prevent future flare-ups.
Uneven cooking: Rotate chicken 180 degrees each time you flip to compensate for hot spots in your grill.
Flavor Variations and Timing Considerations
Different flavor profiles require timing adjustments. For dry rubs, apply 45 minutes before grilling to allow flavors to penetrate. When using wet marinades, pat dry before grilling to prevent steaming. If adding barbecue sauce, wait until the last 10 minutes—sugars in sauce burn quickly at high temperatures.
For smoky flavor without drying, add wood chips to your charcoal or a smoker box to gas grills during the indirect cooking phase. Hickory works well with traditional BBQ flavors, while applewood complements herb-seasoned chicken. Remember that smoke flavor absorption happens primarily in the first 30 minutes of cooking.
Advanced Techniques for Restaurant-Quality Results
Professional kitchens often use the reverse-sear method for chicken legs: cook entirely over indirect heat until nearly done (155°F), then finish over high direct heat for perfect crispness. This technique prevents the common problem of burnt skin with undercooked interiors.
For extra-crispy skin, try brining before grilling. A simple brine of 4 cups water, 1/4 cup salt, and 2 tablespoons sugar for 2-4 hours improves moisture retention. After brining, air-dry uncovered in the refrigerator for 1 hour—this creates the ideal surface for crisping.
Frequently Asked Questions
How do I prevent chicken legs from sticking to the grill?
Ensure grates are clean and properly preheated before adding chicken. Oil the chicken, not the grates—rub oil directly on the skin. Wait until chicken releases naturally before flipping; forcing it causes tearing. For gas grills, maintain 375-400°F; lower temperatures increase sticking risk.
Can I cook frozen chicken legs directly on the BBQ?
While possible, it's not recommended. Frozen chicken requires approximately 50% longer cooking time and results in uneven cooking—exterior may burn while interior remains unsafe. Thaw chicken legs in the refrigerator for 24 hours before grilling for best results and food safety.
Why does my chicken leg skin burn before the meat cooks through?
This happens when grill temperature exceeds 425°F or when cooking exclusively over direct heat. Use the two-zone method: start over direct heat for searing, then move to indirect heat to finish cooking. If skin browns too quickly, cover with aluminum foil tent to slow exterior cooking while interior reaches safe temperature.
How can I tell if chicken legs are done without a thermometer?
While a thermometer is essential for food safety, visual cues include: clear juices when pierced (not pink), meat pulling slightly away from bone, and legs feeling firm but not hard when squeezed with tongs. However, these methods are unreliable—USDA recommends always using a thermometer as visual indicators can be misleading.
Should I boil chicken legs before grilling?
Parboiling (brief boiling) can reduce grilling time and ensure thorough cooking, but it often sacrifices flavor and texture. If used, boil for 5-7 minutes just to render some fat, then pat extremely dry before grilling. Most professional chefs prefer skipping this step and using proper two-zone grilling for better results.


 浙公网安备
33010002000092号
浙公网安备
33010002000092号 浙B2-20120091-4