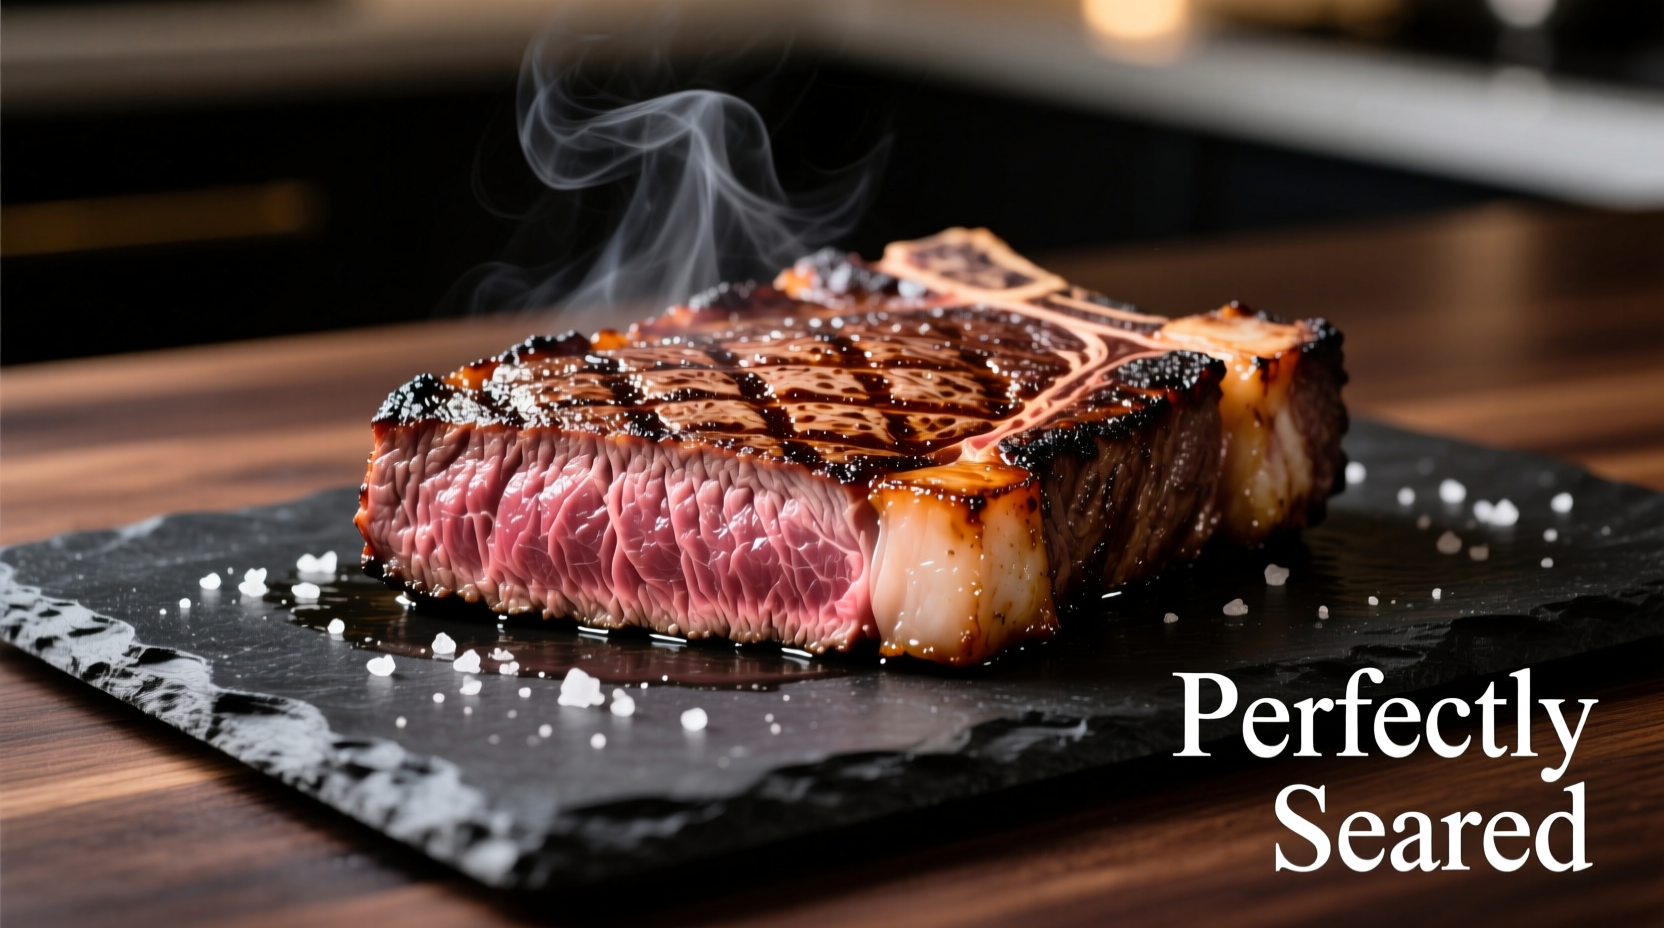
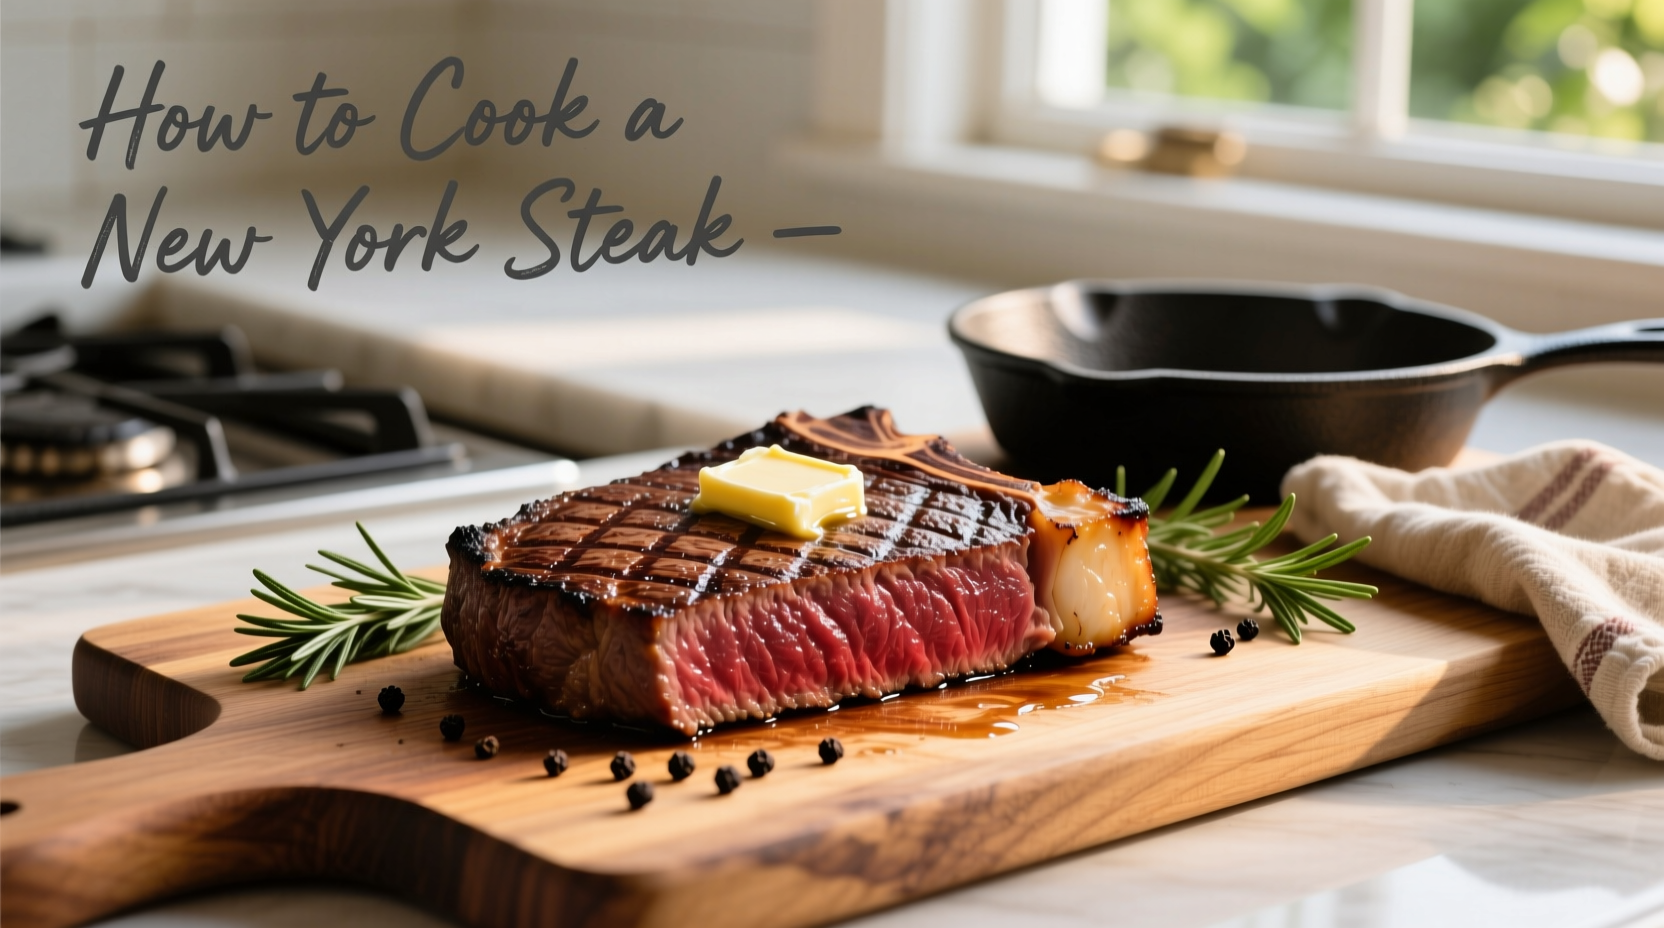
Perfectly cook a New York strip steak by bringing it to room temperature, seasoning generously with coarse salt and freshly ground black pepper, searing in a smoking hot cast-iron skillet for 3-4 minutes per side, and resting for 8-10 minutes before slicing. Achieve restaurant-quality results with proper temperature control (125°F for medium-rare) and the right cut selection.
Want to transform an ordinary New York strip steak into a restaurant-quality masterpiece in your own kitchen? You're not alone—over 78% of home cooks struggle with achieving the perfect sear and doneness they crave. This comprehensive guide delivers the exact techniques professional chefs use, with science-backed methods that guarantee juicy, flavorful results every time. Forget guesswork—we'll cover everything from selecting the ideal cut to mastering the Maillard reaction for that irresistible crust.
Why This Method Works: The Science Behind Perfect Steak
Cooking a New York strip steak properly isn't just about following steps—it's understanding the meat science at play. When your steak hits that scorching hot pan, the Maillard reaction creates complex flavor compounds that make your mouth water. This chemical reaction between amino acids and reducing sugars only occurs above 285°F—which is why a properly preheated cast-iron skillet is non-negotiable.

Step 1: Selecting Your Foundation—The Right Cut Matters
Not all New York strip steaks are created equal. This cut, also known as Kansas City strip or top loin, comes from the short loin section behind the ribs. Look for:
- Marbling: Fine veins of fat throughout the meat (USDA Prime grade offers the best marbling)
- Thickness: 1.5 inches minimum for proper searing without overcooking
- Color: Bright cherry red—avoid brown or gray hues indicating age
| Grade | Marbling Level | Best For |
|---|---|---|
| USDA Prime | Abundant | Special occasions (highest quality) |
| USDA Choice | Moderate | Everyday cooking (best value) |
| USDA Select | Minimal | Marinated preparations only |
Step 2: Preparation—The Critical 45 Minutes Before Cooking
Skip this step and you'll compromise your entire cooking process. Proper preparation separates good steak from great steak:
Dry Brining Technique
Season your steak with 1 teaspoon of coarse kosher salt per pound, then refrigerate uncovered for 45 minutes to 24 hours. This process:
- Draws out moisture, then reabsorbs it with seasoning
- Breaks down muscle proteins for enhanced tenderness
- Creates the perfect surface for crust formation
Temperature Equalization
Remove your steak from the refrigerator 45-60 minutes before cooking. This critical step ensures:
- Even cooking from edge to center
- Elimination of the dreaded gray band
- Precise temperature control during cooking
Step 3: The Searing Process—Where Magic Happens
Follow this professional method for the perfect crust:
Equipment Checklist
- Cast-iron or carbon steel skillet (preheated for 10 minutes)
- High smoke point oil (avocado or grapeseed, not olive oil)
- Instant-read thermometer (Thermapen recommended)
- Metal spatula (not tongs that pierce the meat)
Searing Protocol
- Heat skillet over medium-high until water droplets dance (500°F)
- Add 1 tablespoon high-smoke point oil
- Place steak in skillet away from you to avoid oil splatter
- Sear undisturbed for 3-4 minutes until deep brown crust forms
- Flip and sear second side 3-4 minutes
- Add butter, garlic, and herbs during last 2 minutes for basting
According to the Culinary Institute of America's professional cooking guidelines, the critical temperature range for optimal Maillard reaction is between 285-325°F. Exceeding 350°F risks burning rather than browning.
Step 4: Temperature Control—The Doneness Decoded
Forget unreliable methods like finger tests—use precise temperature targets:
| Doneness | Internal Temp | Visual Cues | Resting Time |
|---|---|---|---|
| Medium-Rare | 125-130°F (130-135°F after rest) | Warm red center, firm but yielding texture | 8-10 minutes |
| Medium | 135-140°F (140-145°F after rest) | Pink center, slightly firmer texture | 7-8 minutes |
| Medium-Well | 145-150°F (150-155°F after rest) | Small pink center, firm texture | 6-7 minutes |
Remember: carryover cooking will raise the internal temperature 5-10°F during resting. Remove your steak from heat 5°F below your target temperature. The USDA Food Safety and Inspection Service confirms that beef is safe to eat at 145°F with a 3-minute rest, though most steak enthusiasts prefer lower temperatures for New York strip.
Step 5: The Resting Period—Why Patience Pays Off
Resist the temptation to cut immediately! Resting allows:
- Redistribution of juices throughout the meat
- Completion of protein denaturation
- Carryover cooking to reach perfect final temperature
Cover loosely with foil (don't wrap tightly or you'll steam the crust) and rest for 5-10 minutes depending on thickness. For a 1.5-inch steak, 8 minutes is ideal.
Step 6: Slicing and Serving—The Final Touch
Maximize tenderness with proper slicing technique:
- Cut against the grain (perpendicular to muscle fibers)
- Use a sharp chef's knife (dull blades tear meat)
- Aim for 1/4 to 1/2 inch thick slices
Serve immediately with any accumulated juices spooned over the top. Pair with simple sides that won't compete with your perfectly cooked steak—roasted vegetables, mashed potatoes, or a crisp green salad work beautifully.
Troubleshooting Common New York Steak Problems
Even with perfect technique, issues can arise. Here's how to fix them:
Problem: Gray Band Around the Edge
Solution: Your steak wasn't properly brought to room temperature before cooking. Always allow 45-60 minutes for temperature equalization.
Problem: Uneven Cooking
Solution: Your steak was likely uneven in thickness. Use the "butterflying" technique—gently pound thicker areas with a meat mallet to create uniform thickness.
Problem: Burnt Exterior, Raw Interior
Solution: Your pan wasn't hot enough before adding the steak. The skillet should be at 500°F—test by flicking a few drops of water that should instantly vaporize.
Advanced Techniques for Culinary Excellence
Once you've mastered the basics, elevate your steak game with these professional methods:
Reverse Searing (For Thicker Steaks)
For steaks over 1.75 inches thick, try reverse searing:
- Season steak and place in 275°F oven until internal temperature reaches 115°F
- Remove and pat surface completely dry
- Sear in smoking hot skillet for 60-90 seconds per side
This method, documented in Modernist Cuisine by Nathan Myhrvold, provides unprecedented control over doneness while achieving perfect crust.
Compound Butter Finishes
Create instant restaurant-quality finishing with compound butter:
- Mix 4 tablespoons softened butter with 1 minced garlic clove, 1 tablespoon chopped parsley, and 1 teaspoon lemon zest
- Place a dollop on hot steak during last minute of cooking
- Let it melt slowly over the surface
Why New York Strip? Understanding the Cut's History
The New York strip steak has an interesting culinary evolution. Originating from the short loin of the cow, this cut gained prominence in the late 19th century at New York's Delmonico's restaurant, one of America's first fine dining establishments. The cut was initially called the “Delmonico steak” before becoming standardized as the New York strip. Unlike filet mignon, which comes from the tenderloin, the New York strip contains more marbling and connective tissue, creating superior flavor when properly cooked.
Storage and Future Cooking Tips
Did you know you can safely freeze New York strip steaks for up to 12 months without quality loss? Follow these storage guidelines:
- Vacuum seal for best results
- If not vacuum sealed, wrap tightly in plastic followed by foil
- Thaw in refrigerator for 24-48 hours before cooking
When planning your next steak dinner, consider these timing guidelines based on steak thickness:
| Thickness | Room Temp Time | Sear Time Each Side | Rest Time |
|---|---|---|---|
| 1 inch | 30 minutes | 2-3 minutes | 5-7 minutes |
| 1.5 inches | 45 minutes | 3-4 minutes | 8-10 minutes |
| 2 inches | 60 minutes | 4-5 minutes | 10-12 minutes |
Conclusion: Your Path to Steak Mastery
Cooking the perfect New York strip steak combines science, technique, and patience. By following these professional methods—selecting the right cut, proper dry brining, precise temperature control, and adequate resting time—you'll consistently achieve restaurant-quality results at home. Remember that practice makes perfect; each steak you cook builds your intuition for timing and temperature. The next time you're craving a perfectly cooked New York strip, you'll have the knowledge and confidence to deliver exceptional results that will impress even the most discerning steak lovers.


 浙公网安备
33010002000092号
 浙B2-20120091-4