
Preheat your oven to 325°F (163°C), place a fully cooked 8-10 lb ham cut-side down in a roasting pan, cover with foil, and bake for 10-15 minutes per pound until the internal temperature reaches 140°F (60°C). Add glaze during the final 20-30 minutes for perfect caramelization.
Your Complete Guide to Perfect Oven-Baked Ham
Cooking ham in the oven seems straightforward, but getting that ideal balance of juicy interior and caramelized exterior requires precise technique. Whether you're preparing a holiday centerpiece or weeknight meal, this guide delivers professional results every time—no guesswork needed.Why This Method Works
Unlike generic instructions that leave you wondering about timing or temperature, this approach incorporates USDA food safety guidelines with chef-tested techniques. You'll avoid the two most common ham disasters: dry, stringy meat and burnt glaze. The method adapts seamlessly whether you're working with spiral-cut, bone-in, or boneless varieties.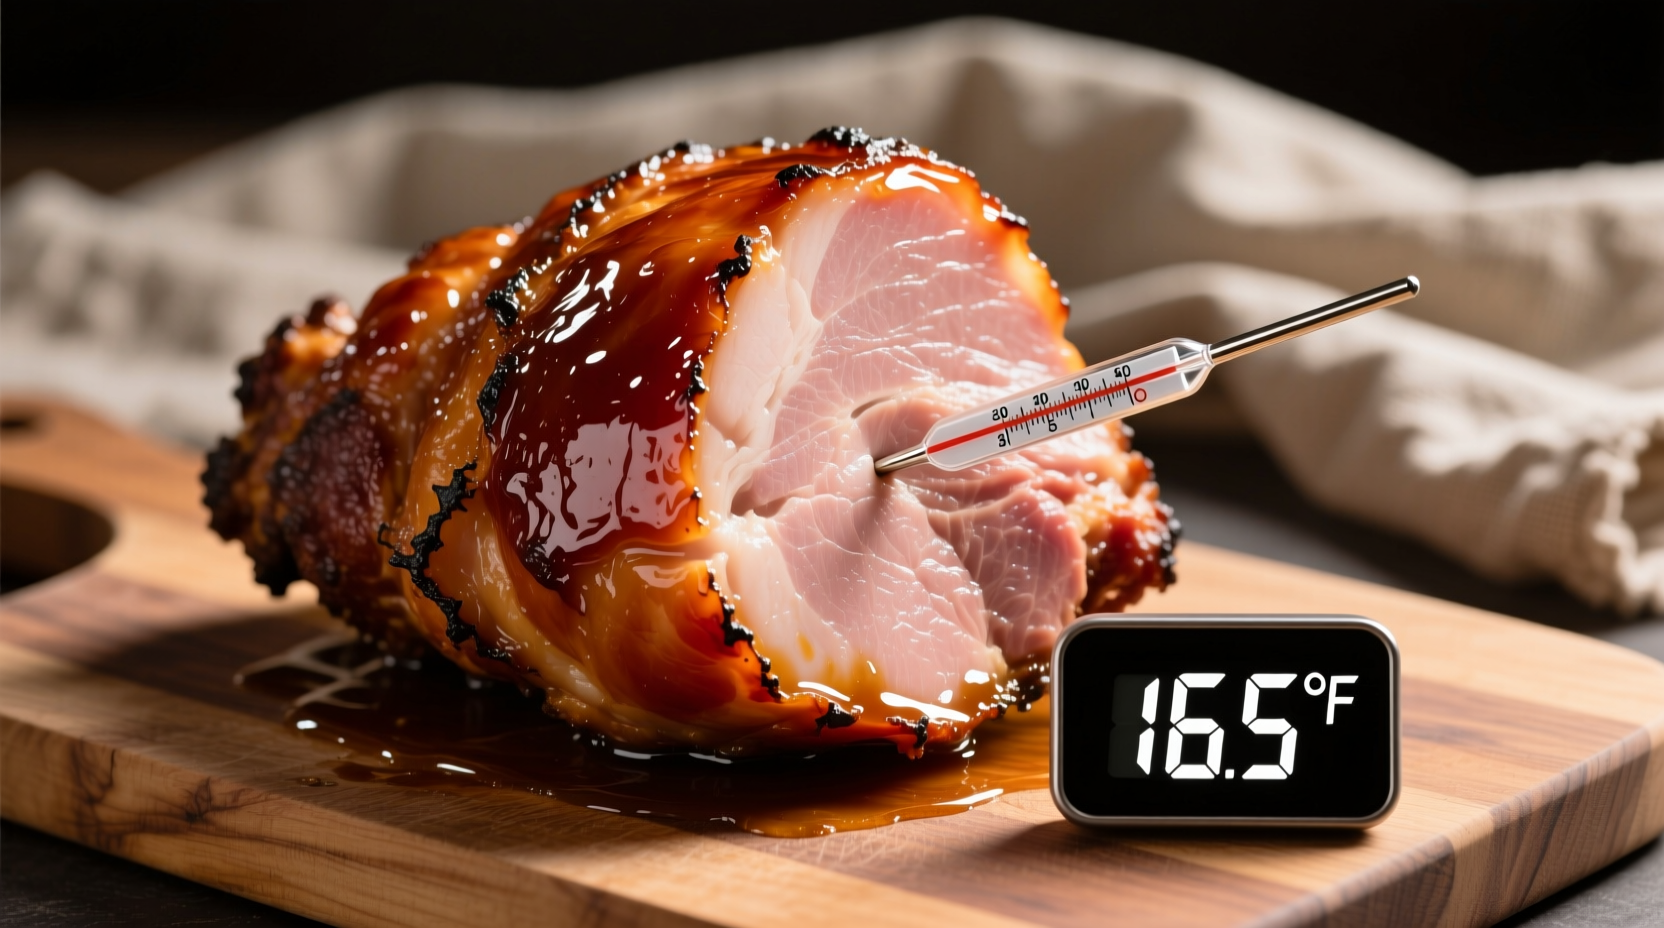
Ham Selection: Making the Right Choice
Not all hams behave the same in the oven. Understanding your starting point prevents cooking disasters:| Ham Type | Preparation Needs | Cooking Time (per lb) | Target Temperature |
|---|---|---|---|
| Fully Cooked (most common) | Reheating only | 10-15 minutes | 140°F (60°C) |
| "Cook Before Eating" Label | Full cooking required | 20-25 minutes | 145°F (63°C) |
| Spiral-Cut | Handle carefully | 10-12 minutes | 140°F (60°C) |
Step-by-Step Cooking Process
Preparation Phase (30 Minutes Before Oven)
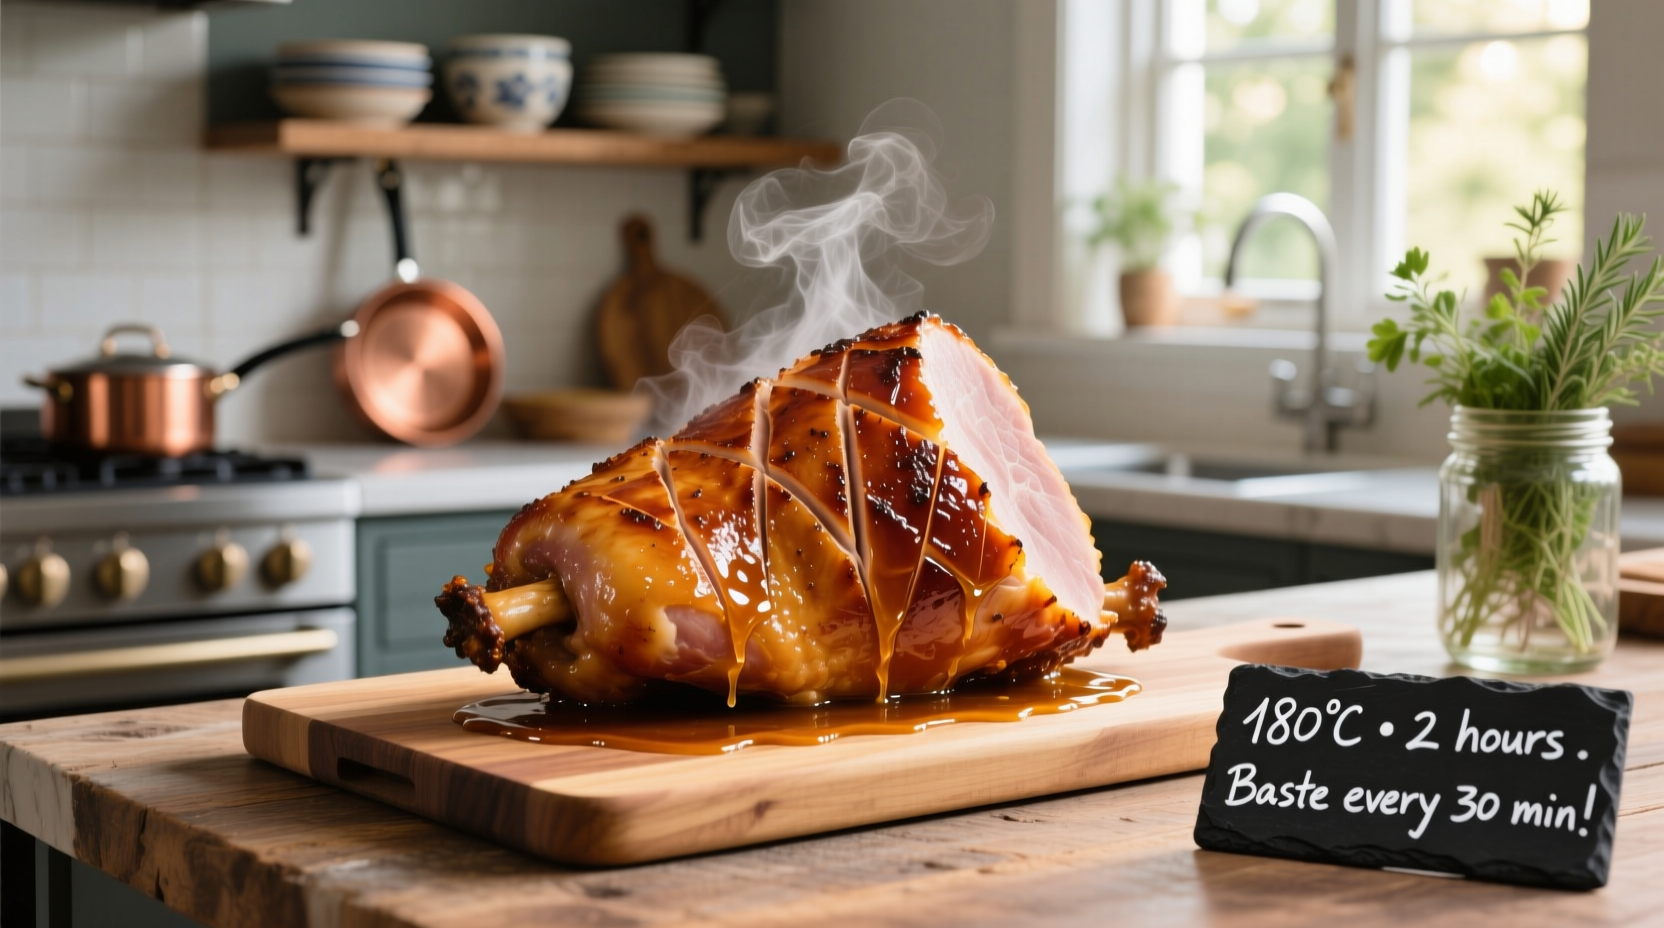
1. Thaw properly: If frozen, allow 4-5 hours per pound in the refrigerator (never at room temperature) 2. Bring to room temperature: Remove from fridge 30 minutes before cooking 3. Prep the ham: Place cut-side down in roasting pan; score fat cap in diamond pattern if thick 4. Preheat oven: Set to 325°F (163°C)—higher temperatures cause uneven cookingCooking Timeline
- First hour: Cover tightly with foil; bake at 325°F
- Middle phase: Baste every 30 minutes with pan juices
- Final 30 minutes: Remove foil, apply glaze, increase heat to 375°F for caramelization
- Doneness check: Insert thermometer into thickest part (avoiding bone)
- Resting period: Tent with foil for 15-20 minutes before slicing
Avoiding Common Pitfalls
Dry ham solution: Place 1 cup of liquid (apple juice, broth, or water) in the pan bottom. The steam environment maintains moisture without making the ham soggy. Glaze burning prevention: Apply glaze only during the final 20-30 minutes. Earlier application causes sugar to burn before the ham finishes reheating. Spiral-cut handling: Place cut-side down and cover with foil for first 75% of cooking time. This prevents the exposed meat from drying out.Temperature Verification: The Critical Step
Digital thermometer use isn't optional—it's essential for perfect results. The National Center for Home Food Preservation confirms that visual cues alone can't reliably indicate doneness. Insert your thermometer into the thickest part of the meat, avoiding bone contact which gives false readings. For fully cooked hams, remove from oven at 135°F—the temperature will rise 5 degrees during resting.Flavor Enhancement Techniques
Scoring matters: Make shallow ¼-inch deep cuts in a diamond pattern across the fat cap. This allows glaze to penetrate while creating attractive presentation. Glaze application: Brush on thin layers every 10 minutes during the final baking phase. Thick initial applications lead to burning. Resting importance: The 15-20 minute rest allows juices to redistribute. Cutting too soon releases moisture onto your cutting board instead of staying in the meat.When to Adjust This Method
This standard approach works for 95% of ham cooking scenarios, but consider these context boundaries:- Convection ovens: Reduce temperature by 25°F and check 20% earlier
- Small hams (under 5 lbs): Check temperature 30 minutes early to prevent overcooking
- Smoked hams: Reduce baking time by 25% since smoking partially cooks the meat
Storage and Leftover Tips
Properly stored, cooked ham remains safe for 3-4 days in the refrigerator. For best results:- Slice leftovers immediately—whole ham dries faster
- Store in airtight container with 2 tablespoons of cooking liquid
- Reheat gently in covered dish at 275°F with splash of broth
Final Pro Tips
- Always place ham cut-side down to protect the most exposed surface
- Use foil tenting instead of full coverage for better browning
- Let glaze ingredients reach room temperature before applying
- Save ham bone for soup—it adds incredible depth to bean dishes


 浙公网安备
33010002000092号
浙公网安备
33010002000092号 浙B2-20120091-4