
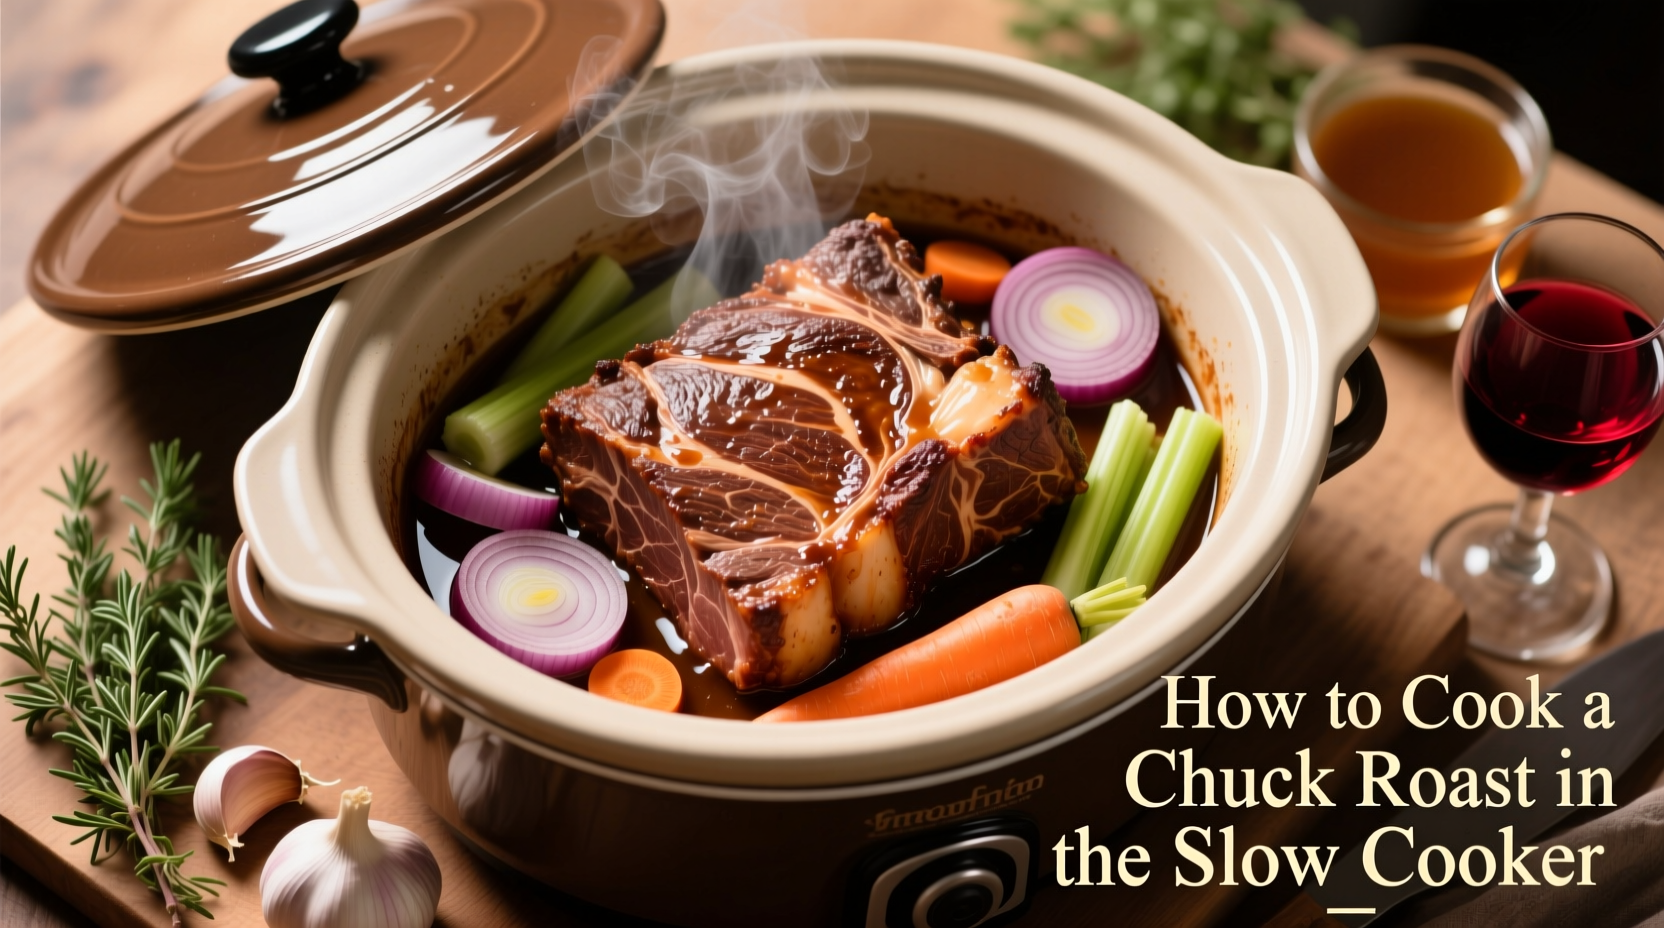
Perfectly tender chuck roast requires 8-10 hours on LOW or 4-6 hours on HIGH in a slow cooker with proper seasoning, searing, and sufficient liquid. This method transforms tough connective tissue into melt-in-your-mouth texture through controlled collagen breakdown at temperatures between 160°F-205°F.
Why Slow Cooking Transforms Chuck Roast
Chuck roast comes from the shoulder area of the cow, containing abundant collagen and connective tissue that makes it tough when cooked quickly. Slow cooking at low temperatures (160°F-205°F) allows collagen to gradually convert into gelatin over 6-10 hours, creating that signature fork-tender texture. According to USDA Food Safety guidelines, beef should reach a minimum internal temperature of 145°F with a 3-minute rest time for safety, but for chuck roast to become truly tender, you'll want to cook it to 190-205°F where collagen fully breaks down.
Essential Preparation Steps
Proper preparation makes the difference between an average roast and an exceptional one. Follow these steps before placing your roast in the slow cooker:
Dry the Surface Thoroughly
Pat the chuck roast completely dry with paper towels. Moisture prevents proper browning, which is crucial for developing rich flavor compounds through the Maillard reaction. This scientific process creates hundreds of flavor compounds that can't be achieved through slow cooking alone.
Season Generously
Apply a generous amount of kosher salt (about 1 teaspoon per pound) and freshly ground black pepper at least 45 minutes before cooking. For enhanced flavor, consider adding these professional chef-recommended seasonings:
- Garlic powder (1 tablespoon)
- Onion powder (1 tablespoon)
- Dried thyme (1 teaspoon)
- Smoked paprika (1 teaspoon)
- Worcestershire sauce (2 tablespoons)
Sear for Maximum Flavor
While optional, searing creates complex flavor compounds through caramelization. Heat 2 tablespoons of high-smoke point oil (like avocado or canola) in a heavy skillet over medium-high heat until shimmering. Sear the roast on all sides for 3-4 minutes per side until deeply browned. This step is supported by food science research from the American Chemical Society, which confirms that browning meat creates hundreds of new flavor compounds through the Maillard reaction.
Slow Cooking Process: Step-by-Step
Building Flavor Foundation
After searing, place aromatic vegetables in the bottom of your slow cooker to create a flavor base and elevate the roast:
- 1 large yellow onion, roughly chopped
- 4-5 garlic cloves, smashed
- 2 carrots, cut into 2-inch pieces
- 2 celery stalks, cut into 2-inch pieces
Liquid Ratio Guide
Proper liquid amount prevents drying while avoiding stewing. Use this professional chef-approved ratio:
| Roast Weight | Recommended Liquid | Best Liquid Options |
|---|---|---|
| 2-3 pounds | 1 cup | Beef broth, red wine, or tomato juice |
| 3-4 pounds | 1.5 cups | Beef broth, red wine, or tomato juice |
| 4-5 pounds | 2 cups | Beef broth, red wine, or tomato juice |
Cooking Time Guidelines
Follow these precise timing recommendations based on roast size and desired tenderness:
- LOW setting (200°F): 8-10 hours for 3-4 pound roast (optimal for texture)
- HIGH setting (300°F): 4-6 hours for 3-4 pound roast (convenient but slightly less tender)
According to research from the Culinary Institute of America, collagen conversion happens most effectively between 160°F-205°F. Temperatures above 205°F cause muscle fibers to contract excessively, potentially making the meat dry despite the slow cooking process.
Critical Doneness Checks
Don't rely solely on cooking time. Use these professional methods to verify perfect doneness:
Fork Test
Gently insert a fork and twist. Perfectly cooked chuck roast will pull apart with minimal resistance. If it resists, continue cooking in 30-minute increments.
Internal Temperature
For precise results, use an instant-read thermometer. Target these temperatures:
- 190°F: Beginning of tenderness (shreds with effort)
- 195°F: Ideal tenderness (pulls apart easily)
- 205°F: Maximum tenderness (melts in your mouth)
Finishing Techniques for Restaurant-Quality Results
Resting Period
Remove the roast from the slow cooker and let it rest, tented with foil, for 15-20 minutes. This crucial step allows juices to redistribute throughout the meat. Skipping this causes valuable juices to escape when carving.
Gravy Enhancement
Elevate your cooking liquid into a restaurant-quality gravy:
- Skim excess fat from the cooking liquid
- Pour liquid into a saucepan and bring to a simmer
- Create a slurry: 2 tablespoons cornstarch + 2 tablespoons cold water
- Whisk slurry into simmering liquid until desired thickness
- Season with salt, pepper, and a splash of red wine vinegar for brightness
Troubleshooting Common Issues
Tough Meat After Cooking
If your roast remains tough, it likely hasn't cooked long enough for complete collagen breakdown. Return to the slow cooker and continue cooking in 30-minute increments until fork-tender. Remember that collagen conversion is a time-dependent process, not just temperature-dependent.
Excess Liquid in Slow Cooker
If you have too much liquid:
- Remove roast and vegetables
- Crank heat to HIGH and let liquid reduce for 30-60 minutes
- Alternatively, thicken with cornstarch slurry as described in gravy section
Storage and Reheating Best Practices
Proper storage maintains quality for future meals:
- Refrigeration: Store in airtight container for up to 4 days
- Freezing: Portion into meal-sized containers with cooking liquid for up to 3 months
- Reheating: Gently warm in covered dish with 2 tablespoons liquid at 325°F until internal temperature reaches 165°F
According to FoodSafety.gov, cooked meat should be consumed within 3-4 days when refrigerated at 40°F or below. When reheating, ensure the internal temperature reaches 165°F as measured with a food thermometer.


 浙公网安备
33010002000092号
浙公网安备
33010002000092号 浙B2-20120091-4