
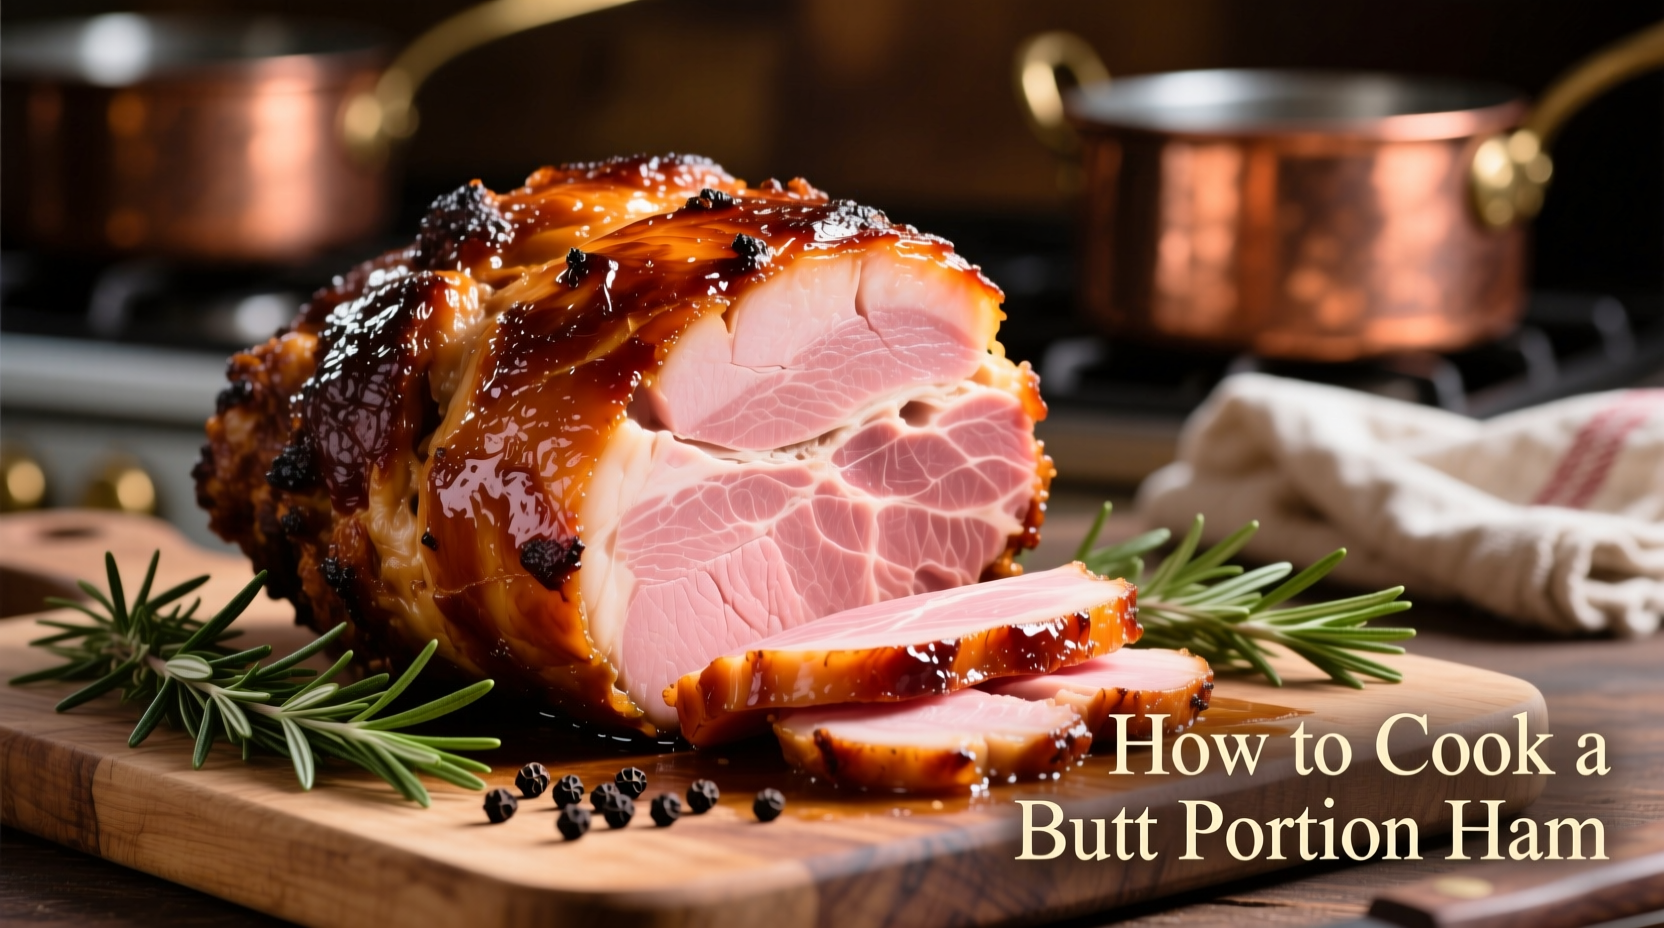
Mastering Your Butt Portion Ham: The Complete Cooking Guide
When you bring home a butt portion ham, you're holding one of the most flavorful cuts available. Unlike the leaner shank portion, the butt delivers richer taste and tenderness thanks to its higher marbling. This guide walks you through every step to transform your raw ham into a show-stopping centerpiece that impresses guests and satisfies family dinners.
What Exactly Is a Butt Portion Ham?
The butt portion comes from the upper half of the hog's hind leg, closer to the hip. Despite its name, it has nothing to do with the animal's rear end. This cut contains more fat marbling than the shank portion, resulting in superior flavor and moisture retention during cooking. According to the National Pork Board, the butt portion typically weighs between 7-10 pounds and features the flavorful eye of the ham surrounded by protective fat.
Your Step-by-Step Cooking Journey
Preparation: Setting Up for Success
Proper preparation makes all the difference in your final result. Start by allowing your ham to thaw completely in the refrigerator—this takes approximately 4-5 hours per pound. Never thaw ham at room temperature, as recommended by USDA Food Safety. Once thawed:
- Remove all packaging and rinse the ham under cool water
- Pat thoroughly dry with paper towels (critical for proper browning)
- Score the fat cap in a diamond pattern, cutting about 1/4 inch deep
- Apply your chosen rub or glaze, making sure to work it into the scored areas
Cooking Methods Compared: Finding Your Best Approach
While oven baking remains the most accessible method for home cooks, understanding your options helps you choose the right technique for your situation:
| Cooking Method | Temperature | Cooking Time | Best For |
|---|---|---|---|
| Oven Baking | 325°F | 15-18 min/lb | Traditional preparation, consistent results |
| Slow Cooker | Low setting | 4-5 hours | Hands-off cooking, extremely tender results |
| Smoking | 225-250°F | 8-10 hours | Deep smoke flavor, special occasions |
Perfect Oven Technique: The Gold Standard
For most home cooks, oven baking delivers the most reliable results. Position your oven rack in the lower third of the oven and preheat to 325°F. Place the ham on a rack in a roasting pan with the fat side up. Add 1 cup of liquid (water, broth, or apple juice) to the bottom of the pan to prevent drying.
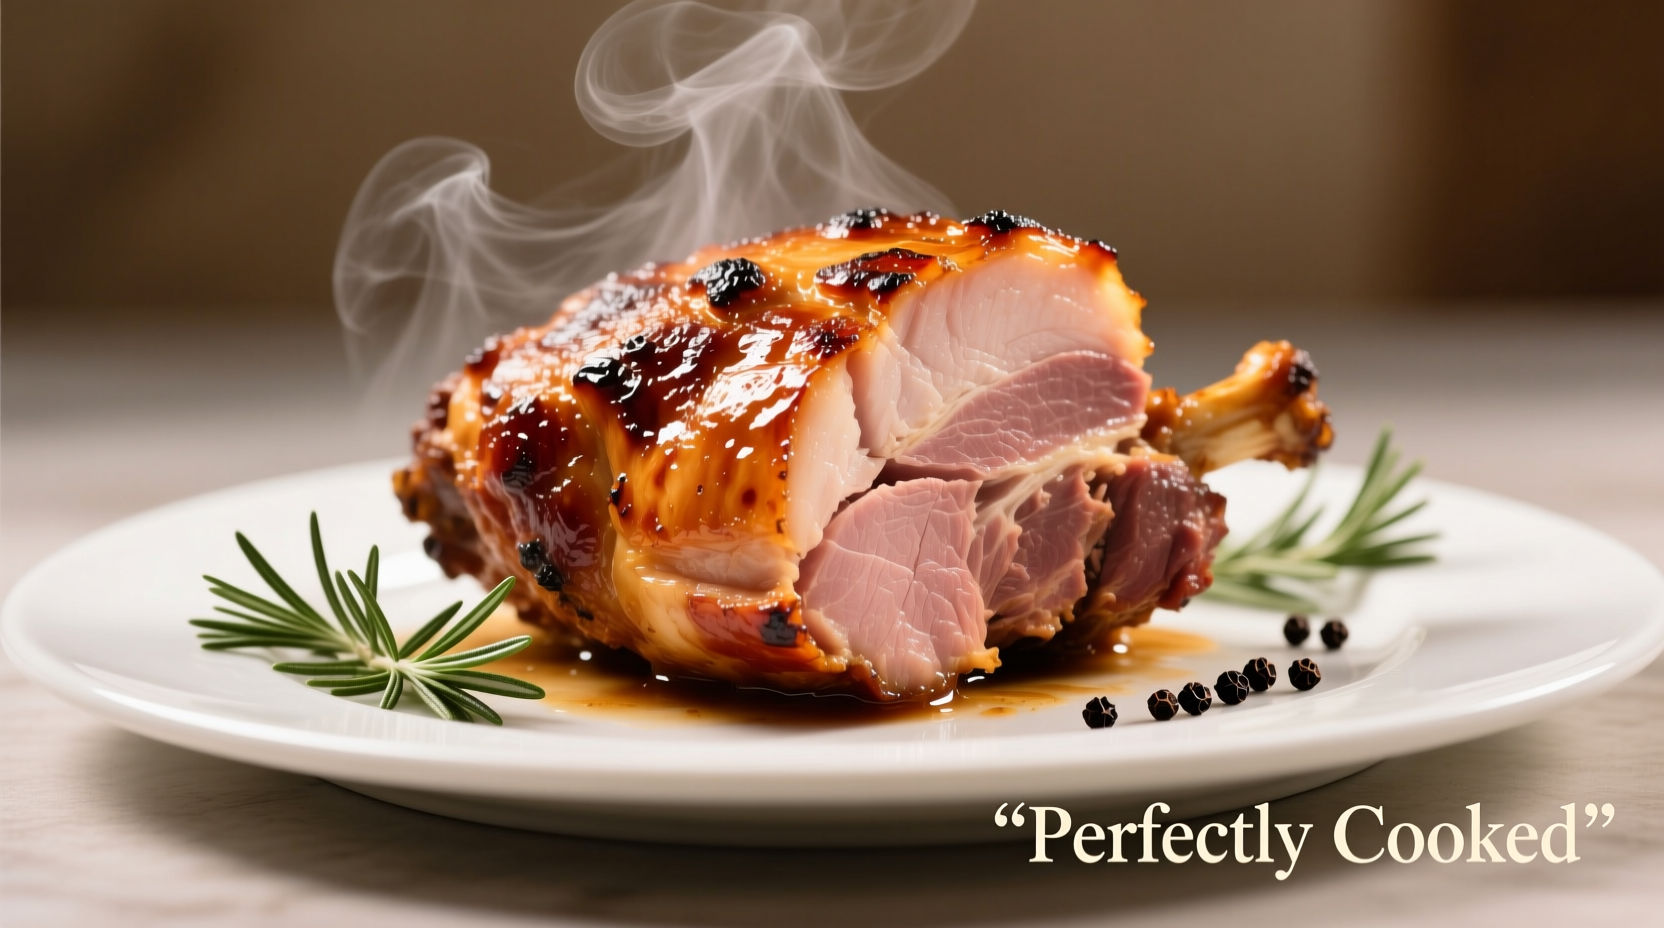
Cook uncovered for the first 30 minutes, then reduce heat to 300°F and continue cooking. Baste every 30-45 minutes with pan juices or your glaze. The USDA Food Safety and Inspection Service confirms that properly cooked ham should reach 140°F internal temperature when measured in the thickest part with a meat thermometer.
Glazing for Maximum Flavor Impact
Apply glazes during the final 20-30 minutes of cooking to prevent burning. Popular combinations include:
- Brown sugar, Dijon mustard, and cloves
- Pineapple juice, honey, and ginger
- Maple syrup, bourbon, and black pepper
Brush on thin layers every 10 minutes for a beautiful, flavorful crust. Remember that the sugar content in glazes causes them to burn quickly at high temperatures.
Resting and Carving: The Critical Final Steps
Never skip the resting period! After removing your ham from the oven, tent loosely with foil and let it rest for 15-20 minutes. This allows the juices to redistribute throughout the meat, preventing dryness when carving. For perfect slices:
- Place the ham on a stable cutting board with the flat side down
- Locate the bone running through the center
- Cut perpendicular to the bone in thin, even slices
- Angle your knife slightly for wider slices
Common Mistakes That Ruin Perfect Ham
Even experienced cooks make these preventable errors:
- Overcooking: Ham continues to cook while resting. Remove at 135°F for carryover cooking to 140°F
- Glazing too early: Sugary glazes burn when applied too soon in the cooking process
- Cutting against the grain: Always slice with the grain for proper texture
- Skipping the rest period: Cutting immediately causes precious juices to escape
When Traditional Methods Don't Apply
Not all hams follow the same rules. Pre-cooked hams (most store-bought varieties) only need reheating to 140°F, while fresh hams require cooking to 148°F. Spiral-cut hams present unique challenges—they dry out more quickly due to increased surface area, so reduce cooking time by 10-15% and cover tightly with foil. According to culinary research from America's Test Kitchen, spiral-cut hams benefit from additional moisture in the pan and minimal glazing time.
Serving Suggestions That Elevate Your Ham
Complement your perfectly cooked ham with these classic pairings:
- Scalloped potatoes with Gruyère cheese
- Maple-glazed roasted carrots
- Cornbread dressing with sage
- Classic pineapple upside-down cake for dessert
Leftover ham shines in breakfast hash, split pea soup, or as the star in ham and cheese sandwiches. Store properly wrapped in the refrigerator for up to 5 days or freeze for up to 2 months.


 浙公网安备
33010002000092号
浙公网安备
33010002000092号 浙B2-20120091-4