
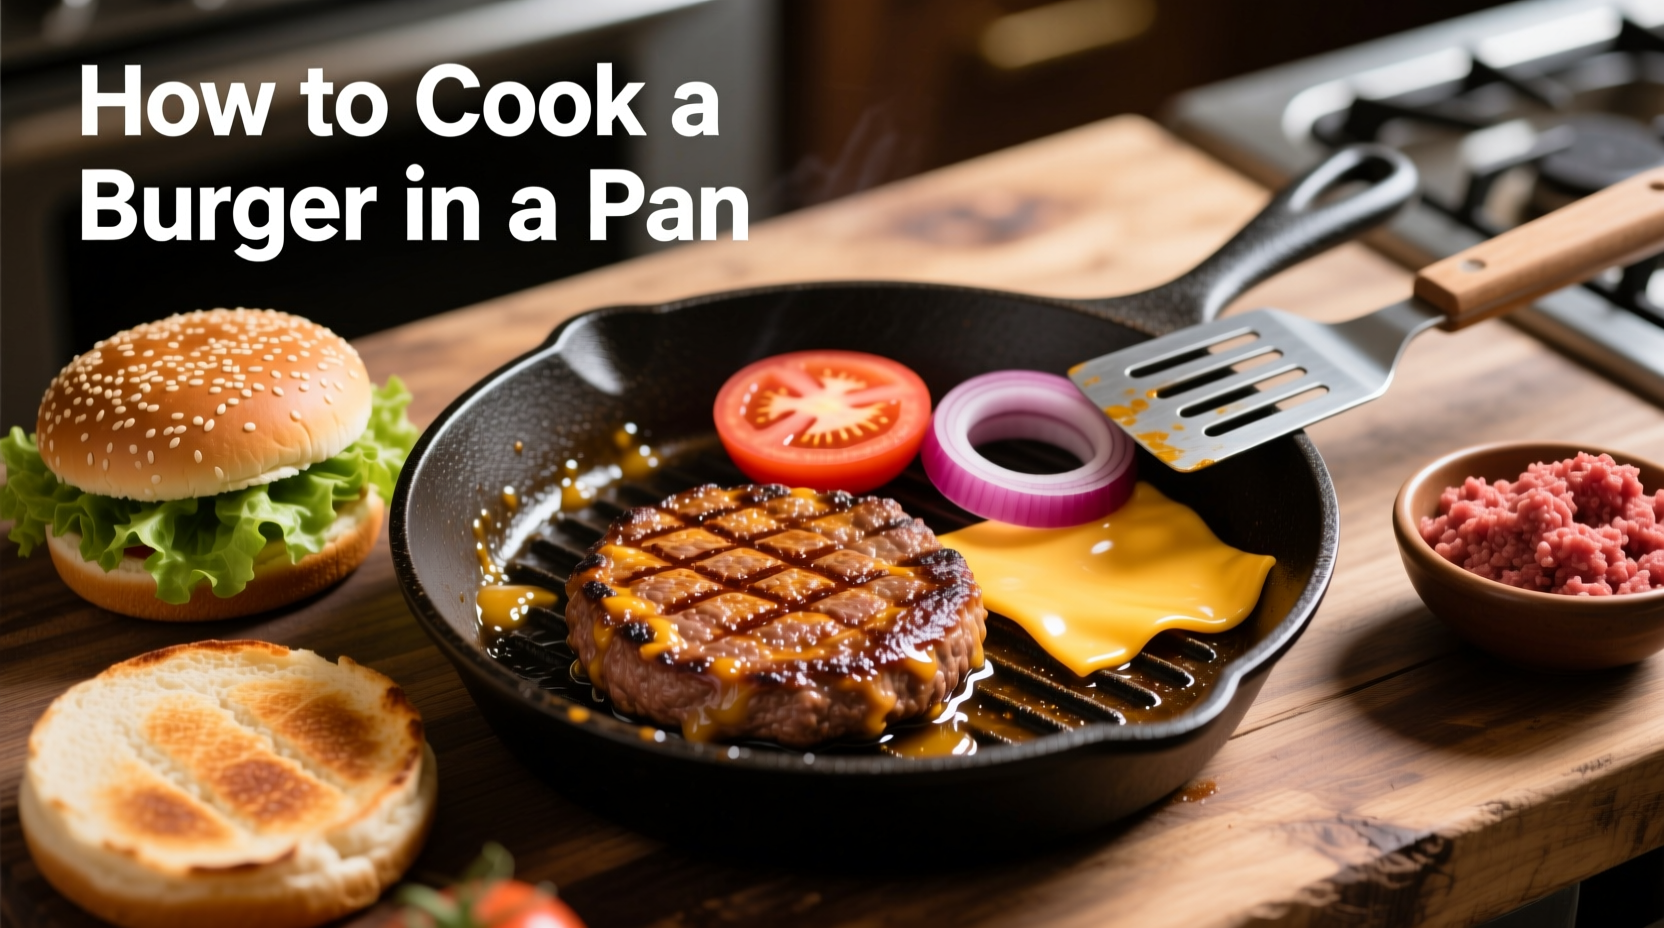
Nothing beats a juicy, perfectly seared burger made right in your kitchen. While grilling gets all the summer glory, pan-cooking gives you restaurant-quality results year-round with complete temperature control. Follow these professional techniques to transform simple ingredients into a burger that's crispy on the outside, tender and juicy within.
What You'll Need Before You Start
Gathering the right tools and ingredients sets you up for success. Professional chefs know that burger perfection begins long before the patty hits the pan.
| Essential Equipment | Critical Ingredients |
|---|---|
| Cast-iron or heavy-bottomed skillet | 80% lean/20% fat ground beef (chilled) |
| Metal spatula | Salt (kosher or sea salt) |
| Instant-read thermometer | Freshly ground black pepper |
| Tongs | High smoke-point oil (avocado or canola) |
Your Step-by-Step Burger Journey
Preparation Phase: Building Your Foundation
Start with quality ground chuck at 80/20 fat ratio - this balance creates optimal juiciness without excessive grease. Form patties slightly wider than your bun (½ inch thick) with a shallow dimple in the center to prevent bulging. Chill patties for 30 minutes before cooking - this critical step maintains structure during searing.
Season generously with salt and pepper just before cooking. According to culinary science research from the Culinary Institute of America, seasoning too early draws out moisture, while waiting until the last moment creates the perfect crust formation through the Maillard reaction.
Cooking Phase: Mastering the Sear
Heat your skillet over medium-high heat for 5 minutes until it reaches approximately 375°F. Add 1 tablespoon of high smoke-point oil - you should see a slight shimmer but no smoke. Place patties in the skillet, leaving space between them.
Resist the urge to press down - this common mistake squeezes out precious juices and creates steam that prevents proper browning. Flip only once after 3-4 minutes, when a dark crust forms and releases naturally from the pan. Cook second side for another 3-4 minutes for medium.
For cheeseburgers, add cheese during the last minute of cooking and cover briefly to melt. The USDA Food Safety and Inspection Service recommends cooking ground beef to an internal temperature of 160°F, which typically takes 8-10 minutes total cooking time depending on thickness. Use an instant-read thermometer for accuracy rather than guessing by touch.
Resting Phase: The Secret to Juiciness
Transfer cooked burgers to a wire rack (not directly on a plate) and let rest for 5 minutes. This crucial step allows juices to redistribute throughout the patty. Cutting too soon releases all those flavorful juices onto your plate instead of staying in the burger.
Common Problems and Professional Solutions
| Problem | Professional Solution |
|---|---|
| Burger sticks to pan | Ensure proper preheating and adequate oil. Don't move patty until it naturally releases. |
| Dry, crumbly texture | Use higher fat content (80/20). Avoid overhandling meat when forming patties. |
| Uneven cooking | Create a slight dimple in center of patty before cooking to prevent bulging. |
| Excessive smoke | Reduce heat slightly after initial sear. Use proper ventilation. |
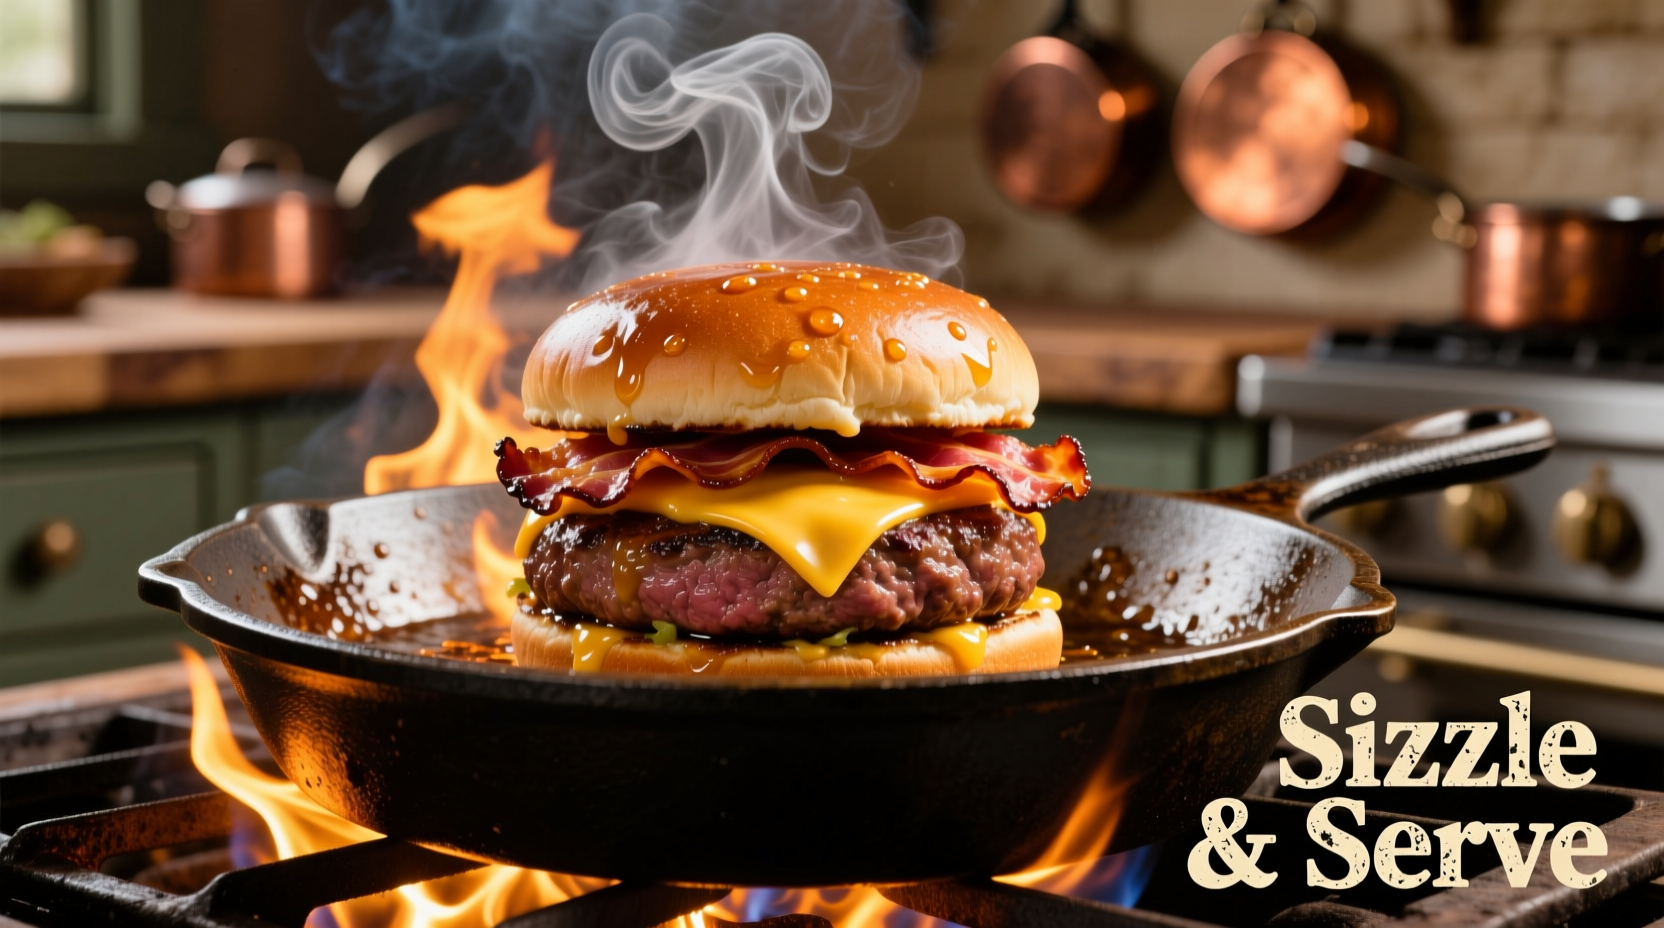
Serving Your Perfect Pan Burger
Build your burger on toasted buns with ingredients at room temperature. Start with sauce on both bun halves to create a moisture barrier. Add lettuce first if including, then tomato, onion, pickles, and finally your rested burger. Top with additional sauce and cheese if desired.
Pair with classic sides like crispy oven fries or a simple green salad. For timing perfection, start your sides while the burgers rest - this ensures everything comes to the table hot and fresh simultaneously.
Advanced Techniques for Next-Level Results
For restaurant-quality results at home, try these professional chef techniques:
- Butter basting: During the last minute of cooking, add a tablespoon of butter and fresh herbs to the pan, then tilt and spoon the melted butter continuously over the patty
- Double sear method: Cook first side until well-seared, flip, then add a small amount of water to the pan and cover immediately for 1 minute to finish cooking through while maintaining juiciness
- Temperature control: If flare-ups occur, temporarily remove pan from heat rather than adding water which creates steam and prevents proper browning
Why Pan Cooking Beats Grilling Sometimes
While grilling has its place, pan-cooking offers distinct advantages:
- Complete temperature control regardless of weather conditions
- Better crust development through direct, consistent contact
- Easier to manage flare-ups and precise cooking times
- Convenient indoor option year-round
- Superior fat rendering control for optimal texture
Food Safety Essentials for Perfect Burgers
According to the USDA Food Safety and Inspection Service, ground beef must reach 160°F internal temperature to eliminate harmful bacteria. An instant-read thermometer is the only reliable way to verify doneness. Unlike steaks where medium-rare is safe, ground beef requires full cooking because bacteria from the surface gets distributed throughout during grinding.
Always wash hands thoroughly after handling raw meat and clean surfaces with hot, soapy water. Never reuse plates or utensils that contacted raw meat without proper washing.


 浙公网安备
33010002000092号
浙公网安备
33010002000092号 浙B2-20120091-4