
Nothing elevates a holiday meal or Sunday dinner quite like a perfectly cooked ham. Yet timing mistakes can transform this centerpiece into a dry, disappointing dish. Whether you're preparing a spiral-cut holiday ham or a fresh picnic shoulder, understanding precise cooking durations prevents culinary disasters. This guide delivers exact timing based on ham type, weight, and cooking method—all verified against USDA food safety standards and professional kitchen practices.
Understanding Ham Types: The Foundation of Proper Cooking
Not all hams cook the same. Your starting point determines everything:
- Pre-cooked/City Hams (most grocery store hams) - Fully cooked during processing, requiring only reheating
- Spiral-Cut Hams - Pre-sliced for convenience but prone to drying out faster
- Fresh/Country Hams - Raw and uncured, requiring full cooking like other meats
- Partially Cooked Hams - Need finishing in your oven
| Ham Type | Internal Temp | Cooking Time per Pound | Special Considerations |
|---|---|---|---|
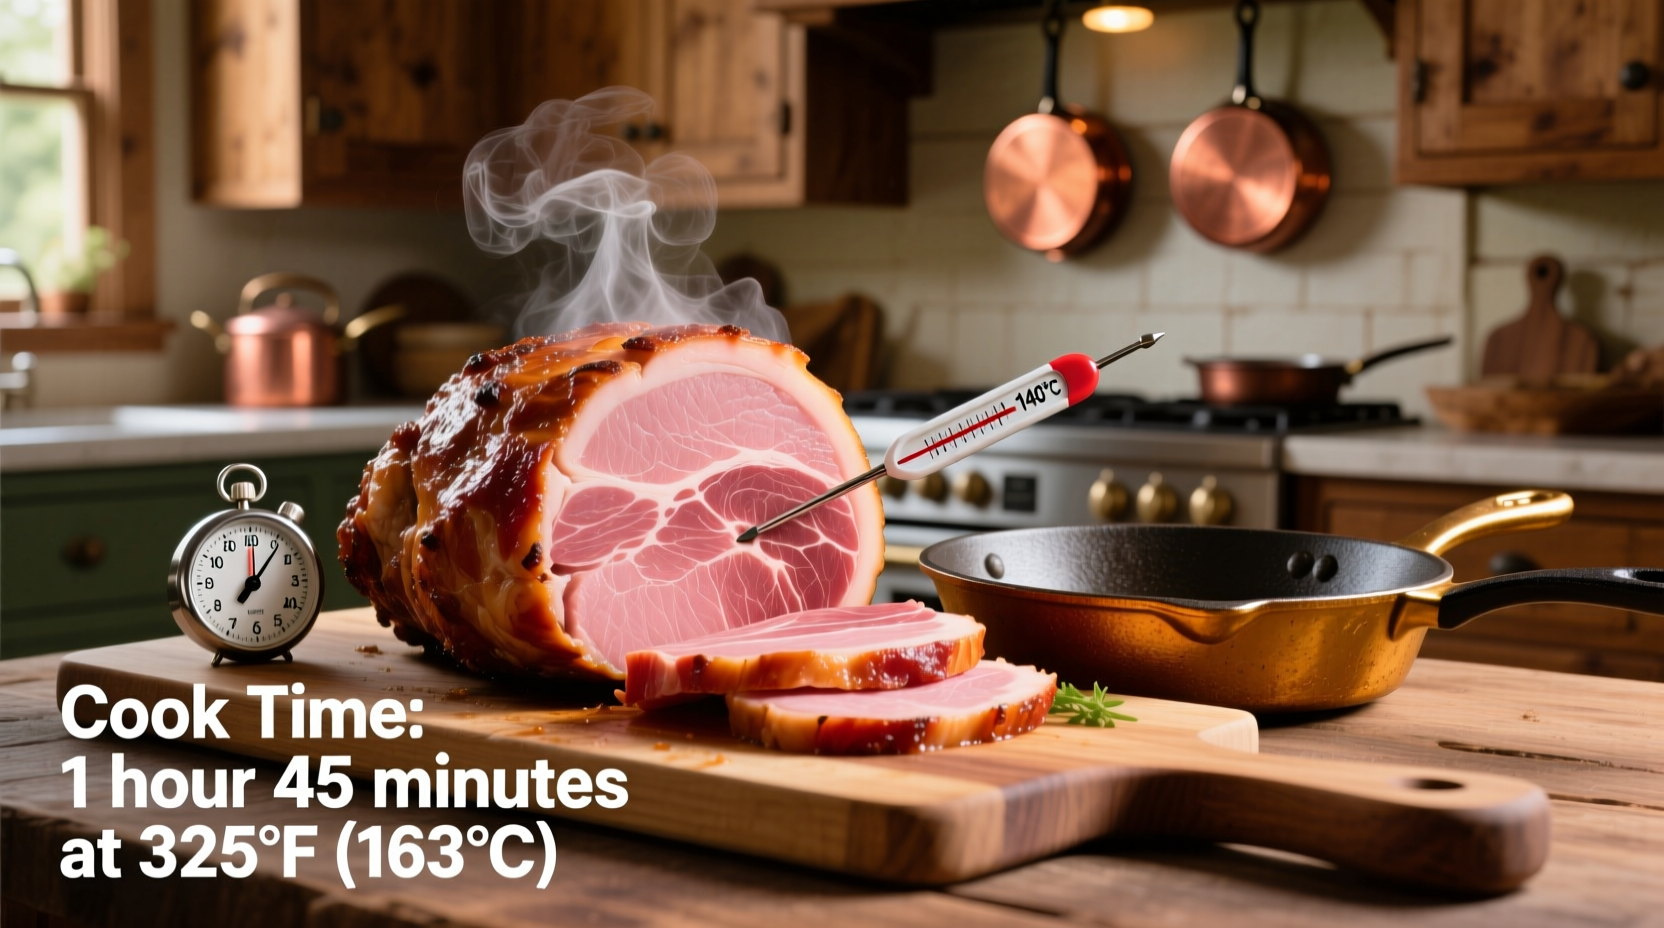
| Pre-cooked (bone-in) | 140°F (60°C) | 12-15 minutes | Cover with foil to prevent drying |
| Spiral-cut | 140°F (60°C) | 10-12 minutes | Glaze in last 20 minutes only |
| Fresh ham | 145°F (63°C) | 22-25 minutes | Requires full cooking process |
The Critical Cooking Timeline: From Oven to Table
Professional kitchens follow this precise sequence for foolproof results. Deviating from these timeframes risks food safety or texture issues:
- Preparation (15-30 minutes) - Remove ham from refrigerator, score fat, apply initial seasoning
- Initial Cooking (75% of total time) - Bake covered at 325°F until 20°F below target temperature
- Glazing Phase (15-20 minutes) - Uncover, apply glaze, increase heat to 375°F for caramelization
- Resting Period (15-20 minutes minimum) - Critical for juice redistribution
According to USDA Food Safety and Inspection Service guidelines, proper ham temperatures prevent foodborne illness. Pre-cooked hams only need reheating to 140°F, while fresh hams require cooking to 145°F with a 3-minute rest period. These standards protect against pathogens like Staphylococcus aureus that can develop in improperly handled meats.
Step-by-Step Cooking Process
1. Preheat and Prepare
Set oven to 325°F (163°C). Place ham on rack in roasting pan with 1¼ cups of liquid (water, broth, or apple juice). For spiral-cut hams, place cut-side down. Cover tightly with heavy-duty aluminum foil.
2. Calculate Exact Cooking Time
Multiply ham weight by minutes per pound from our timing chart. Example: A 10-pound pre-cooked ham needs 120-150 minutes (10 x 12-15 minutes). Always verify with a thermometer regardless of timing.
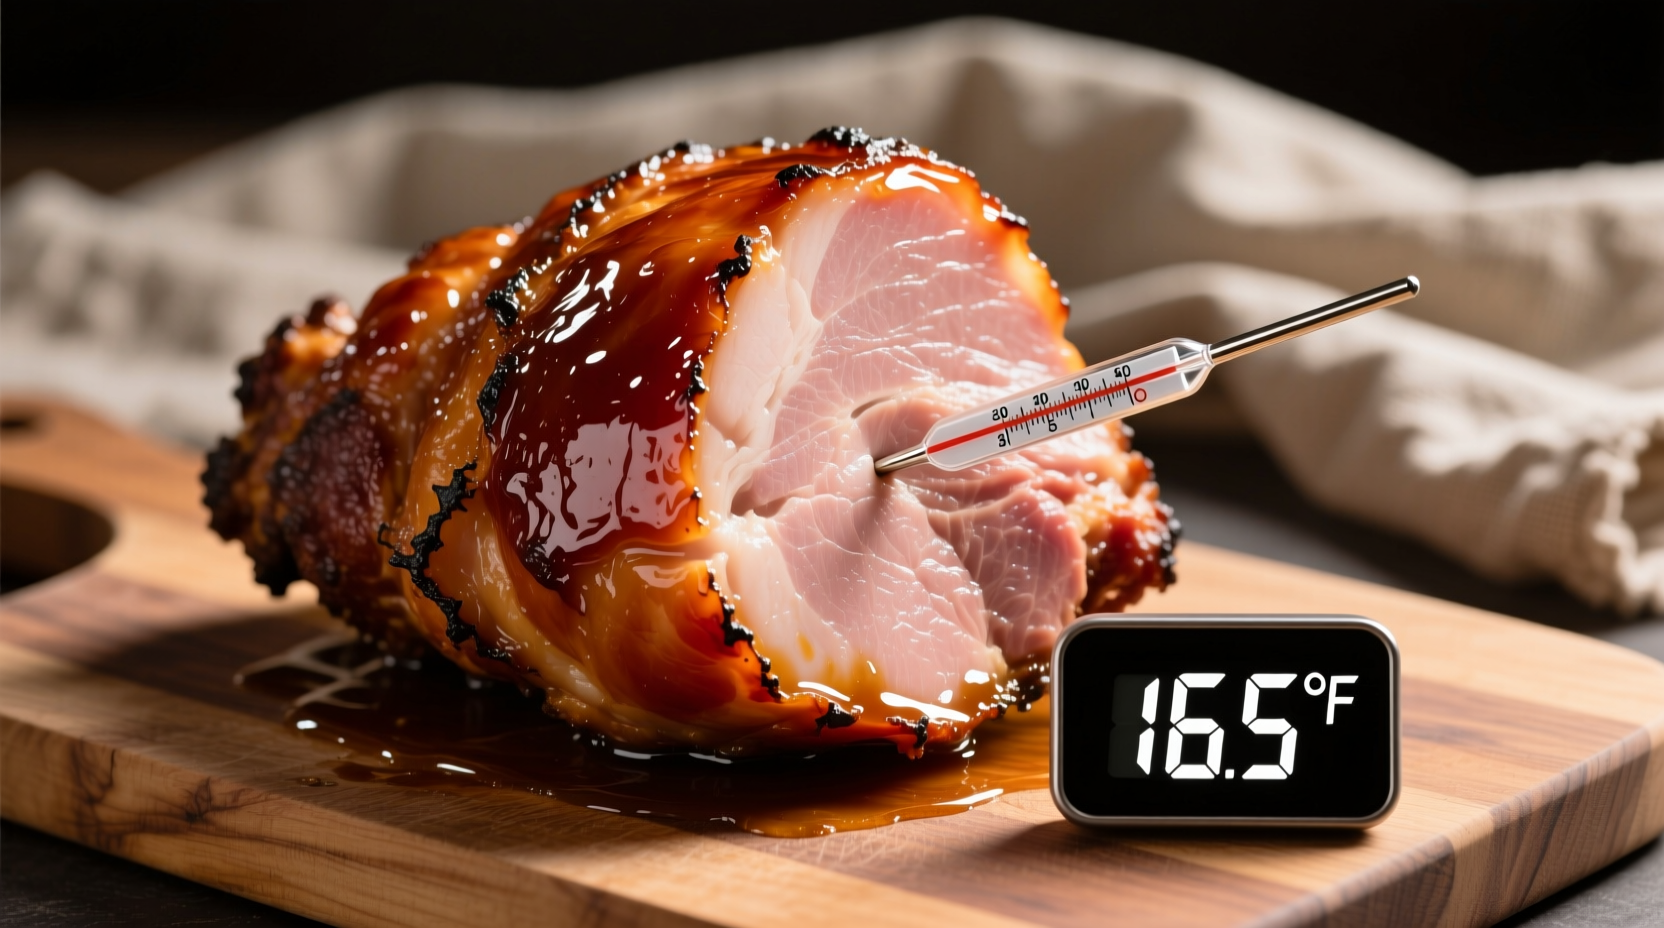
3. Monitor Internal Temperature
Insert meat thermometer into thickest part, avoiding bone. Check temperature 30 minutes before expected finish time. Pre-cooked hams reach 140°F faster than fresh hams reach 145°F due to their head start.
4. Glaze Application Timing
Add glaze during the final 20-30 minutes of cooking. Earlier application causes burning. For spiral-cut hams, pour glaze over top and let it seep into cuts. Baste every 10 minutes for optimal flavor penetration.
5. Essential Resting Period
Remove ham from oven when 5°F below target temperature (carryover cooking will finish the process). Tent loosely with foil and rest 15-20 minutes before carving. This allows juices to redistribute, preventing dryness.
Avoid These Common Timing Mistakes
Even experienced cooks make these errors that compromise ham quality:
- Overlooking ham orientation - Spiral-cut hams must sit cut-side down to prevent moisture loss
- Ignoring oven hot spots - Rotate pan halfway through cooking for even heating
- Misjudging glaze timing - Sugars burn quickly at high temperatures
- Skipping the rest period - Cutting too soon releases precious juices
- Trusting time over temperature - Thermometer verification is non-negotiable
Special Considerations for Different Cooking Methods
While conventional ovens remain standard, alternative methods require timing adjustments:
- Slow Cooker - Cook pre-cooked ham on LOW for 2-3 hours per pound (no added liquid needed)
- Grill - Use indirect heat at 300-325°F; add 25% more time than oven cooking
- Convection Oven - Reduce temperature by 25°F and check 25% earlier than standard timing
Remember that bone-in hams cook slightly faster than boneless varieties of the same weight due to heat conduction through the bone. Always position the thermometer away from bone for accurate readings.
When Standard Timing Doesn't Apply
These situations require modified approaches:
- Partially frozen ham - Add 50% more cooking time; never cook completely frozen ham
- Very large hams (over 15 lbs) - Cook at 300°F for first 2 hours, then 325°F to prevent exterior drying
- Leftover ham reheating - Only heat to 135°F to maintain moisture
- Smoked ham - Treat as pre-cooked but monitor closely as smoke can accelerate surface drying
Professional kitchens always prioritize temperature over time. As Antonio Rodriguez explains, “The clock is just a guideline—your thermometer is the final authority. Ham texture transforms dramatically between 135°F and 145°F, so precise monitoring separates good ham from great ham.”


 浙公网安备
33010002000092号
浙公网安备
33010002000092号 浙B2-20120091-4