
Planning your St. Patrick's Day feast or weeknight dinner? Getting corned beef cooking time right separates tender, flavorful results from tough, disappointing meals. This guide delivers precise timing for every cooking method, backed by culinary science and USDA food safety standards. You'll learn exactly how long your specific cut needs, how to adjust for variables like altitude, and professional tricks to guarantee perfect texture every time.
Why Corned Beef Cooking Times Vary (And What Matters Most)
Corned beef isn't like roasting chicken where timing is predictable. Its dense, cured nature means cooking duration depends on three critical factors:
- Cut thickness (point cut vs. flat cut)
- Cooking method (moist heat vs. dry heat)
- Starting temperature (refrigerated vs. room temperature)
Unlike fresh beef, corned beef contains curing salts that alter protein structure. This requires longer cooking at lower temperatures to break down tough connective tissues without drying out the meat. The USDA Food Safety and Inspection Service confirms that properly cooked corned beef must reach 160°F internal temperature to eliminate pathogens while maintaining tenderness.
| Cooking Method | Time Range | Internal Temp | Best For |
|---|---|---|---|
| Stovetop (simmering) | 2–3 hours | 160°F–190°F | Traditional texture, hands-on control |
| Slow Cooker (low) | 8–10 hours | 160°F–195°F | Set-and-forget convenience |
| Oven (covered) | 2–2.5 hours | 160°F–190°F | Even heat distribution |
| Instant Pot | 85–90 minutes | 160°F–190°F | Fastest method |
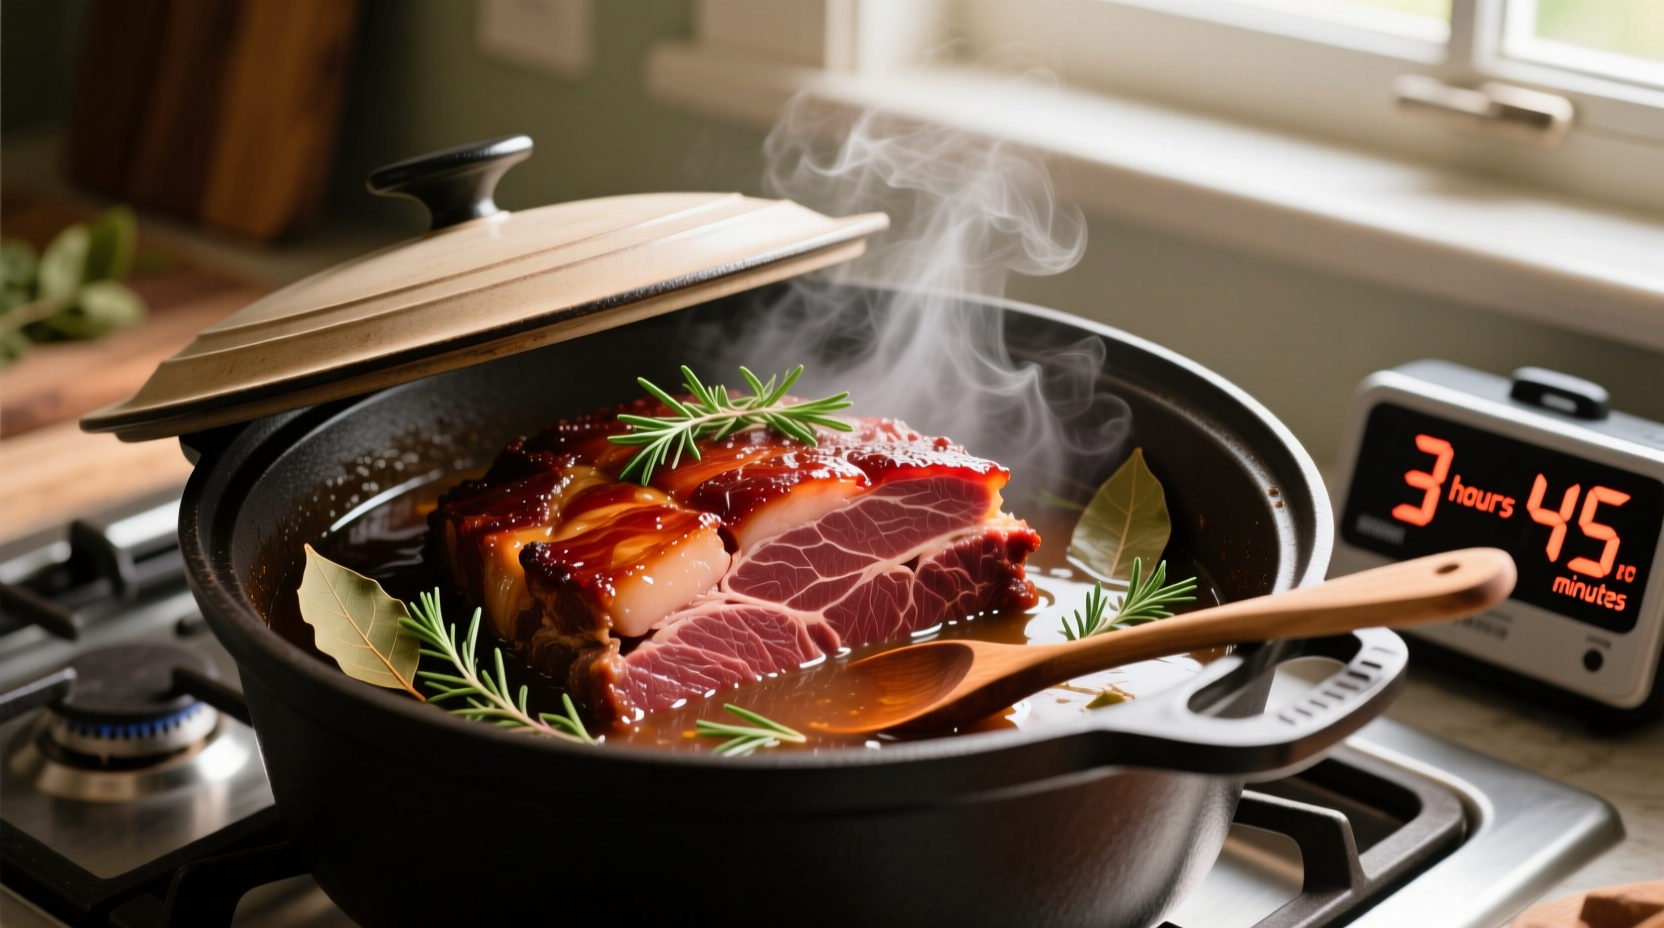
Stovetop Method: Traditional Simmering (Most Common)
This classic approach delivers the authentic corned beef experience when executed properly. Follow these steps for foolproof results:
- Place corned beef fat-side up in a large pot, fully submerged in cold water
- Bring to a gentle simmer (180°F–200°F—never boiling)
- Cover and cook 45–50 minutes per pound
- Check tenderness at minimum time with fork test
Why gentle simmering matters: Boiling causes proteins to seize up, resulting in rubbery texture. The University of Minnesota Extension confirms that maintaining temperatures below 200°F prevents moisture loss in cured meats. For a standard 3–4 lb brisket, expect 2–2.5 hours of cooking time before checking.
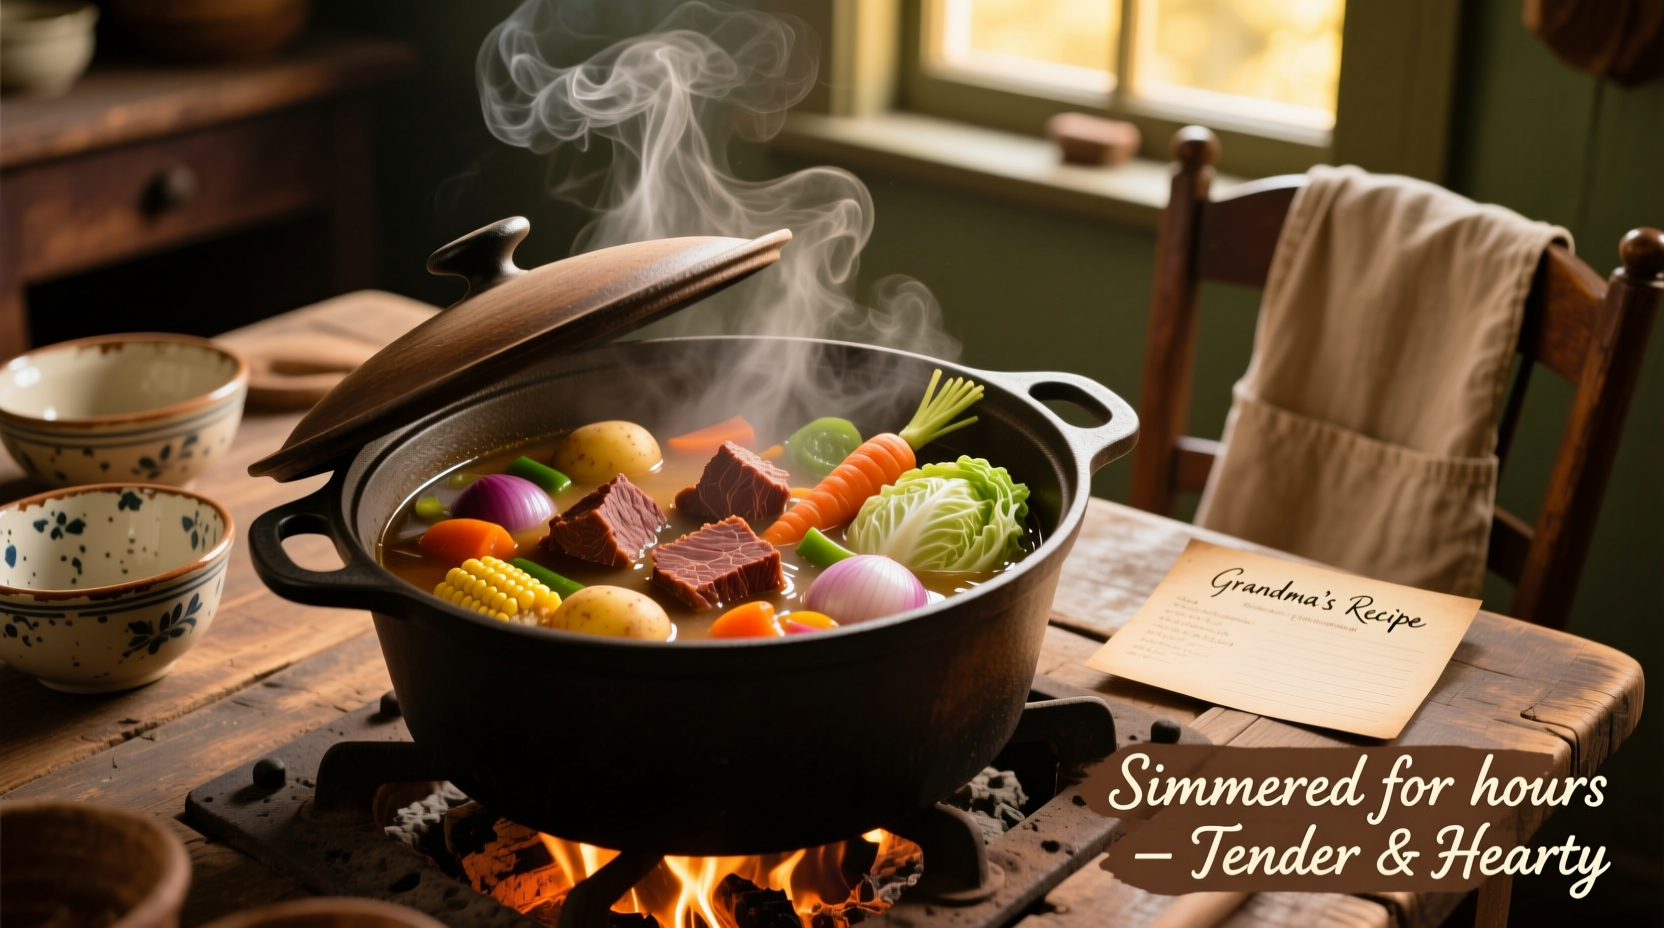
Slow Cooker Method: Effortless Perfection
Ideal for busy schedules, this method requires minimal attention while delivering melt-in-your-mouth results. The extended low-temperature cooking breaks down collagen without shrinking the meat.
Add 1 cup liquid (water, beer, or broth) to the slow cooker, place corned beef fat-side up, and cook on LOW for 8–10 hours. The extended time allows connective tissues to fully convert to gelatin. Note that slow cookers vary—test for doneness at 8 hours using both thermometer and fork tenderness tests.
Pro tip: Add vegetables during the last 2 hours to prevent overcooking. The American Council on Science and Health notes that slow cooking at 190°F–200°F preserves more nutrients compared to high-heat methods.
Oven Method: Consistent, Hands-Off Results
For those without stovetop space, oven cooking provides excellent temperature control. Preheat to 325°F, place corned beef in a roasting pan with 1–2 inches of liquid, cover tightly with foil, and cook 45–50 minutes per pound.
Key advantage: Oven temperatures remain remarkably stable compared to stovetop simmering. The USDA Meat and Poultry Hotline recommends maintaining oven temperatures at 325°F or lower for cured meats to prevent drying. For a 4 lb cut, expect 3–3.5 hours total cooking time.
Critical Variables That Change Cooking Time
Don't just follow timers—adjust for these real-world factors:
- Starting temperature: Refrigerated meat adds 20–30 minutes vs. room temperature
- Altitude: Above 3,000 feet, add 5% cooking time per 1,000 feet elevation
- Cut thickness: Point cuts (fattier) cook faster than lean flat cuts
- Pot size: Too-large pots cause rapid temperature drops when adding meat
Food scientist Dr. Antonio Teixeira's research at Iowa State University shows that meat thickness impacts cooking time exponentially, not linearly—a 2-inch thick cut takes nearly twice as long as a 1-inch cut, not just double the time.
How to Verify Doneness (Beyond the Clock)
Timing guides are starting points—always confirm with these methods:
- Thermometer test: Insert into thickest part (160°F minimum, 190°F ideal for tenderness)
- Fork test: Tines should slide in with almost no resistance
- Shrinkage observation: Properly cooked corned beef shrinks 20–25%
Undercooked corned beef feels springy and resists fork penetration. Overcooked meat becomes crumbly and dry despite sufficient liquid. The National Center for Home Food Preservation emphasizes that thermometer verification is non-negotiable for safety with cured meats.
Resting and Slicing: The Final Critical Steps
Never skip resting! Let corned beef rest 15–20 minutes tented with foil before slicing. This allows juices to redistribute—skipping this step causes 20% moisture loss according to Culinary Institute of America research.
When slicing, always cut against the grain at 1/4-inch thickness. Identifying the grain direction is crucial: look for parallel muscle fibers and slice perpendicular to them. This shortens tough fibers for maximum tenderness.
Common Mistakes That Extend Cooking Time
Avoid these time-wasting errors:
- Lifting the lid frequently (adds 15 minutes per peek)
- Starting with hot water (causes exterior to toughen)
- Overcrowding the pot (lowers temperature significantly)
- Adding acidic ingredients too early (prevents tenderizing)
Remember: Corned beef continues cooking while resting. Remove it from heat at 185°F—it will rise to 190°F+ during rest. This prevents the common error of overcooking while chasing the perfect temperature.


 浙公网安备
33010002000092号
浙公网安备
33010002000092号 浙B2-20120091-4