
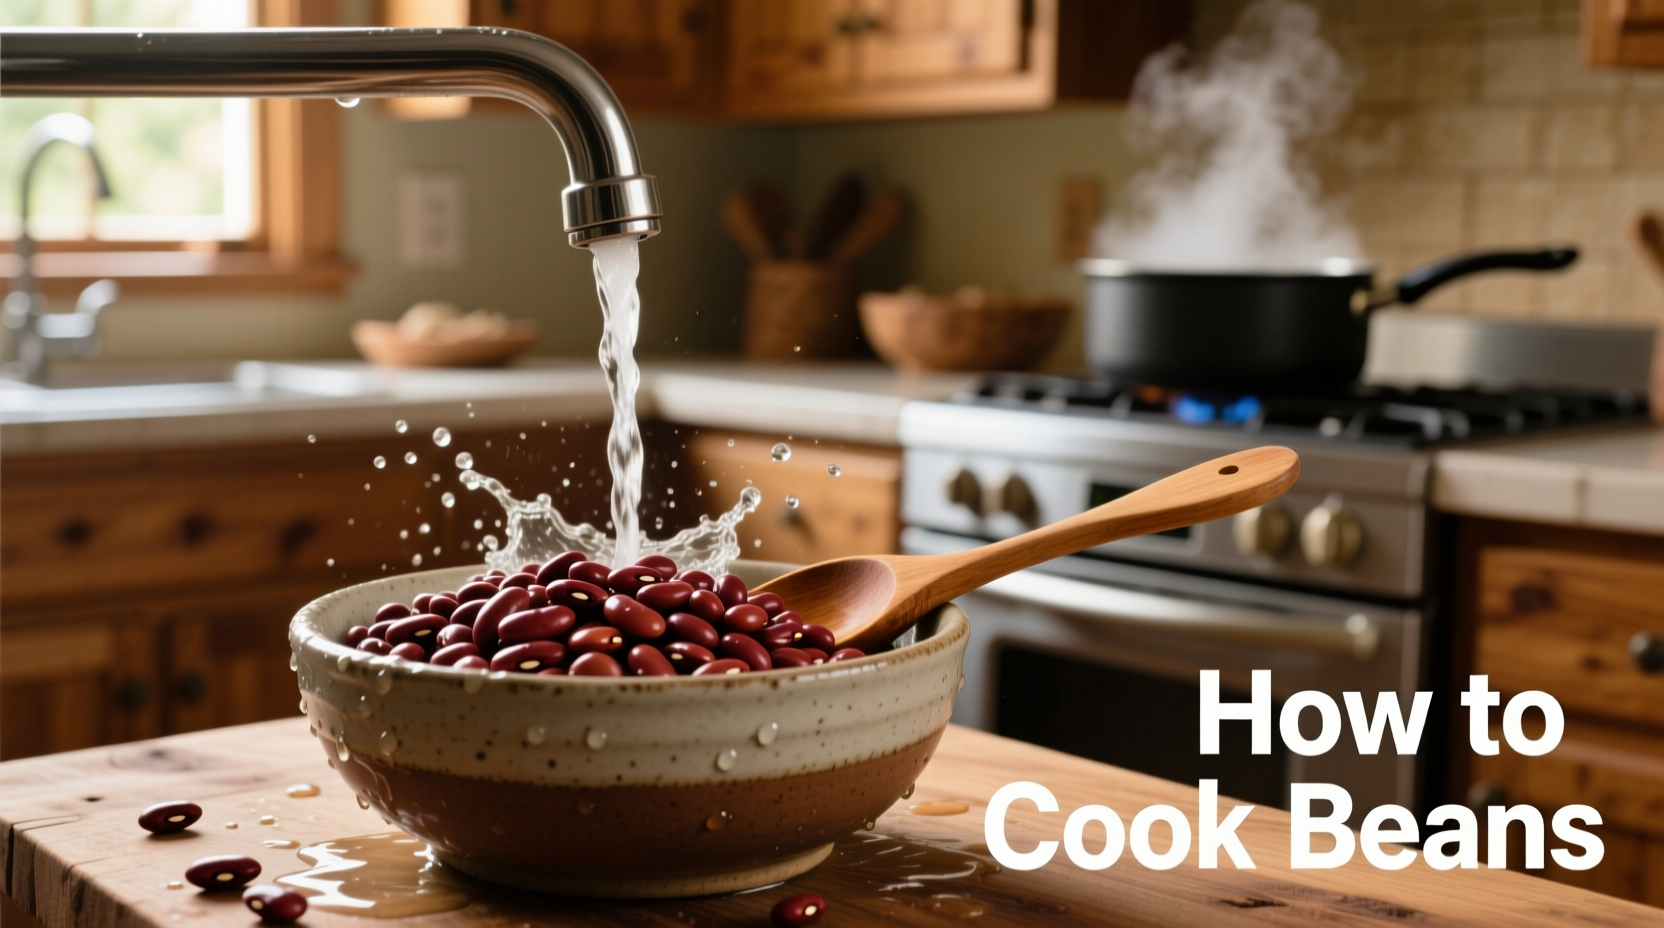
Perfectly cooked beans start with proper preparation: sort and rinse dried beans, soak for 8-12 hours (or use the quick-soak method), then simmer gently in fresh water with optional aromatics. Most beans require 45-90 minutes of cooking after soaking. Never add acidic ingredients until beans are fully tender, as this prevents softening. The result? Creamy, flavorful beans that surpass canned alternatives in texture and taste.
There's nothing quite like a pot of perfectly cooked beans—creamy on the inside, intact on the outside, and bursting with flavor. Yet many home cooks struggle with beans that never soften, turn mushy, or lack depth of flavor. The good news? Mastering bean preparation is simpler than you think, and the results are worth the minimal effort compared to canned alternatives.
Why Your Beans Haven't Been Turning Out Right
Before we dive into the perfect method, let's address common pitfalls that sabotage bean cooking:
- Old beans - Beans stored longer than 12 months lose moisture and won't soften properly
- Hard water - Minerals in tap water can prevent softening (use filtered water if needed)
- Acid added too early - Vinegar, tomatoes, or wine added before beans are tender blocks softening
- Salt timing confusion - Contrary to old myths, salt can be added at the beginning without preventing softening
According to USDA food safety guidelines, properly cooked beans reach an internal temperature of 165°F (74°C), which destroys lectins that can cause digestive issues in undercooked beans. This is why thorough cooking matters beyond just texture.
Your Step-by-Step Bean Cooking Roadmap
Step 1: Select and Prepare Your Beans
Start with high-quality dried beans from a store with good turnover. Spread them on a light-colored surface to spot any stones or debris. Rinse thoroughly under cold water in a colander.
Step 2: Choose Your Soaking Method
Traditional soak: Cover sorted beans with 3 inches of cold water and soak 8-12 hours at room temperature. Drain and rinse before cooking.
Quick soak: Cover beans with 3 inches of water, bring to boil for 2 minutes, then remove from heat, cover, and let sit for 1 hour. Drain and rinse.
Step 3: Cook with Precision
Place soaked beans in a large pot with fresh water (3 cups water per 1 cup beans). Add aromatics like onion, garlic, or bay leaves. Bring to a gentle simmer—not a rolling boil—to prevent splitting.
Step 4: Season at the Right Time
Add salt (1½ teaspoons per pound of dried beans) when beans are halfway cooked. Wait to add acidic ingredients like tomatoes or vinegar until beans are fully tender. This timing prevents toughening while allowing flavors to penetrate.
Step 5: Test for Perfect Doneness
Begin checking beans 15 minutes before expected cooking time. Perfectly cooked beans should be uniformly tender with no hard center, but still hold their shape. Remove from heat immediately when done to prevent overcooking.
| Bean Type | Soaking Time | Cooking Time | Special Notes |
|---|---|---|---|
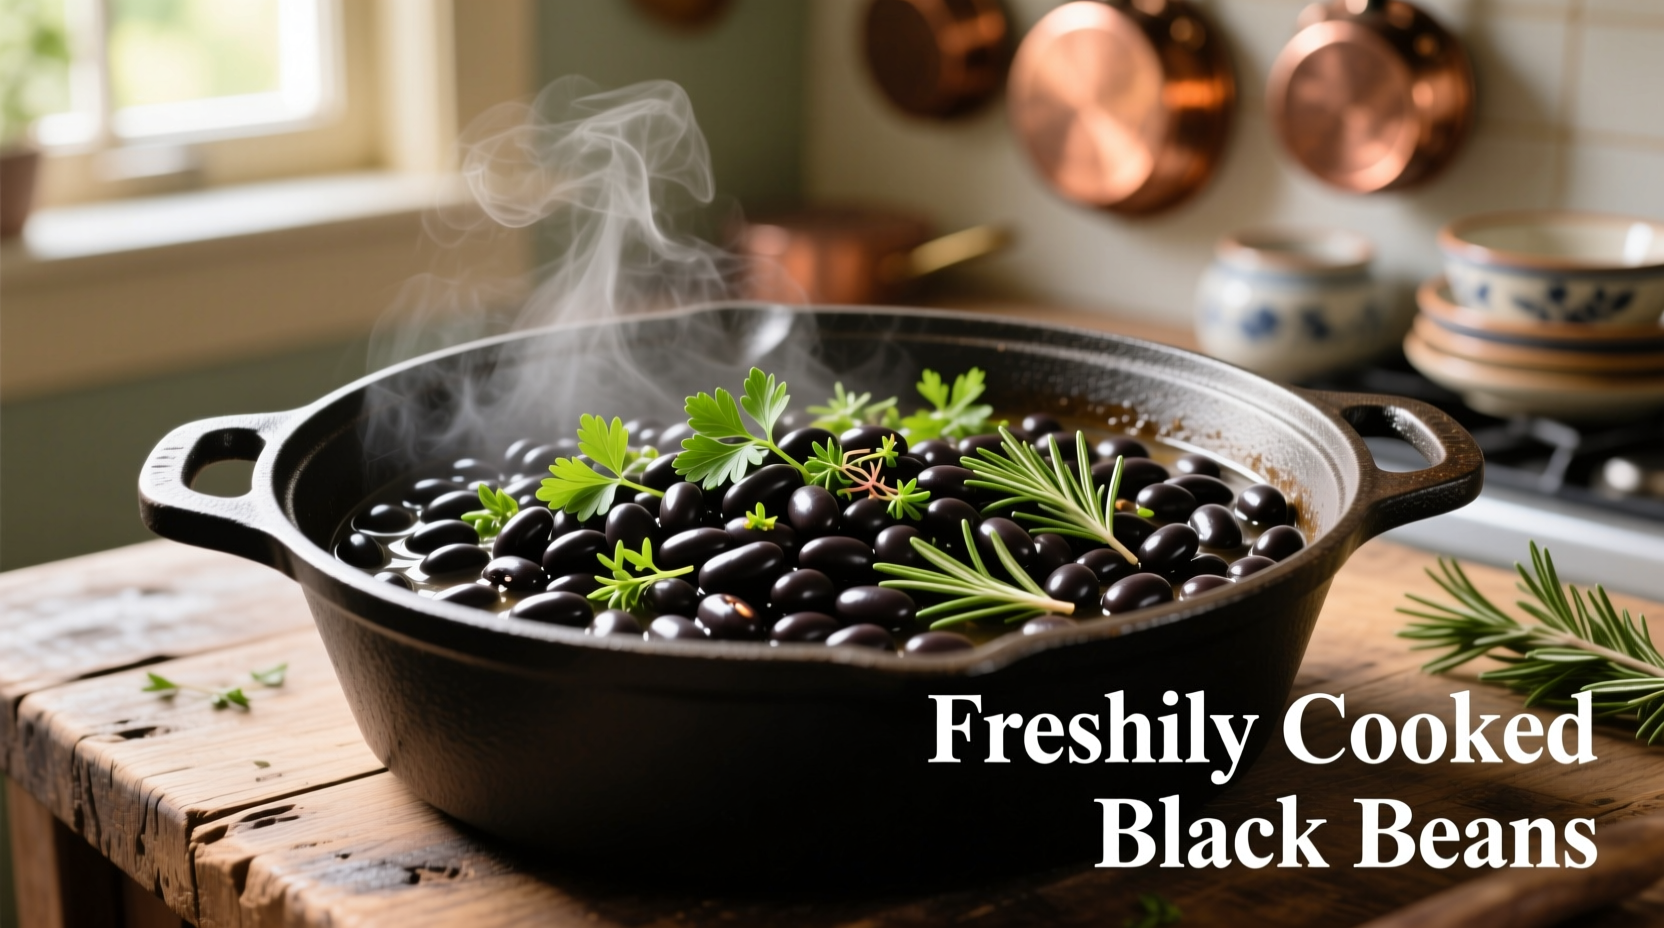
| Black Beans | 8-12 hours | 45-60 minutes | Add epazote for traditional flavor and digestibility |
| Kidney Beans | 8-12 hours | 50-75 minutes | Must boil 10 minutes first to destroy toxins |
| Chickpeas | 12-24 hours | 60-90 minutes | Add baking soda to soak water for creamier texture |
| Lentils | No soak needed | 20-30 minutes | Rinse well; don't overcook as they become mushy |
Troubleshooting Common Bean Problems
Beans Remain Hard After Cooking
If your beans won't soften despite proper cooking time:
- Check bean age—older beans may never soften properly
- Test your water hardness—use filtered water for problematic tap water
- Ensure you didn't add acid too early in the cooking process
- Try adding a pinch of baking soda to the cooking water (½ teaspoon per pound of beans)
Managing Foam and Scum
During the first 10 minutes of cooking, beans release a foamy scum. Skim this off with a spoon for clearer cooking liquid and better texture. This foam contains oligosaccharides that contribute to gas production, so removing it can improve digestibility.
Enhancing Flavor and Digestibility
Professional chefs use several techniques to elevate simple beans:
- Build flavor from the start - Sauté aromatics like onion, garlic, and celery before adding beans and water
- Add kombu seaweed - A 2-inch strip improves digestibility and adds minerals
- Finish with quality fat - Stir in olive oil or bacon fat after cooking for richness
- Reserve cooking liquid - This starchy "pot liquor" is excellent for soups and stews
Research from Cornell University's Food Science Department shows that proper soaking reduces cooking time by 25% and improves nutrient availability. The traditional soaking method also reduces oligosaccharides by up to 30%, decreasing digestive discomfort.
Storing and Using Cooked Beans
Cooked beans keep well for meal prep. Cool completely, then store in their cooking liquid:
- Refrigerator: Up to 5 days in airtight container
- Freezer: Up to 6 months in portion-sized containers
The cooking liquid contains valuable starches and flavors—don't discard it! Use it as a base for soups, stews, or to adjust consistency in bean dishes. For firmer beans (like in salads), drain and rinse before storing.
From Basic to Brilliant: Simple Bean Recipes
Transform your perfectly cooked beans into these quick meals:
- Creamy Bean Dip - Blend 2 cups beans with 1 garlic clove, lemon juice, and olive oil
- Bean Salad - Toss cooled beans with diced vegetables, herbs, and vinaigrette
- Hearty Soup - Add beans to vegetable broth with greens and aromatics
Mastering basic bean preparation opens doors to countless global cuisines—from Mexican frijoles to Italian pasta e fagioli. With practice, you'll develop an intuitive sense for when beans have reached that perfect tender-but-intact texture that makes homemade beans superior to canned.


 浙公网安备
33010002000092号
浙公网安备
33010002000092号 浙B2-20120091-4