
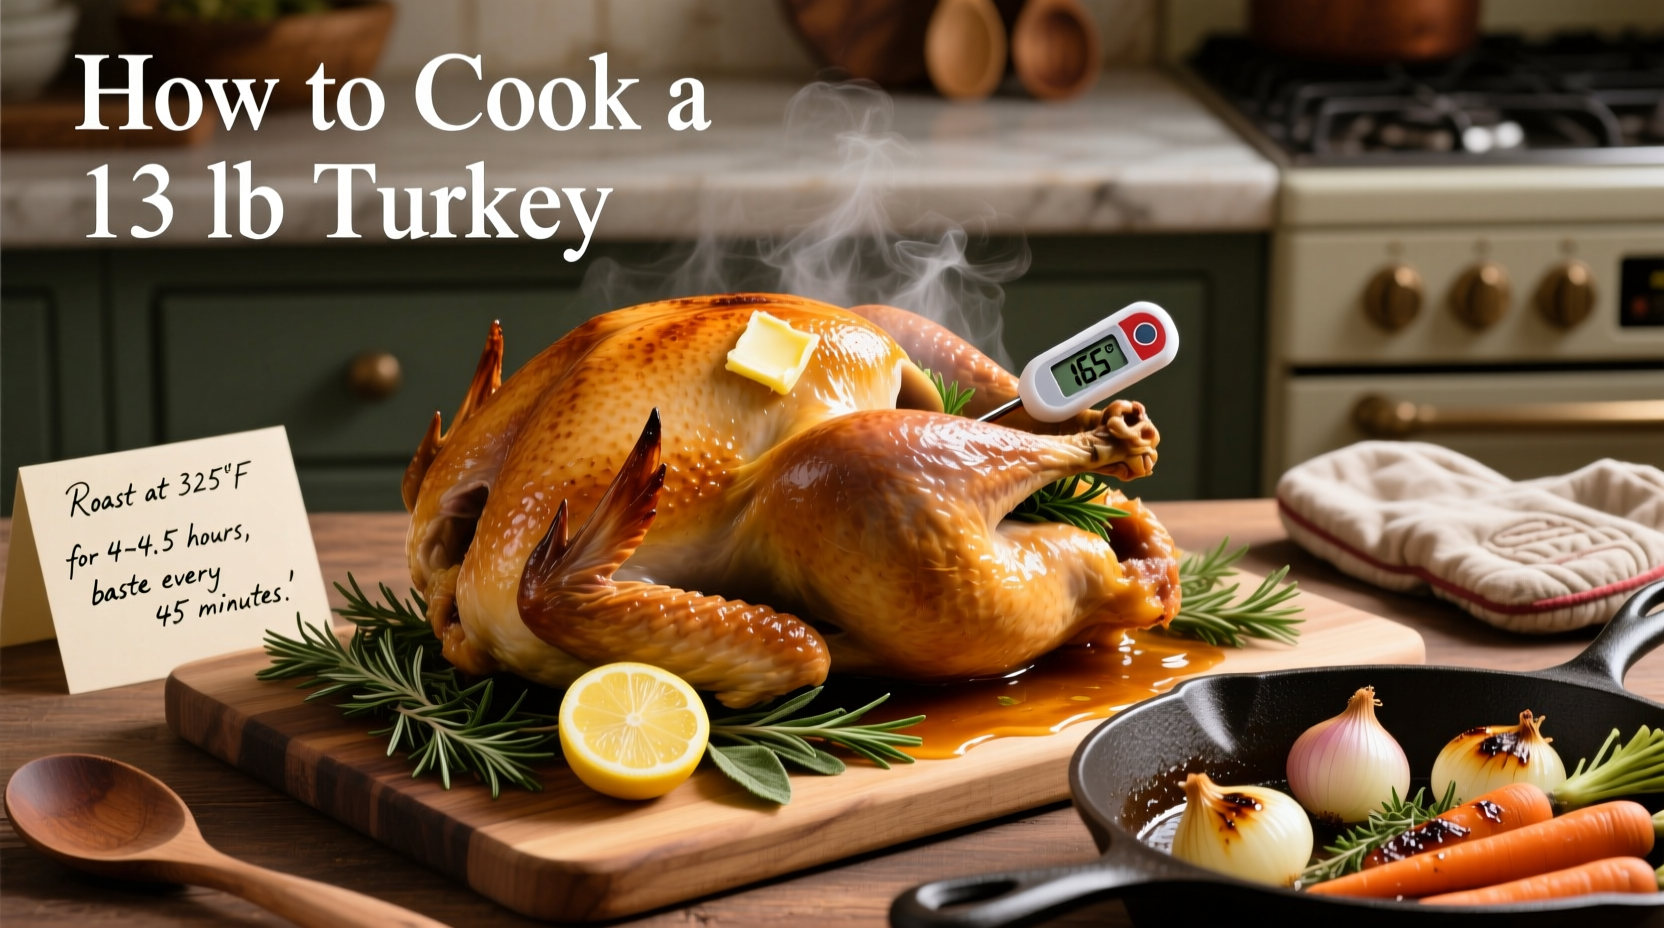
Roast a 13 lb turkey perfectly by cooking it at 325°F for approximately 3–3.5 hours until the internal temperature reaches 165°F in the thickest parts of the breast and thigh. Always thaw completely before cooking and allow 30–45 minutes of resting time before carving for juiciest results.
Your Complete Guide to Cooking a 13-Pound Turkey Perfectly
Cooking a 13-pound turkey seems intimidating, but with the right approach, you'll serve a moist, flavorful centerpiece that impresses everyone at your table. This comprehensive guide walks you through every step—from proper thawing to perfect carving—with precise timing and professional techniques that guarantee success.Why a 13-Pound Turkey Requires Special Attention
A 13-pound bird sits at the sweet spot between small and large turkeys—big enough to feed 10–12 people but small enough to cook evenly without drying out. Unlike smaller turkeys that cook too quickly or larger ones requiring complex temperature management, a 13 lb turkey follows straightforward timing guidelines while still demanding careful attention to temperature and resting.
Thawing Timeline: The Critical First Step
Never skip proper thawing—it's essential for food safety and even cooking. For a 13-pound turkey:- Refrigerator method (recommended): Allow 3 days (24 hours per 4–5 pounds)
- Cold water method: Submerge in cold water, changing every 30 minutes (3–4 hours total)
- Never thaw at room temperature – USDA Food Safety and Inspection Service warns this promotes bacterial growth in the "danger zone" (40°F–140°F)
Preparation Checklist: Setting Up for Success
Before cooking, complete these essential preparation steps:- Remove neck and giblets from cavities
- Rinse turkey thoroughly inside and out, then pat completely dry with paper towels
- Season generously with salt, pepper, and your preferred herbs (dry brining overnight yields juicier results)
- Optional: Loosen skin and rub seasoning directly on meat
- Truss legs with kitchen twine for even cooking
| Cooking Method | Time for 13 lb Turkey | Temperature | Best For |
|---|---|---|---|
| Conventional Roasting | 3–3.5 hours | 325°F | Traditional golden-brown skin |
| Convection Roasting | 2.5–3 hours | 300°F | Faster cooking, crispier skin |
| Deep Frying | 45–50 minutes | 350°F oil | Moist meat, requires outdoor setup |
Precise Cooking Instructions for Perfect Results
- Preheat oven to 325°F with rack in lower third position
- Place turkey breast-side up on rack in roasting pan
- Insert meat thermometer into thickest part of breast (avoiding bone)
- Cook uncovered for first 2 hours, then loosely tent with foil if browning too quickly
- Check temperature after 2.5 hours—continue cooking until breast reaches 160°F and thigh reaches 165°F
- Calculate remaining time using the 13-minute-per-pound guideline after the initial 2 hours
Temperature Safety Guidelines You Must Follow
The USDA Food Safety and Inspection Service specifies critical temperature requirements:- Minimum safe internal temperature: 165°F in breast and thigh
- Never partially cook and finish later—this creates food safety risks
- Stuffing must reach 165°F when cooked inside turkey
- Leftovers must be refrigerated within 2 hours of cooking
The Essential Resting Period: Why You Can't Skip This
After removing from oven, let your turkey rest for 30–45 minutes before carving. This critical step:- Allows juices to redistribute throughout the meat
- Raises internal temperature 5–10 degrees (carryover cooking)
- Prevents dry, stringy meat when carving
- Gives you time to prepare gravy and side dishes
Troubleshooting Common Turkey Problems
Dry breast meat? Next time, try cooking breast-side down for first hour or using a salt rub 24 hours in advance. Undercooked thighs? When breast reaches 160°F but thighs are below 165°F, cover breast with foil and continue cooking thighs only. Bland flavor? For deeper seasoning, inject a herb butter mixture under the skin before roasting. Skin not crispy? Increase oven temperature to 425°F for final 15 minutes of cooking (watch carefully to prevent burning).Carving Like a Pro: Getting Perfect Slices
- Remove legs and thighs by cutting through hip joints
- Separate drumsticks from thighs with one clean cut
- Slice breast meat against the grain in 1/4-inch slices
- Angle knife slightly for wider, more attractive slices
- Arrange on platter with thighs and drumsticks for presentation


 浙公网安备
33010002000092号
浙公网安备
33010002000092号 浙B2-20120091-4