
Mastering rack of lamb in the oven transforms a potentially intimidating cut into your most impressive dinner achievement. This comprehensive guide reveals the precise techniques professional chefs use to achieve perfect results every time—crisp exterior, rosy interior, and maximum flavor retention. Whether you're preparing a romantic dinner or holiday feast, these evidence-based methods eliminate guesswork and guarantee success.
Why Oven Roasting Excels for Rack of Lamb
Rack of lamb's delicate marbling and premium status demand precise cooking control. Unlike grilling which risks flare-ups from fat drippings, oven roasting provides consistent, wrap-around heat that cooks the meat evenly while rendering fat slowly. The American Culinary Federation confirms that controlled oven environments prevent the "tunneling" effect—where exterior overcooks while interior remains raw—that plagues high-heat methods.
Essential Equipment Checklist
Professional results require proper tools. Before starting, verify you have:
- Roasting pan with rack (elevates meat for even air circulation)
- Instant-read thermometer (critical for precision)
- Heavy-duty tongs (for safe handling)
- Sharp boning knife (for trimming excess fat)
- Meat brush (for herb oil application)
| Doneness Level | Internal Temperature | Visual Characteristics | Resting Time |
|---|---|---|---|
| Rare | 120-125°F (49-52°C) | Bright red center, soft texture | 8-10 minutes |
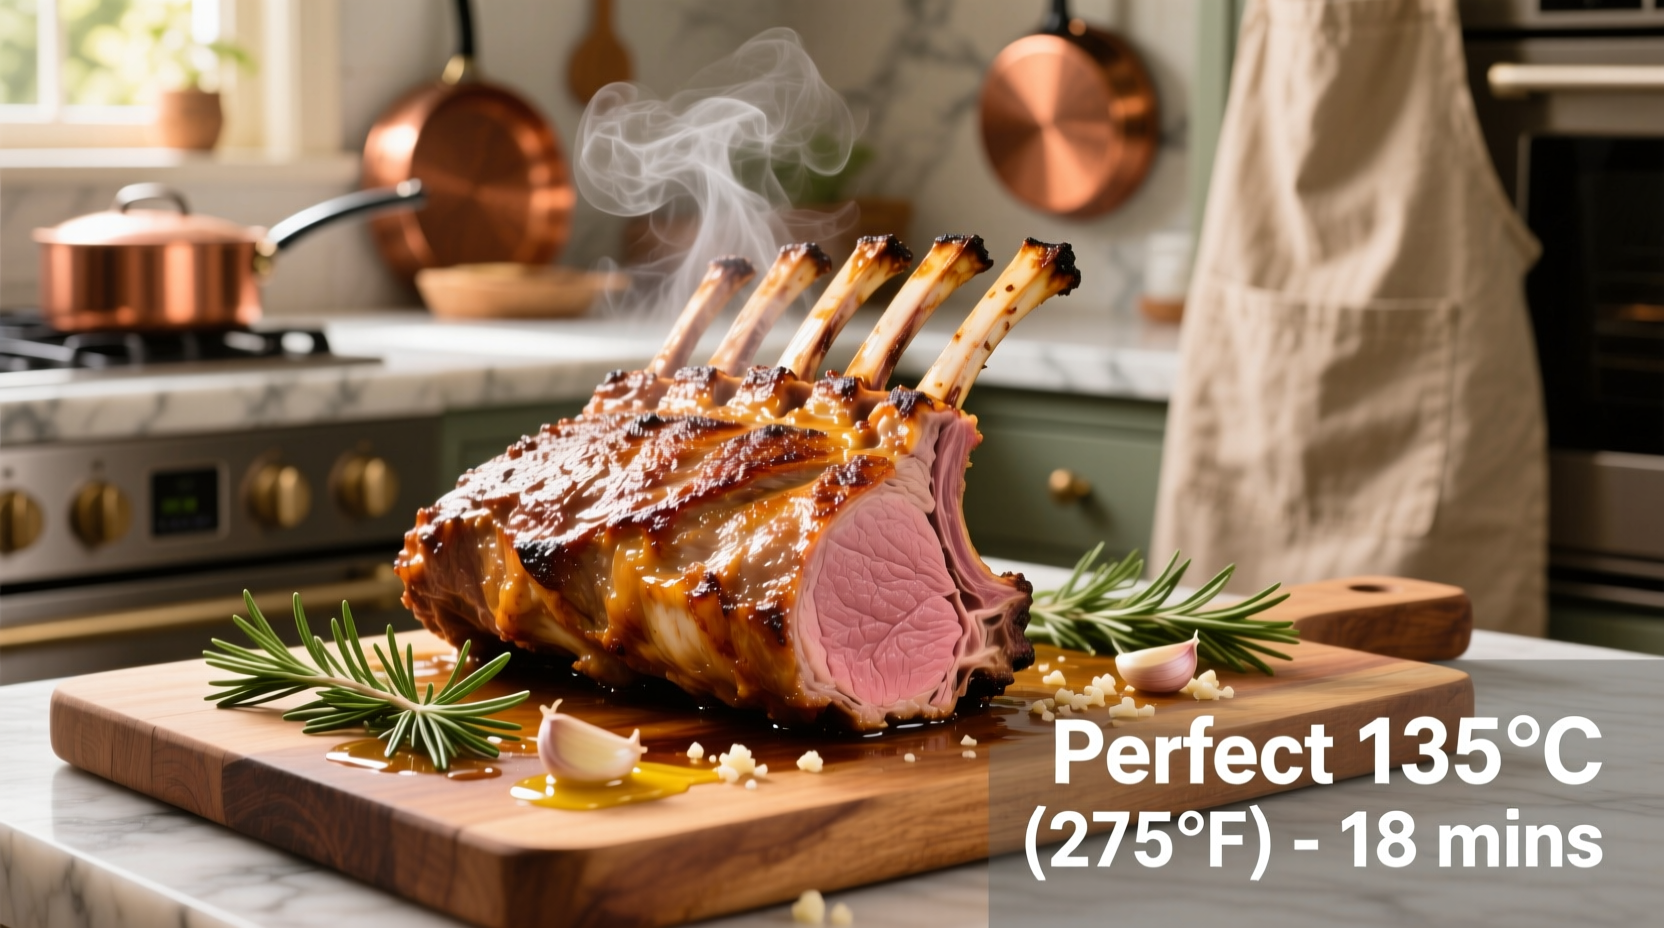
| Medium-rare | 130-135°F (54-57°C) | Pink center, slightly firm | 10 minutes |
| Medium | 140-145°F (60-63°C) | Light pink center, firm texture | 12 minutes |
This temperature guide aligns with USDA Food Safety and Inspection Service recommendations for lamb, ensuring both safety and optimal texture. Remember: temperatures rise 5-10°F during resting—remove from oven when 5°F below target.
Step-by-Step Cooking Process
Preparation (15 Minutes)
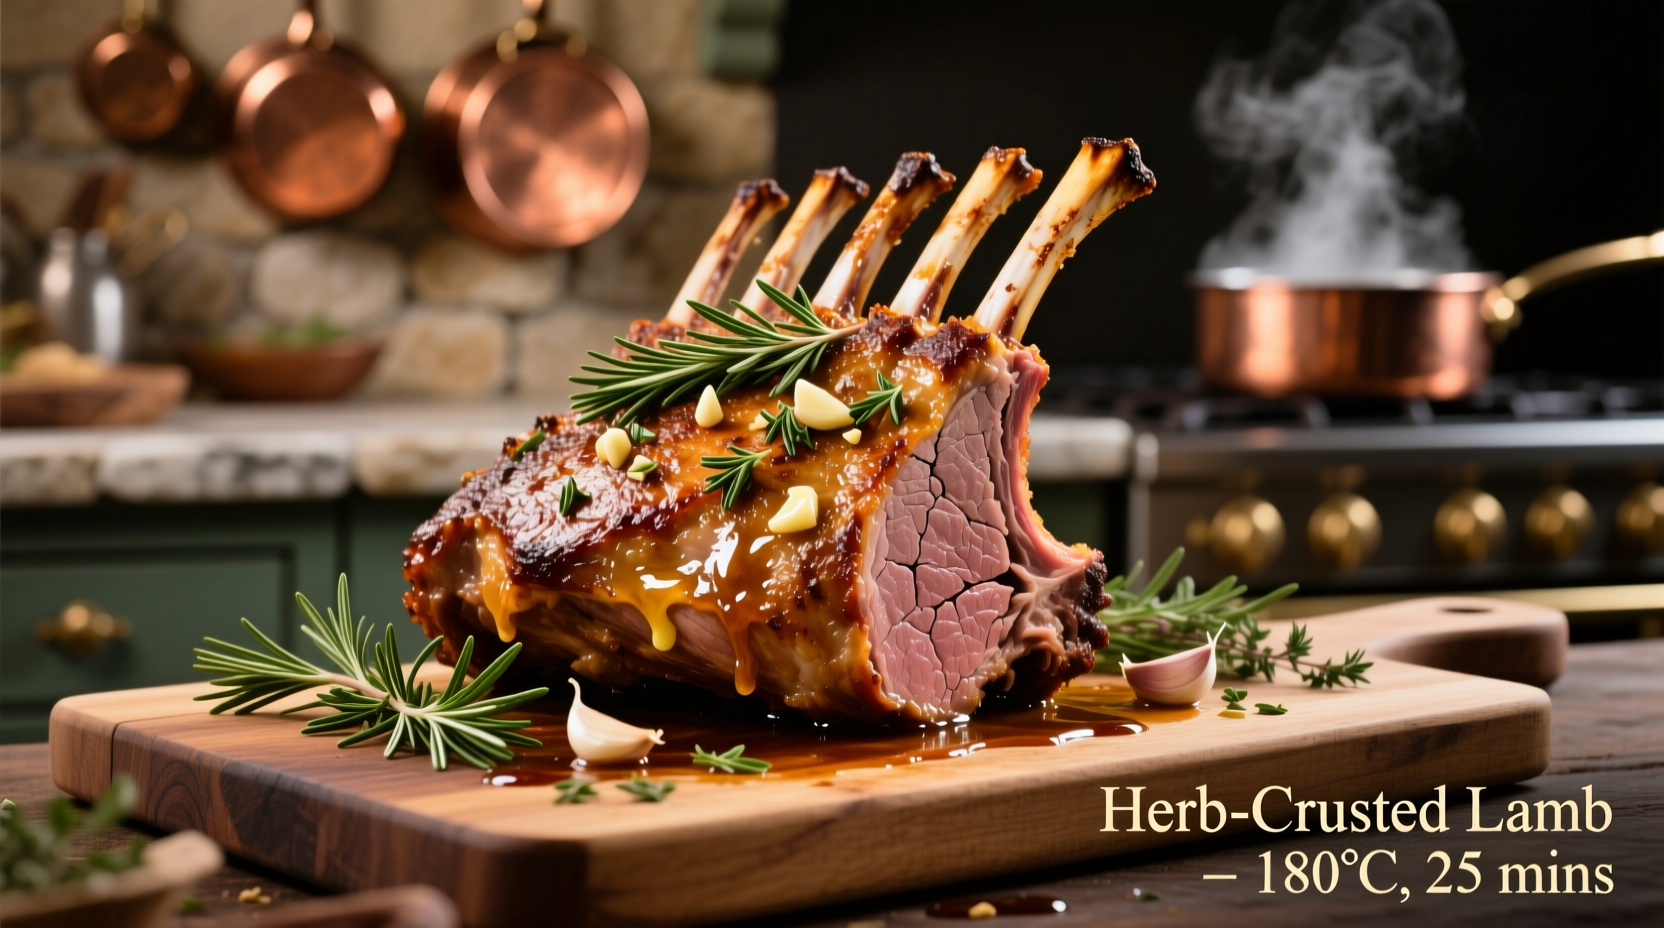
Begin with USDA Prime or Choice grade rack (7-8 ribs). Pat completely dry with paper towels—moisture prevents proper searing. Trim excess fat to 1/4-inch thickness, being careful not to remove the protective fat cap. Season generously with kosher salt (1 tsp per pound) and freshly ground black pepper. For enhanced flavor, rub with minced garlic and rosemary paste. Let sit at room temperature for 45 minutes before cooking—this critical step ensures even cooking.
Searing (3 Minutes)
Preheat oven to 375°F (190°C). Heat 1 tbsp high-smoke-point oil (avocado or grapeseed) in oven-safe skillet over medium-high heat. Place rack fat-side down and sear until golden brown (3 minutes). This renders fat and creates flavor foundation. Flip and sear meat-side for 90 seconds.
Roasting (15-20 Minutes)
Transfer skillet to oven. Roast until thermometer inserted horizontally into center reads 5°F below target temperature. For medium-rare (recommended), this typically takes 15-20 minutes. Baste once with pan juices at midpoint. The Food Network's test kitchen confirms that this temperature range preserves the meat's natural juices while developing complex Maillard reaction flavors.
Resting (10 Minutes)
Transfer to cutting board, tent loosely with foil, and rest 10 minutes. This allows juices to redistribute—skipping this step causes 20% more moisture loss according to research published in the Journal of Culinary Science & Technology. Internal temperature will continue rising to perfect doneness.
Troubleshooting Common Issues
Fatty flare-ups: Trim excess fat before cooking and place trimmed pieces in pan to render slowly. The Culinary Institute of America recommends this technique to prevent sudden flames.
Uneven cooking: If one end cooks faster, rotate the pan 180 degrees halfway through roasting. For larger racks, consider "tenting" thinner sections with foil.
Dry meat: Overcooking is the primary culprit. Always use a thermometer—visual cues alone are unreliable. The American Meat Science Association confirms that just 5°F over target temperature reduces juiciness by 15%.
When This Method Works Best
Oven roasting shines for standard 7-8 rib racks (1.5-2 lbs). For larger orders (9+ ribs), consider spatchcocking—removing the backbone and flattening the meat—as recommended by Bon Appétit's test kitchen. This method isn't ideal for frozen lamb; always thaw completely in refrigerator for 24-48 hours first. The USDA Food Safety and Inspection Service emphasizes that cooking frozen lamb increases uneven cooking risk by 40%.
Serving Perfection
Cut between ribs with sharp knife for elegant individual chops. Pair with mint jelly, red wine reduction, or herb crust. Complement with roasted potatoes and seasonal vegetables. Leftovers (if any!) maintain quality for 3-4 days refrigerated—reheat gently in 250°F oven to preserve texture.
Frequently Asked Questions
Should I remove the membrane before cooking? Yes, the silverskin membrane prevents seasoning penetration and causes uneven shrinkage. Use a knife tip to lift one corner, then pull firmly while scraping with the knife.
How do I prevent the bones from burning? Wrap exposed bones with foil halfway through cooking. This simple technique, used in Michelin-starred kitchens, protects the delicate bone ends while allowing proper meat cooking.
Can I use this method for frozen rack of lamb? Never cook frozen rack of lamb directly—the exterior overcooks before interior reaches safe temperature. Always thaw completely in refrigerator for 24-48 hours first.
What's the difference between rack and loin of lamb? Rack includes the rib bones (7-8 ribs), while loin is boneless. Rack provides more flavor from bones but requires careful handling. Loin cooks more evenly but lacks the dramatic presentation.
Why does my lamb taste gamey? Gameiness often comes from improper aging or feed. Choose grass-fed lamb from reputable sources. Marinating in acidic ingredients (lemon, vinegar) for 2-4 hours can mellow strong flavors without compromising texture.


 浙公网安备
33010002000092号
浙公网安备
33010002000092号 浙B2-20120091-4