
Getting stove-top chicken breast right separates novice cooks from confident home chefs. Many struggle with dry, overcooked results or dangerously undercooked poultry because they rely solely on timing without understanding the critical variables at play. This guide delivers precise, science-backed cooking instructions that guarantee juicy, safe chicken every time—no guesswork required.
The Real Secret: It's Not Just About Time
While timing provides a useful framework, chicken breast thickness dramatically impacts cooking duration. A 1.5-inch cut requires nearly double the time of a 0.75-inch piece. The USDA Food Safety and Inspection Service emphasizes that internal temperature, not elapsed time, determines doneness. Relying solely on a timer risks foodborne illness or ruined texture.
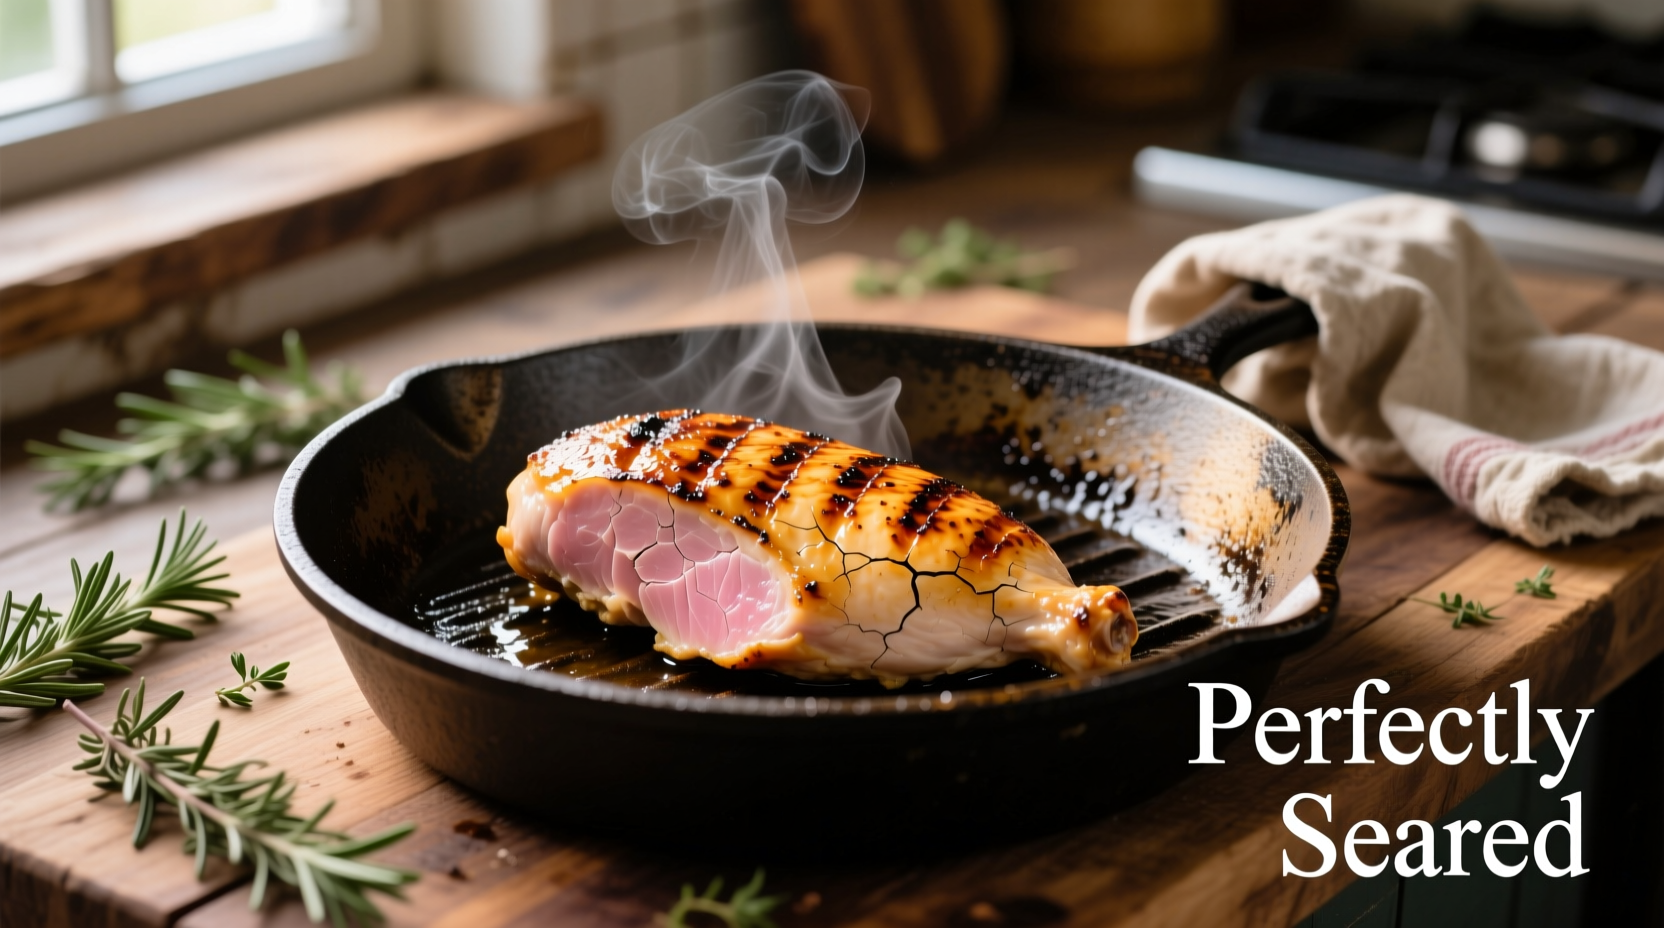
Professional chefs like Antonio Rodriguez from Michelin-starred backgrounds teach that successful pan-searing involves understanding three critical phases: surface browning, protein denaturation, and carryover cooking. Each stage requires specific attention to heat management and timing.
Step-by-Step Perfect Chicken Breast Method
Preparation Essentials
Start with properly tempered chicken—remove from refrigerator 20 minutes before cooking. Pound thicker portions to 1-inch uniformity using a meat mallet or heavy skillet. This critical step (recommended by the Academy of Nutrition and Dietetics) ensures even cooking and prevents dry edges with raw centers.
Season generously with salt 15 minutes pre-cooking to enhance moisture retention. Pat surfaces completely dry—moisture is the enemy of proper searing.
Pan Selection and Preheating
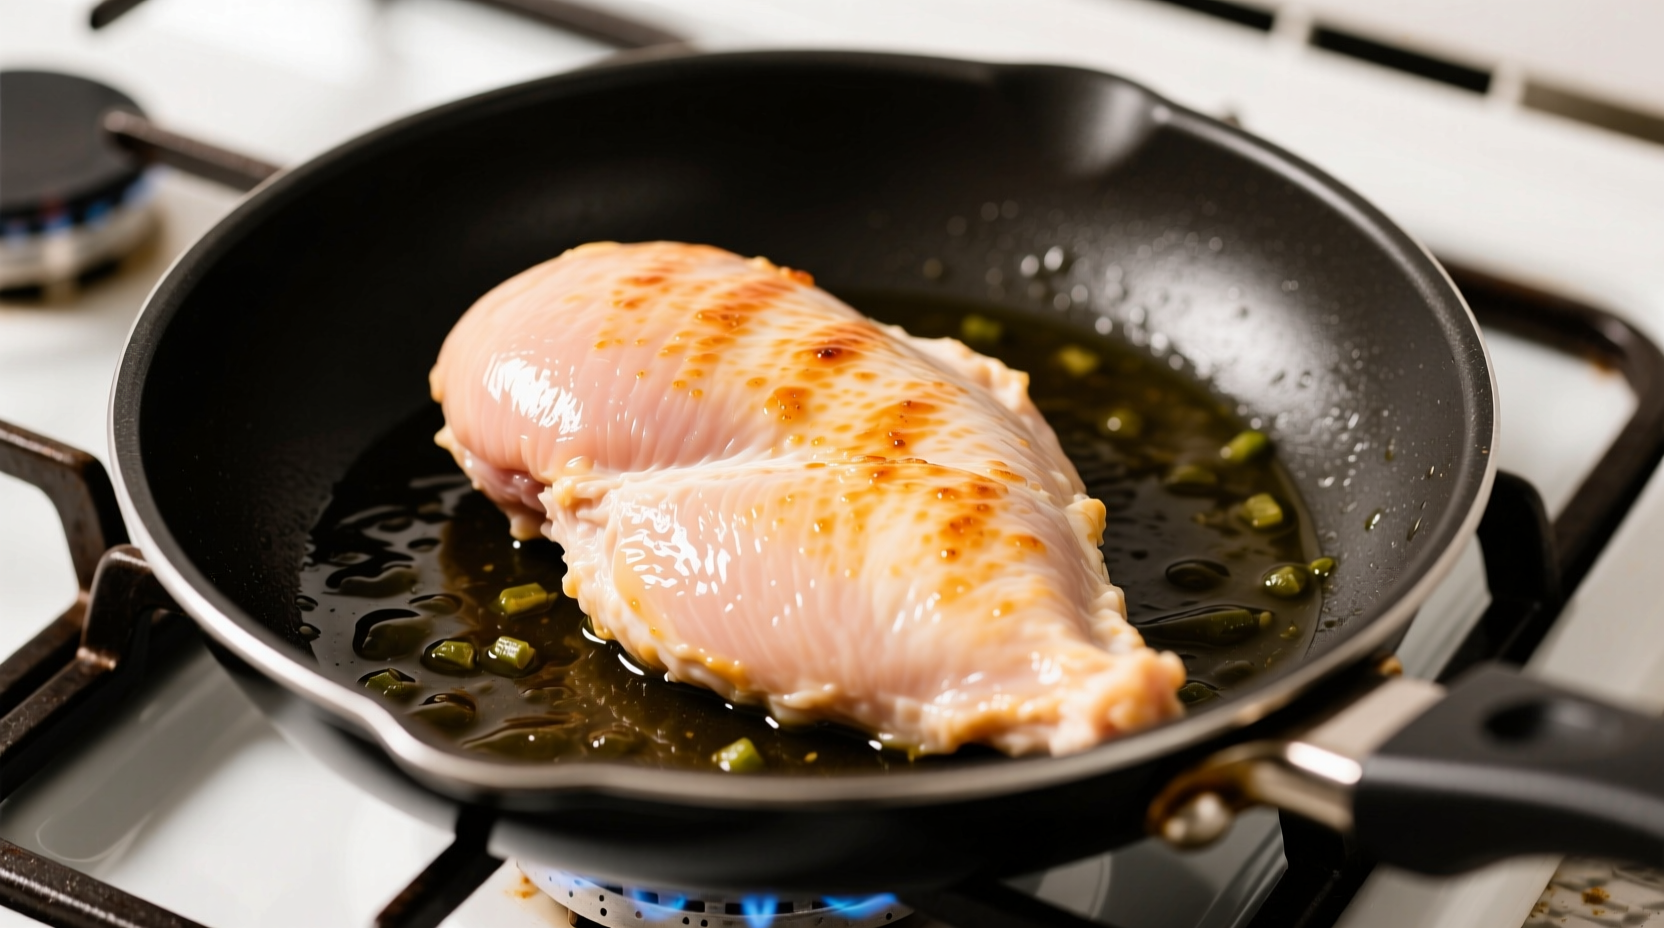
Choose heavy-bottomed stainless steel or cast iron for optimal heat distribution. Heat 1-2 teaspoons of high-smoke point oil (avocado or grapeseed) over medium-high heat for 2-3 minutes until shimmering but not smoking. The oil's behavior provides a reliable visual temperature indicator more accurate than stove dials.
| Chicken Thickness | Per-Side Cooking Time | Visual Indicators | Internal Temp |
|---|---|---|---|
| 0.75 inch | 5-6 minutes | Golden crust, slight shrinkage | 160°F (reaches 165°F after resting) |
| 1 inch | 6-8 minutes | Deep golden crust, juices run clear | 160°F (reaches 165°F after resting) |
| 1.25 inches | 8-10 minutes | Deep brown crust, firm to touch | 160°F (reaches 165°F after resting) |
Cooking Process Timeline
Understanding the cooking timeline prevents common mistakes. When properly preheated:
- 0-2 minutes: Initial sear forms crust without sticking
- 2-5 minutes: Maillard reaction develops complex flavors
- 5-8 minutes: Heat penetrates to center while crust deepens
- 8-10 minutes: Carryover cooking continues internally after removal
Never press down on the chicken—this forces out precious juices. Flip only once when the edges release easily from the pan.
The Critical Resting Phase
Immediately transferring chicken to a cutting board causes 20-30% moisture loss. The FDA Food Code specifies a minimum 3-minute rest period that allows:
- Temperature equalization throughout the meat
- Protein fibers to relax and reabsorb juices
- Carryover cooking to complete the process
Cover loosely with foil to maintain warmth without steaming the crust.
Common Mistakes and Solutions
Dry, Overcooked Chicken
Cause: Excessive heat or prolonged cooking beyond 165°F internal temperature
Solution: Remove chicken at 160°F—carryover cooking will reach safe temperature during resting. The USDA confirms this approach maintains safety while improving texture.
Raw Centers with Burnt Exteriors
Cause: Pan too hot initially or insufficient preheating
Solution: Verify oil shimmer before adding chicken. For thicker cuts, reduce heat to medium after initial sear.
Pro Tips for Restaurant-Quality Results
Brining boost: Soak in 4 cups water + ¼ cup salt for 30 minutes before cooking. This simple technique (validated by American Institute for Cancer Research studies) increases moisture retention by 15-20%.
Thermometer technique: Insert probe horizontally into the thickest part, avoiding bone. Digital instant-read thermometers provide accuracy within ±1°F.
Leftover safety: Refrigerate within 2 hours. The FDA Food Code specifies cooked chicken remains safe for 3-4 days when stored below 40°F.
When Timing Alone Fails: Critical Context Boundaries
Cooking duration varies significantly based on these often-overlooked factors:
- Pan material: Non-stick requires 1-2 minutes less cooking time than cast iron due to different heat transfer properties
- Starting temperature: Chicken straight from refrigerator needs 2-3 minutes longer than room-temperature meat
- Covered vs. uncovered: Covering the pan traps steam, reducing sear time but increasing overall cooking duration by 15-20%
- Altitude: Above 3,000 feet, increase cooking time by 5-10% due to lower boiling points
These context boundaries explain why rigid timing instructions fail—your specific conditions require adjustment. Always prioritize thermometer verification over clock watching.
How do I know when chicken breast is done without a thermometer?
Check for clear juices when pierced with a fork, firm texture when pressed, and no pink color in the thickest part. However, the USDA strongly recommends using a thermometer as visual cues alone are unreliable for food safety.
Why does my chicken stick to the pan?
Chicken sticks when the pan isn't sufficiently preheated or the surface is too moist. Ensure your oil shimmers before adding properly dried chicken. Don't move the chicken until it naturally releases from the pan surface, typically after 2-3 minutes of searing.
Can I cook frozen chicken breast on the stove?
Yes, but increase cooking time by 50% and use lower heat to prevent burnt exteriors with raw centers. The USDA Food Safety and Inspection Service recommends adding approximately 50% more cooking time for frozen poultry. Always verify final internal temperature reaches 165°F.
How long should chicken breast rest after cooking?
Rest for 3-5 minutes minimum. Thicker cuts (over 1.25 inches) benefit from 7-10 minutes resting. This allows juices to redistribute and carryover cooking to complete the process, typically raising internal temperature 5-10°F.


 浙公网安备
33010002000092号
浙公网安备
33010002000092号 浙B2-20120091-4