
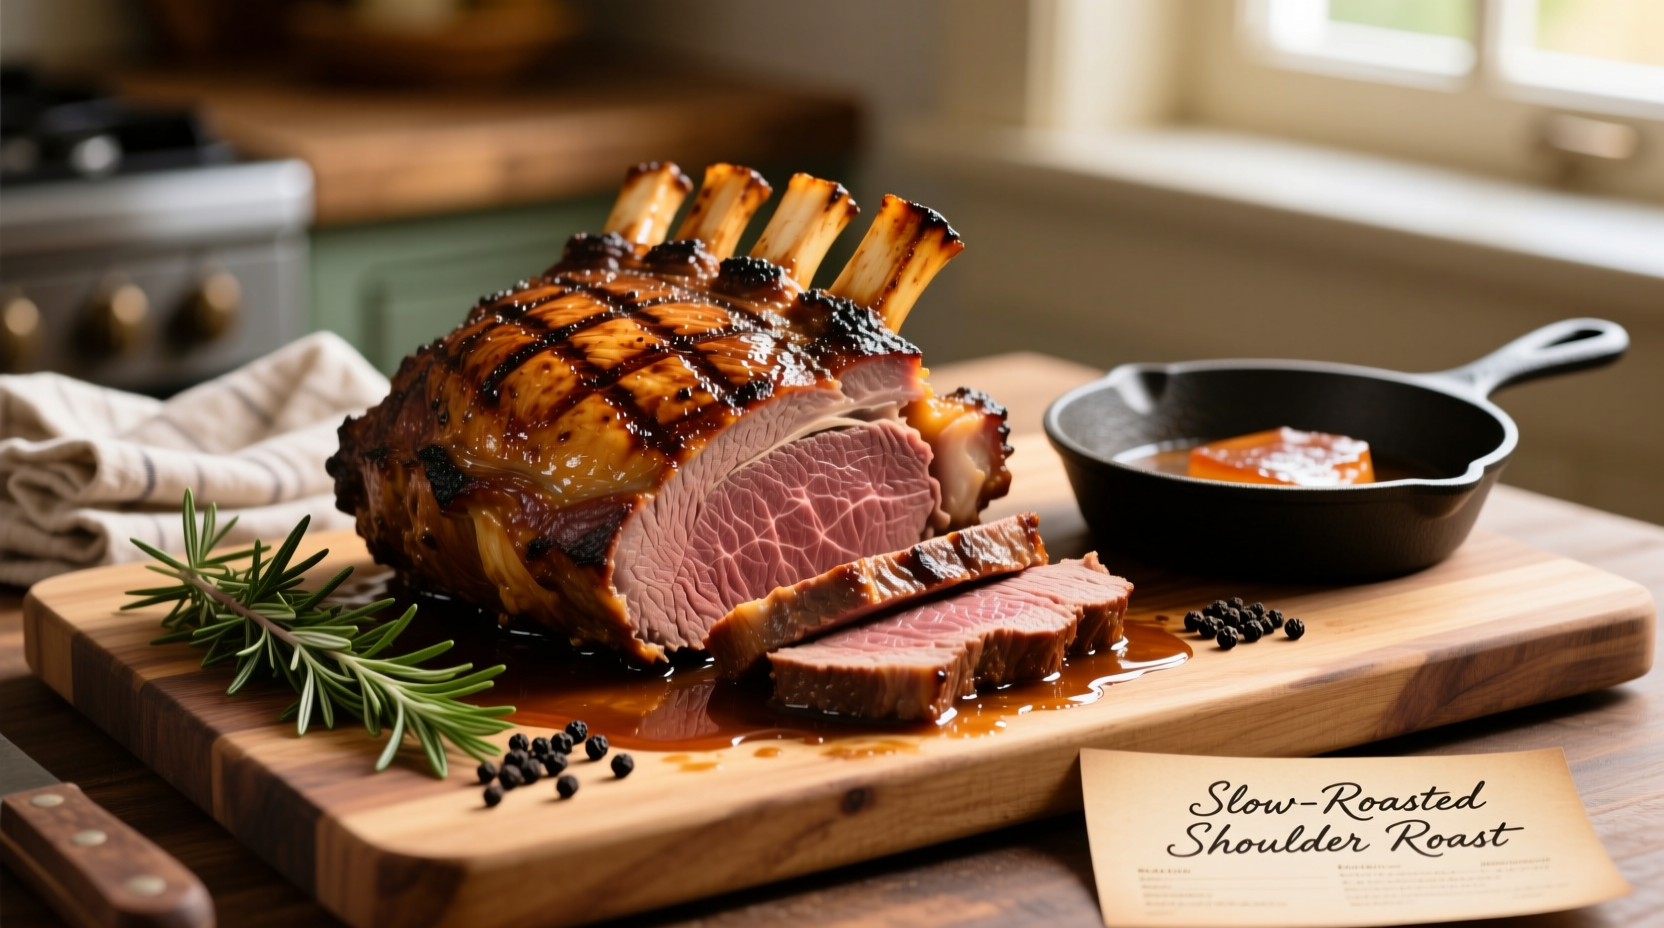
For a perfectly cooked shoulder roast, roast at 325°F (163°C) for approximately 20 minutes per pound until internal temperature reaches 145°F (63°C) for pork or 145°F (63°C) for medium-rare beef/lamb, followed by a mandatory 15-minute rest period before carving. This method ensures tender, juicy meat with proper food safety.
Shoulder roast often confuses home cooks with its varying names and cooking requirements. Whether you're working with pork shoulder, lamb shoulder, or beef chuck roast, this guide delivers the precise techniques professional chefs use to transform this affordable cut into a show-stopping meal. Forget dry, tough results—we'll walk through every step to guarantee succulent, flavorful meat that falls apart perfectly.
Understanding Your Shoulder Roast Cut
Not all shoulder roasts are created equal. This section helps you identify exactly what you're working with before you begin cooking:
| Type | Common Names | Fat Content | Ideal Internal Temp |
|---|---|---|---|
| Pork | Boston butt, pork butt, picnic roast | High (25-30%) | 145°F + 3 min rest |
| Beef | Chuck roast, blade roast | Moderate (15-20%) | 145°F (medium-rare) |
| Lamb | Blade roast, arm roast | High (20-25%) | 145°F (medium-rare) |
According to the USDA Food Safety and Inspection Service, proper internal temperature is critical for food safety, particularly with pork which was previously recommended at higher temperatures but now aligns with modern food safety standards at 145°F with a 3-minute rest period (USDA FSIS).
Essential Equipment Checklist
Before you begin, gather these kitchen tools to ensure success:
- Heavy-bottomed roasting pan or Dutch oven
- Instant-read meat thermometer (critical for accuracy)
- Sharp boning or chef's knife
- Butcher's twine for trussing boneless cuts
- Aluminum foil for tenting
- Wire rack for even air circulation
Preparation: The Foundation of Flavor
Proper preparation makes the difference between good and exceptional results:
- Temperature acclimation: Remove roast from refrigerator 1-2 hours before cooking to eliminate thermal shock
- Surface drying: Pat thoroughly with paper towels—moisture prevents proper browning
- Strategic trimming: Remove only excessive hard fat caps (leave 1/4" for moisture)
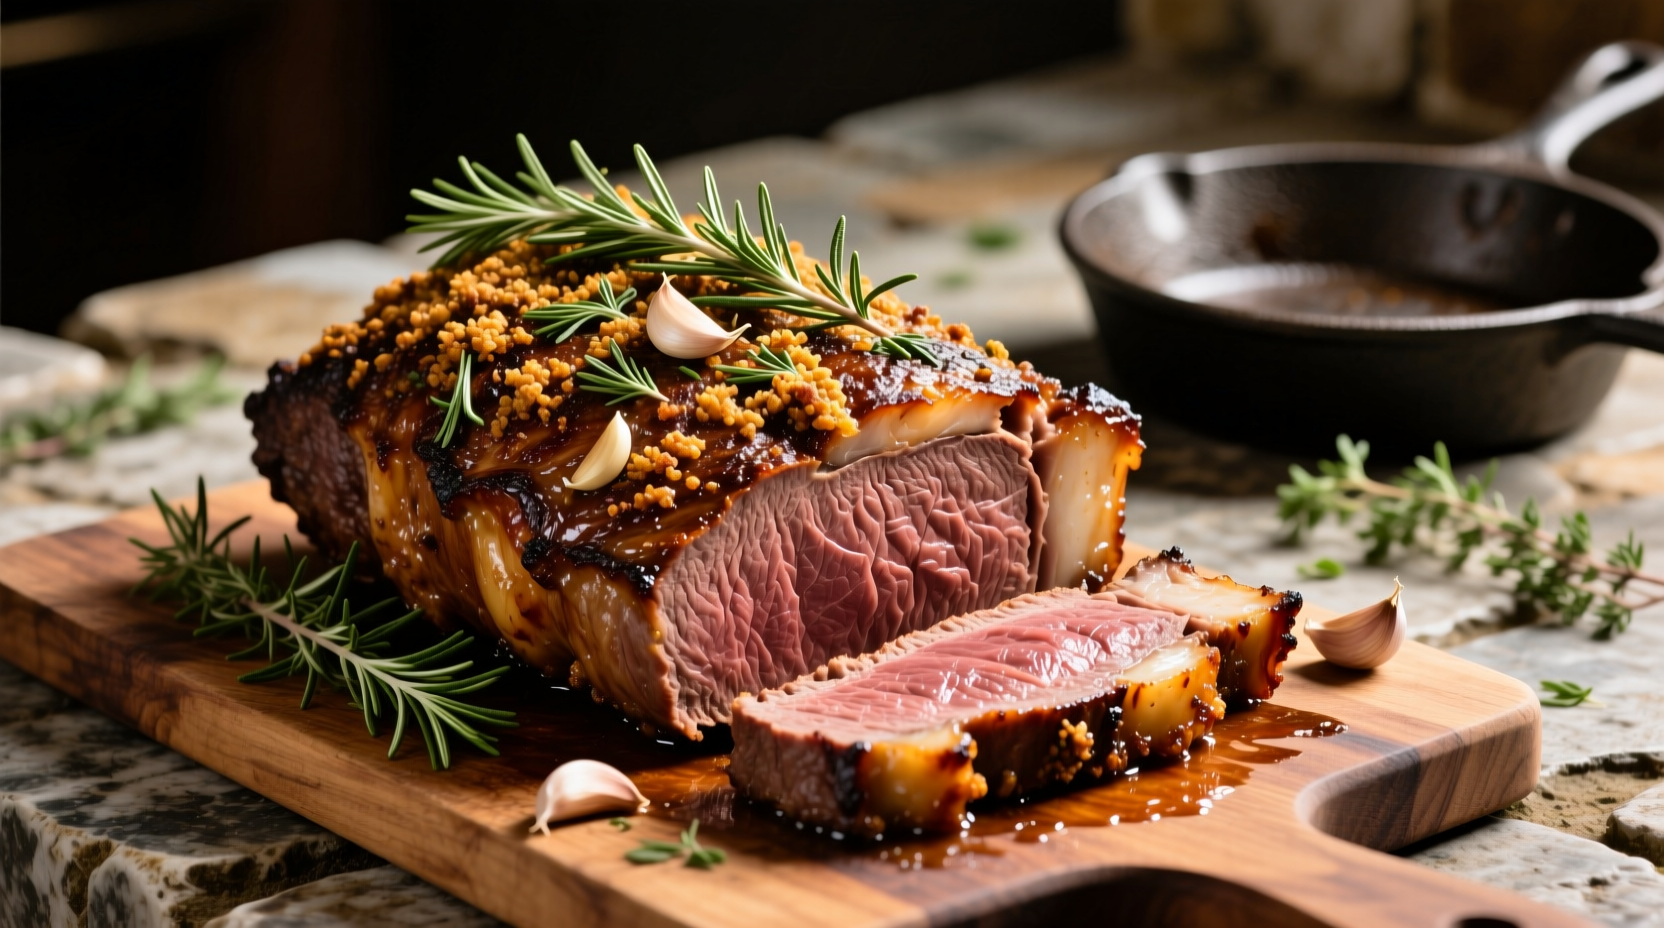
- Seasoning technique: Apply salt 24 hours in advance for deeper flavor penetration
- Oil application: Use high smoke-point oil (avocado or grapeseed) for optimal searing
Step-by-Step Cooking Process
Follow this professional method for guaranteed results every time:
Searing for Flavor Development
Heat your roasting pan over medium-high heat until a drop of water sizzles violently. Sear all sides for 3-4 minutes per side until deep golden brown. This Maillard reaction creates complex flavor compounds essential for rich-tasting meat.
Oven Roasting Technique
- Preheat oven to 325°F (163°C)—lower temperatures prevent exterior overcooking
- Place seared roast on wire rack in roasting pan, fat side up
- Insert meat thermometer into thickest part, avoiding bone
- Roast uncovered until thermometer reads 125°F (52°C) for medium-rare beef/lamb or 130°F (54°C) for pork
- Calculate time: approximately 20 minutes per pound, but thermometer is essential
Critical Resting Period
Transfer roast to cutting board, tent loosely with foil, and rest for 15 minutes minimum. This allows juices to redistribute throughout the meat. Cutting too soon releases precious moisture onto your cutting board rather than staying in the meat.
Troubleshooting Common Shoulder Roast Problems
Even experienced cooks encounter issues. Here's how to fix them:
Dry or Tough Meat
Cause: Insufficient fat rendering or improper temperature control
Solution: For future roasts, cook at lower temperature (275°F) for longer duration to properly render connective tissue. If already cooked, slice thinly against the grain and serve with pan juices.
Undercooked Center
Cause: Inaccurate thermometer placement or premature removal
Solution: Return to oven and check temperature every 5-7 minutes. Never guess—always verify with thermometer.
Excessive Shrinkage
Cause: Over-high cooking temperature causing rapid moisture loss
Solution: Next time, reduce oven temperature by 25°F and extend cooking time. For current roast, serve immediately while still warm to minimize further moisture loss.
Serving and Storage Guidelines
Maximize your cooking effort with these professional finishing touches:
Carving Technique
Identify the grain direction by looking for parallel muscle fibers. Slice perpendicular to the grain in 1/4" to 1/2" thick slices. For bone-in roasts, remove bone first by cutting along its length.
Sauce Pairings
- Pork: Apple cider reduction with fresh thyme
- Beef: Red wine pan jus with shallots
- Lamb: Mint and rosemary au jus
Storage Recommendations
Store leftovers in airtight container in refrigerator for up to 4 days. For longer storage, freeze in portion-sized containers with 1/2" of pan juices for up to 3 months. The Academy of Nutrition and Dietetics confirms proper storage prevents bacterial growth while maintaining quality (Academy of Nutrition and Dietetics).
Advanced Flavor Variations
Once you've mastered the basic technique, experiment with these professional variations:
Mediterranean Herb Crust
Mix 2 tbsp olive oil, 3 minced garlic cloves, 1 tbsp fresh rosemary, 1 tbsp fresh thyme, and lemon zest. Rub over roast before searing.
Asian-Inspired Glaze
During last 30 minutes of cooking, brush with mixture of 1/4 cup soy sauce, 2 tbsp honey, 1 tbsp rice vinegar, and 1 tsp grated ginger.
Smoked Shoulder Roast
For a different approach, smoke at 225°F (107°C) until internal temperature reaches 195°F (90°C) for pulled texture, approximately 1.5 hours per pound.


 浙公网安备
33010002000092号
浙公网安备
33010002000092号 浙B2-20120091-4