
Why Proper Seed Cleaning Makes All the Difference
Many home cooks skip proper seed cleaning, resulting in soggy, unevenly roasted pumpkin seeds with unpleasant stringy bits. When you take time to clean pumpkin seeds correctly, you achieve three critical outcomes: superior crunchiness during roasting, extended shelf life for storage, and elimination of any pumpkin pulp taste that can overpower seasoning. The entire process takes just 15-20 minutes of active time—a small investment for restaurant-quality results.
Step-by-Step Cleaning Process
Harvesting Seeds Without the Mess
Start by cutting a circular opening around the pumpkin stem, creating a lid rather than slicing vertically. This technique preserves more seeds near the edges. Use a sturdy metal spoon (not plastic) to scrape seeds and pulp into a large bowl. Metal spoons withstand the fibrous pumpkin strings better and won't bend during vigorous scraping.
Initial Pulp Separation Technique
Fill your bowl with cold water, submerging the seeds and pulp. The seeds will sink while most pulp floats. Gently swirl your hands through the mixture, allowing the heavier seeds to settle. Carefully pour off the floating pulp and repeat until the water runs relatively clear. This water method significantly reduces the sticky residue compared to dry separation.
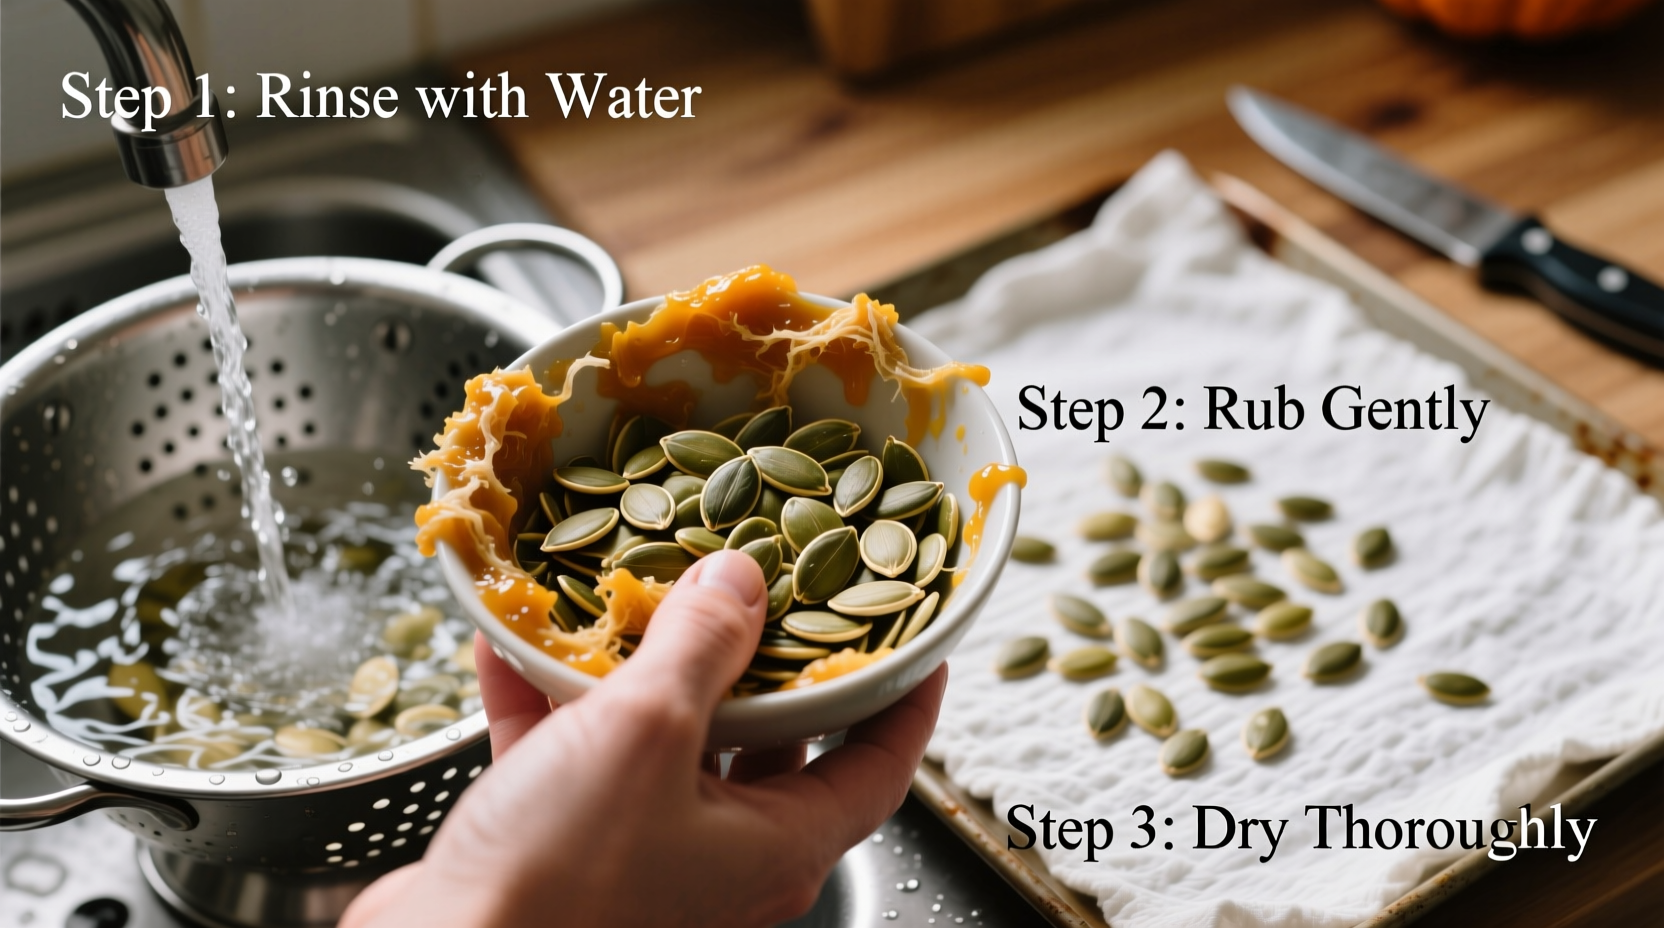
Final Deep Cleaning Method
Transfer seeds to a fine-mesh colander and rinse under cold running water. Use your fingertips to rub away any stubborn pulp strands clinging to seeds. For particularly fibrous pumpkins, fill the colander halfway with water and shake vigorously—the agitation helps dislodge hidden strings. Continue until seeds feel completely smooth with no slippery residue.
Drying Options Compared
| Drying Method | Time Required | Temperature | Best For |
|---|---|---|---|
| Pat Dry with Towels | 5-10 minutes | Room temperature | Immediate roasting only |
| Air Drying | 2-3 hours | Room temperature | Most consistent results |
| Oven Drying | 15-20 minutes | 250°F (120°C) | Time-sensitive situations |
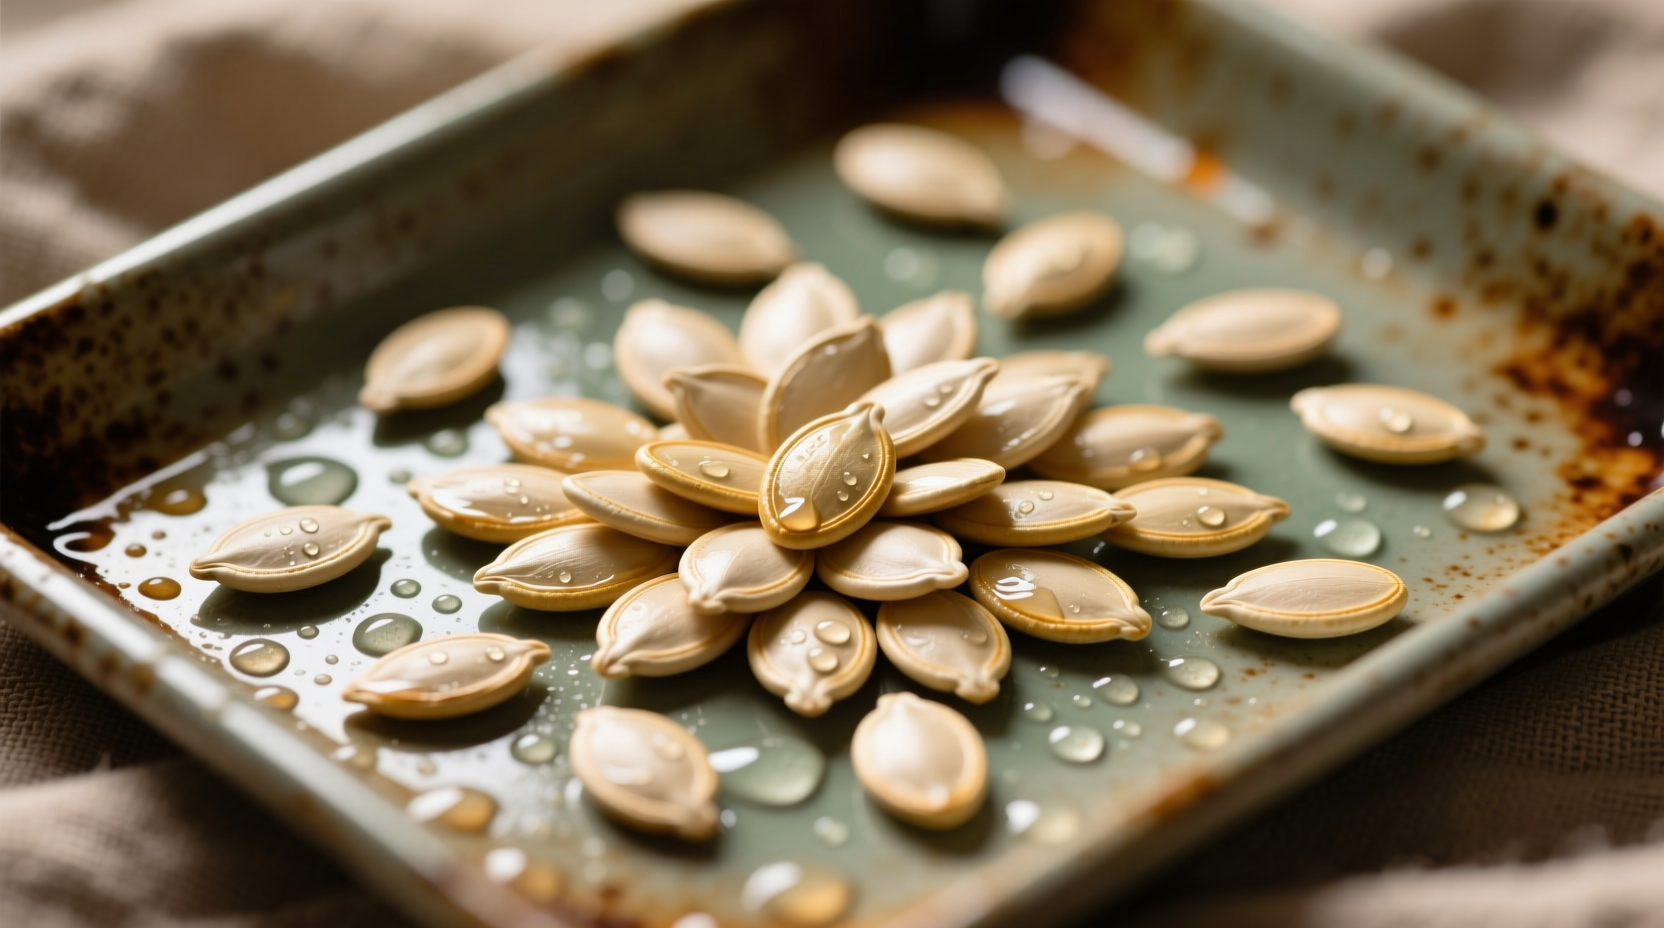
According to USDA food safety guidelines, complete drying is essential before roasting to prevent bacterial growth during storage. Air drying produces the most uniformly dry seeds, while oven drying requires vigilant monitoring to avoid premature toasting. For optimal results, spread seeds in a single layer on paper towels or a clean kitchen towel, flipping occasionally to expose all surfaces.
Storage Solutions for Future Use
Once completely dry, store seeds in an airtight container at room temperature for up to 2 weeks before roasting. For longer storage, refrigerate for 2 months or freeze for up to 6 months. The University of Minnesota Extension confirms that properly dried pumpkin seeds maintain viability and flavor when stored in moisture-proof containers away from direct light.
Avoid These Common Cleaning Mistakes
- Skipping the water separation step – leads to incomplete pulp removal
- Using hot water – cooks the seeds prematurely, affecting texture
- Inadequate drying – causes steaming instead of roasting
- Overcrowding during drying – creates moisture pockets between seeds
Professional chefs consistently emphasize that the difference between mediocre and exceptional roasted pumpkin seeds comes down to thorough cleaning and complete drying. When seeds contain even small amounts of moisture or pulp residue, they won't achieve that perfect golden-brown crispness during roasting.
Next Steps After Cleaning
With your seeds properly cleaned and dried, you're ready for seasoning and roasting. Toss seeds with 1 teaspoon of oil per cup of seeds, add your preferred seasonings (salt works universally, while smoked paprika creates a savory twist), and roast at 300°F for 35-45 minutes, stirring occasionally. The cleaned seeds will roast evenly, developing that professional-quality crunch home cooks often struggle to achieve.


 浙公网安备
33010002000092号
浙公网安备
33010002000092号 浙B2-20120091-4