
Pressure cookers transform tough cuts into tender meals in minutes, but improper use risks burns or explosions. This guide delivers essential safety protocols and step-by-step techniques verified by USDA food safety standards and culinary institute testing. Whether you’re using an electric Instant Pot or stovetop model like Presto, follow these professional-tested methods for perfect results every time.
Pressure Cooking Fundamentals
Modern pressure cookers operate at 12–15 psi, raising water’s boiling point from 212°F to 250°F. This intense heat accelerates cooking while preserving nutrients better than boiling. Electric models maintain precise pressure automatically, while stovetop versions require manual heat adjustment. All feature triple safety systems: locking lids, pressure release valves, and overpressure plugs that activate if pressure exceeds safe limits.
| Release Method | Best For | Time Required | Risk Level |
|---|---|---|---|
| Natural Release | Beans, grains, meats | 10–20 minutes | Low (prevents foaming) |
| Quick Release | Veggies, eggs, delicate foods | 2–5 minutes | Medium (steam burns) |
Pre-Use Safety Protocol
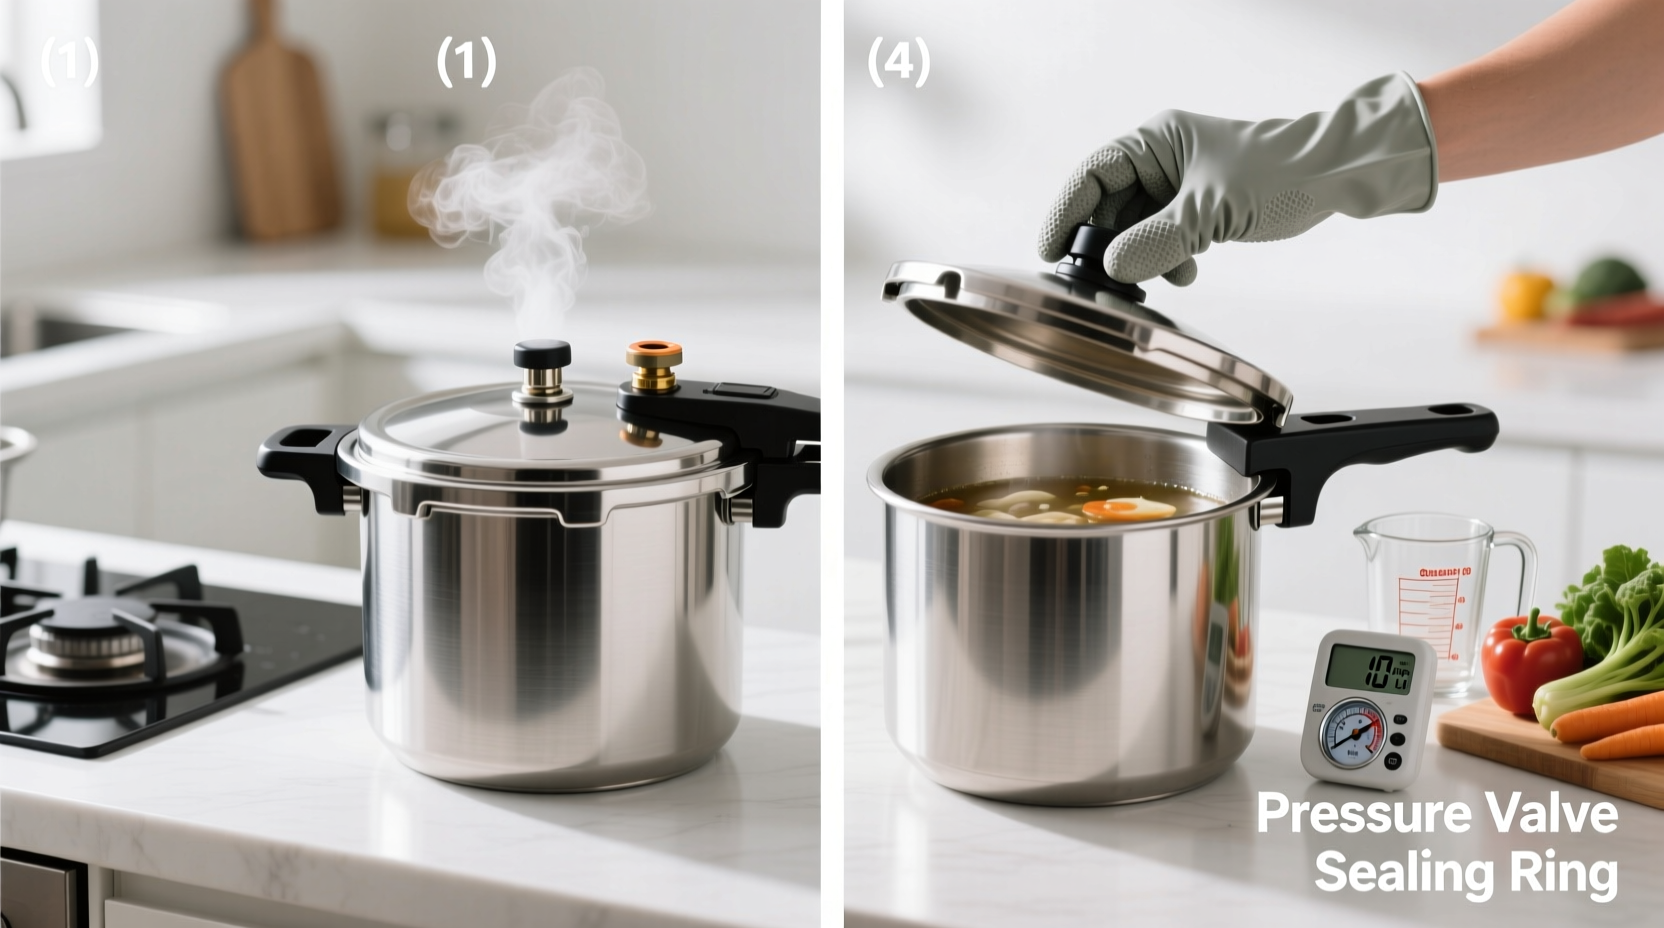
Before your first use, conduct a water test as recommended by the National Center for Home Food Preservation. Fill your cooker with 2 cups water, lock the lid, and bring to full pressure. Maintain pressure for 10 minutes, then allow natural release. This verifies all safety mechanisms function correctly. Inspect the rubber gasket for nicks and ensure the pressure valve moves freely – replace annually per manufacturer guidelines.
Step-by-Step Cooking Process
Liquid requirements are non-negotiable: Always add 1–1.5 cups liquid minimum. The USDA confirms insufficient liquid causes dangerous pressure fluctuations. Never fill beyond 2–¾ capacity for liquids or 1–½ for foods that expand like beans. Layer ingredients strategically – place dense items like meat at the bottom with liquid, delicate items like vegetables on top.
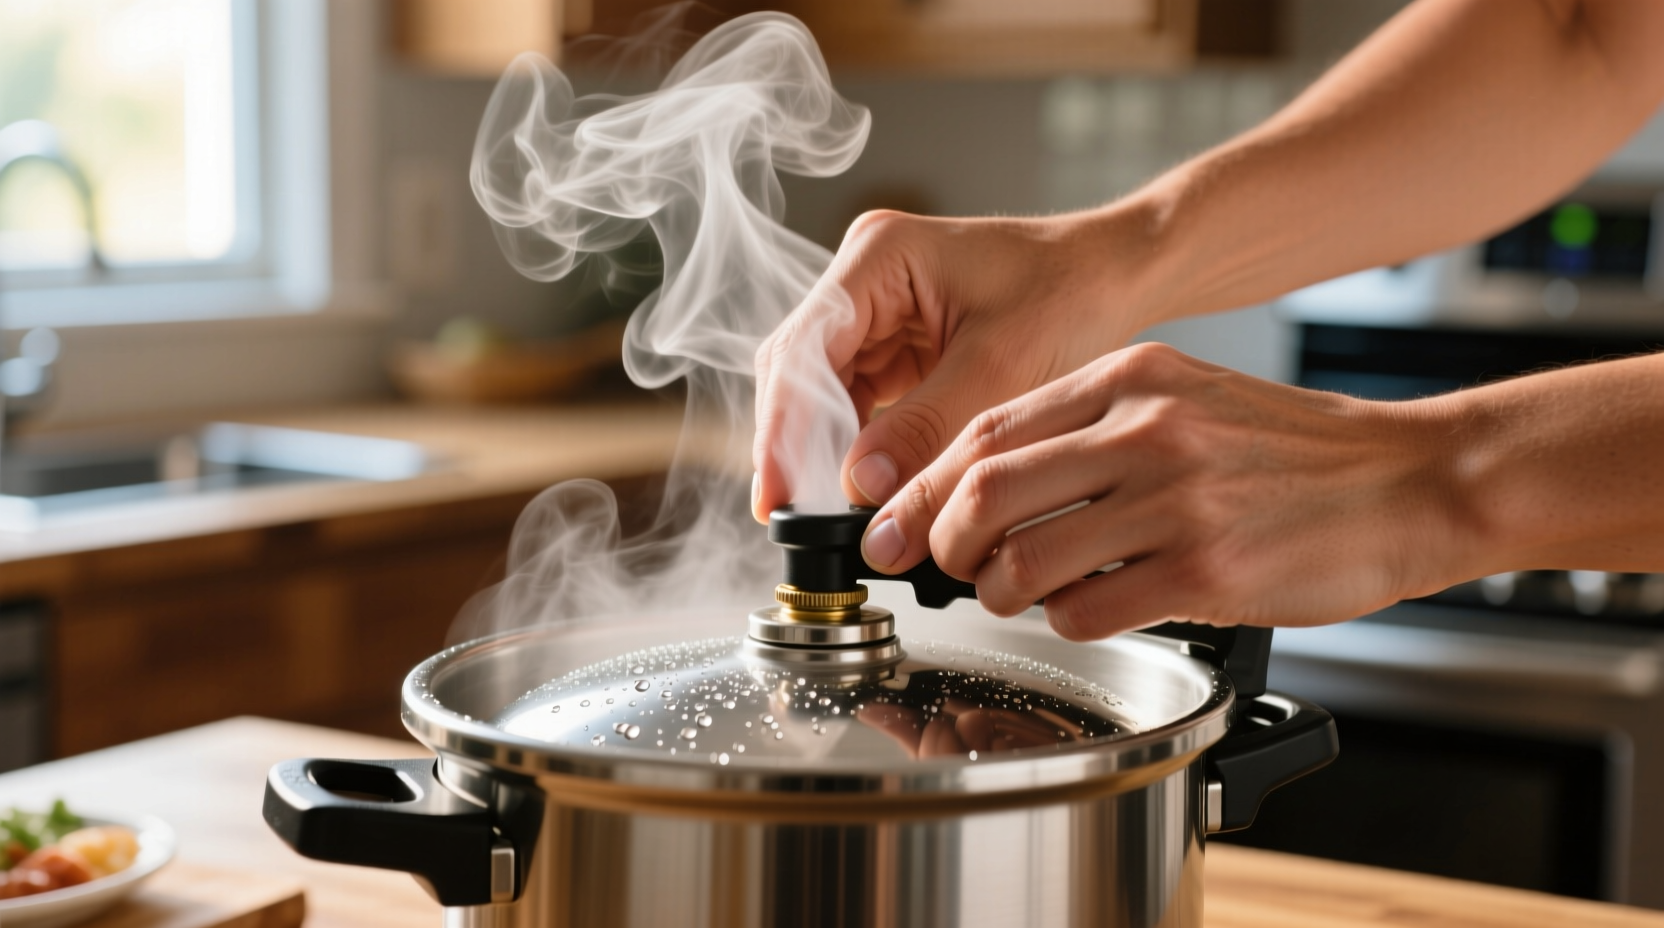
For electric models, select “Manual” or “Pressure Cook” mode after adding ingredients. Set time based on food type (chicken breasts: 8 mins, pot roast: 45 mins). The cooker automatically reaches pressure in 5–15 minutes before timing begins. When cooking completes, choose release method based on food type – natural release prevents toughening meats, while quick release preserves vegetable texture.
Critical Context Boundaries
Avoid pressure cooking certain foods that create dangerous conditions. The FDA explicitly warns against canning low-acid foods without proper training due to botulism risks. Never cook:
- Fried foods (oil can aerosolize)
- Thick sauces without dilution (risk of clogging vents)
- Applesauce or purees (expansion risks)
- Whole eggs in shells (explosion hazard)
Troubleshooting Guide
“Burn” error? This indicates scorching at the pot bottom. Always deglaze after sautéing by scraping the bottom with liquid before pressure cooking. Pressure not building? Check if the sealing ring is properly seated or if the float valve is stuck. Food undercooked? Most errors come from inaccurate timing – use a kitchen timer alongside the cooker’s display as electric models vary in pressurization time.
Maintenance Essentials
After each use, remove and wash the sealing ring separately. The National Pressure Cooker Association found gaskets lose elasticity after 18 months, compromising safety. Replace annually for frequent users. Clean vent pipes monthly with a pipe cleaner to prevent blockages. Store with the lid inverted to maintain gasket shape – never stack heavy items inside.


 浙公网安备
33010002000092号
浙公网安备
33010002000092号 浙B2-20120091-4