
Properly cleaning clams removes harmful sand and grit while ensuring food safety. Follow these professional chef-tested steps: 1) Discard any open or cracked clams 2) Soak in saltwater (1/3 cup salt per gallon of water) for 20-30 minutes 3) Scrub shells under cold running water 4) Repeat soaking and rinsing 2-3 times until water runs clear. Never use freshwater alone as it kills clams prematurely.
Why Proper Clam Cleaning Matters More Than You Think
Many home cooks skip proper clam cleaning, only to discover gritty, inedible seafood ruining their pasta or chowder. Cleaning isn't just about removing sand—it's critical for food safety and flavor development. Live clams filter water constantly, trapping sand and potential contaminants in their systems. The FDA requires proper depuration (purging) of shellfish to reduce foodborne illness risks, especially for vulnerable populations.
Essential Tools for Cleaning Clams Like a Pro
Before you begin, gather these kitchen essentials:
- Large bowl or container (at least 2x the volume of your clams)
- Cold running water source
- Stiff brush (dedicated seafood brush preferred)
- Table salt or kosher salt (not iodized)
- Measuring cup and spoon
- Colander or mesh strainer
- Paper towels
| Cleaning Method | Time Required | Effectiveness | Best For |
|---|---|---|---|
| Saltwater Soak (Standard) | 20-30 min | ★★★★☆ | Most clam varieties |
| Cornmeal Method | 1-2 hours | ★★★☆☆ | Sturdy clams like quahogs |
| Commercial Depurator | 3-4 hours | ★★★★★ | Commercial kitchens |
| Quick Rinse (Not Recommended) | 5 min | ★☆☆☆☆ | Avoid entirely |
Step-by-Step Clam Cleaning Process
Step 1: Initial Inspection and Sorting
Examine each clam carefully before cleaning begins. Discard any with:
- Cracked or broken shells
- Shells that don't close when tapped (indicates dead clams)
- Unusual odors (should smell like clean ocean)
The National Shellfish Sanitation Program requires discarding open-shell clams that don't respond to tapping, as they may harbor harmful bacteria. Never cook dead clams—they won't open during cooking and can cause food poisoning.
Step 2: Preparing the Perfect Saltwater Solution
Create a saltwater solution mimicking natural seawater:
- Use 1/3 cup non-iodized salt per gallon of cold water
- Stir until completely dissolved
- Never use freshwater alone—it shocks clams and prevents proper sand expulsion
This ratio follows guidelines from the Culinary Institute of America's seafood handling protocols, which note that improper salinity causes clams to retain sand rather than expel it.
Step 3: The Critical Soaking Process
Place clams in the saltwater solution and follow these professional techniques:
- Cover with a damp cloth to maintain darkness (clams purge better in dark conditions)
- Refrigerate during soaking for food safety
- Allow 20-30 minutes for most varieties
- Never exceed 2 hours total soaking time
During this stage, clams naturally filter the saltwater and expel sand through their siphons. The University of California Sea Grant program confirms that proper depuration reduces sand content by up to 95% when done correctly.
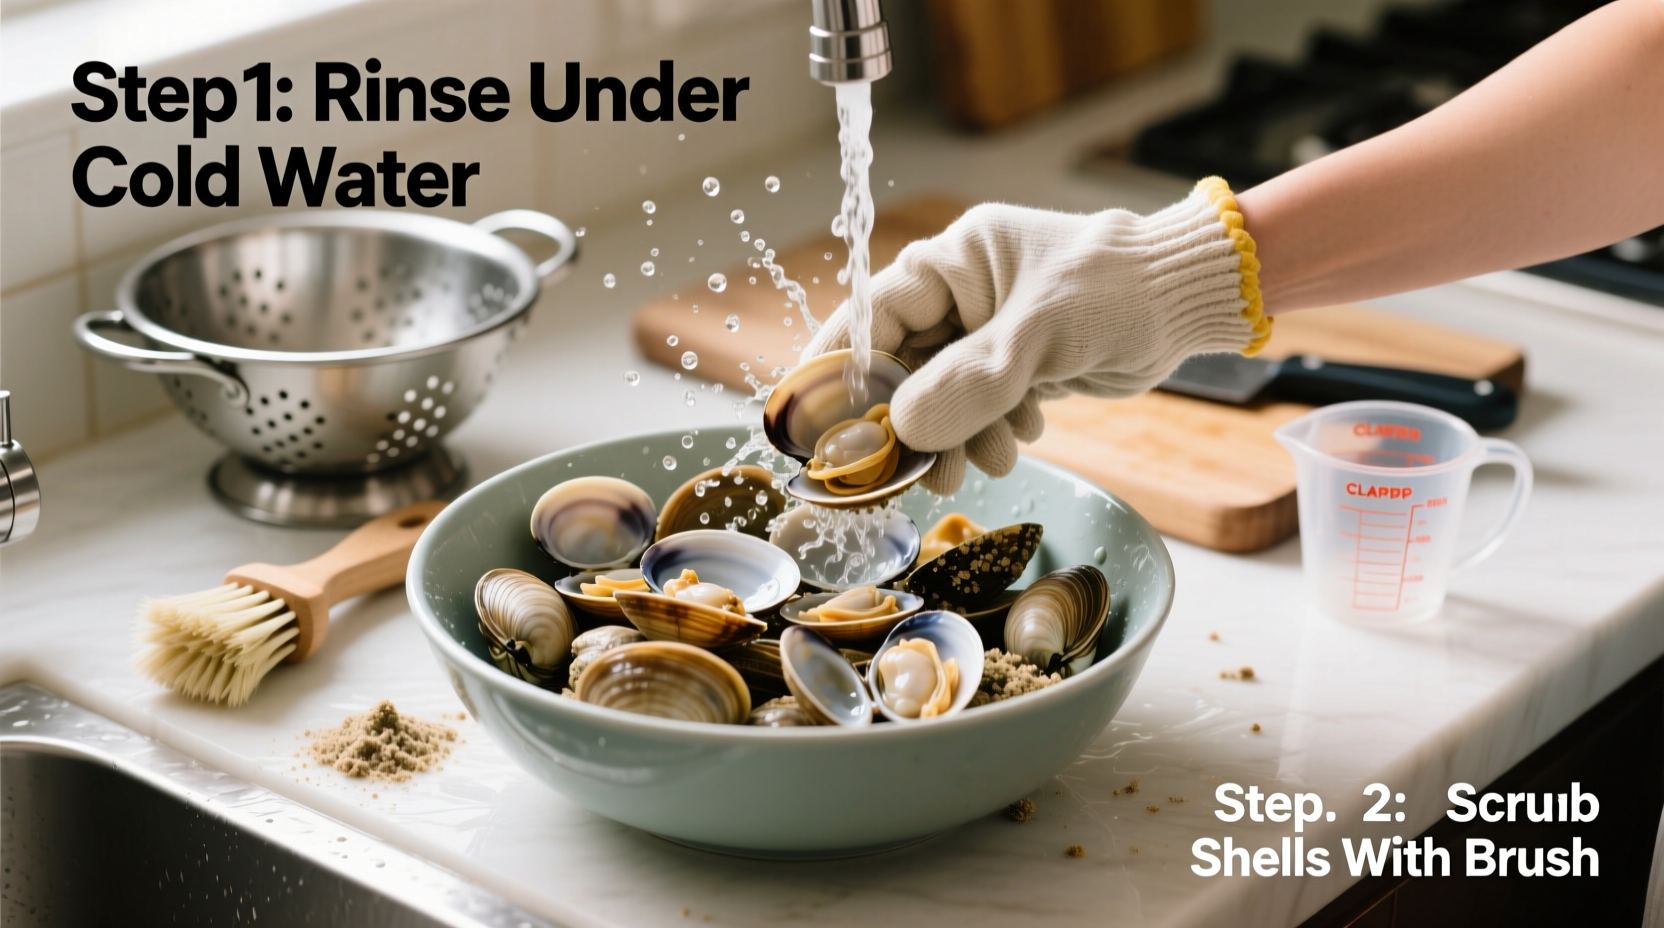
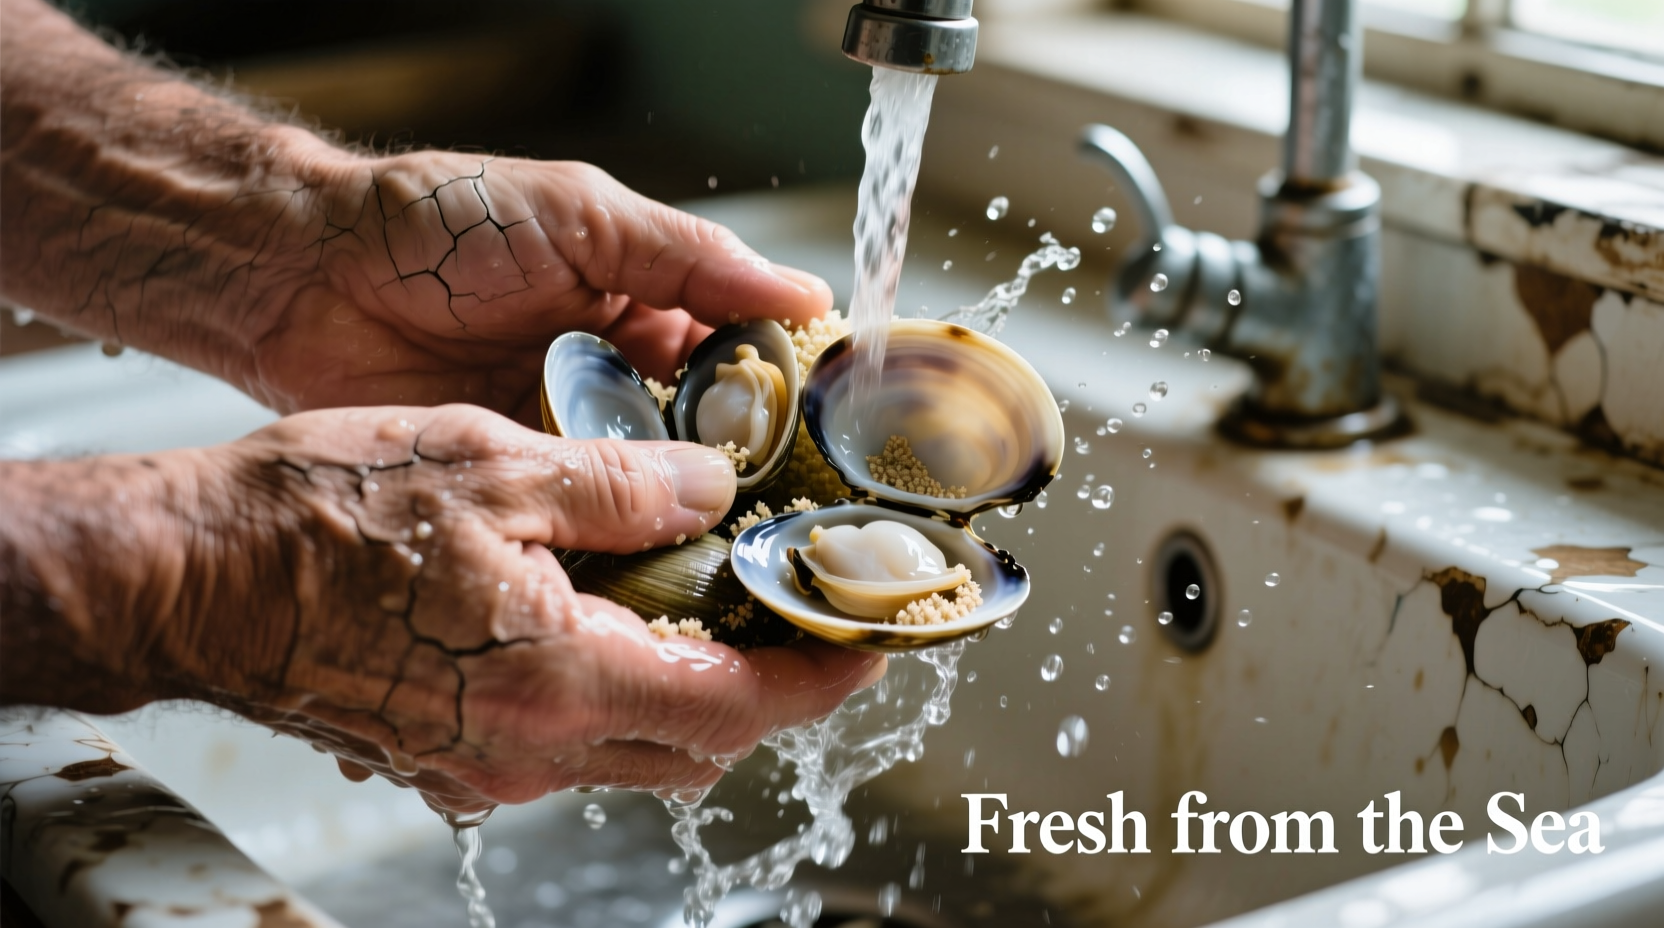
Step 4: Scrubbing and Rinsing
After the initial soak:
- Remove clams from solution
- Scrub each shell vigorously under cold running water
- Use a stiff brush to remove barnacles and debris
- Rinse thoroughly in clean cold water
- Repeat soaking and rinsing 2-3 times until rinse water runs completely clear
Step 5: Final Inspection Before Cooking
Before cooking, perform one last quality check:
- Discard any clams that remain open after tapping
- Check for unusual discoloration
- Smell for any off odors (should be clean and briny)
- Ensure shells are tightly closed
Remember that properly cleaned clams should feel heavy for their size—lightweight clams may be empty or dead.
Troubleshooting Common Clam Cleaning Issues
When Time Is Limited
If you're short on time, the "quick purge" method works in emergencies:
- Use ice-cold saltwater (1/4 cup salt per quart)
- Add 1 tablespoon cornmeal per quart
- Soak for 15 minutes maximum
- Agitate gently every 5 minutes
This method isn't as effective as proper depuration but significantly reduces grit compared to no cleaning. The Maine Department of Marine Resources notes this technique works best with hard-shell clams but shouldn't be used for delicate varieties like littlenecks.
Dealing with Stubborn Sand
If your clams still contain sand after standard cleaning:
- Try a second soak with slightly higher salinity (1/2 cup salt per gallon)
- Add a small amount of cornmeal to stimulate feeding and sand expulsion
- Place clams in refrigerator overnight in saltwater (maximum 12 hours)
- Always discard clams that won't purge after multiple attempts
Post-Cleaning Handling and Storage
Properly cleaned clams require careful handling:
- Store in refrigerator at 33-38°F (0.5-3°C)
- Place in bowl with damp cloth over top (never in sealed container)
- Use within 24 hours for best quality
- Never store in freshwater or melted ice
The FDA Food Code specifies that live shellfish must be kept at proper temperatures to prevent bacterial growth. Discard any clams that develop strong odors or become slimy during storage.
Cooking Tips for Perfect Clam Dishes
Now that your clams are properly cleaned:
- Steam clams in minimal liquid—they release their own flavorful broth
- Cook just until shells open (overcooking makes them rubbery)
- Discard any clams that don't open after 5 minutes of cooking
- Strain cooking liquid through cheesecloth to catch any remaining grit
Professional chefs often save the strained clam broth for soups and sauces—it's packed with natural flavor without the sand.


 浙公网安备
33010002000092号
浙公网安备
33010002000092号 浙B2-20120091-4