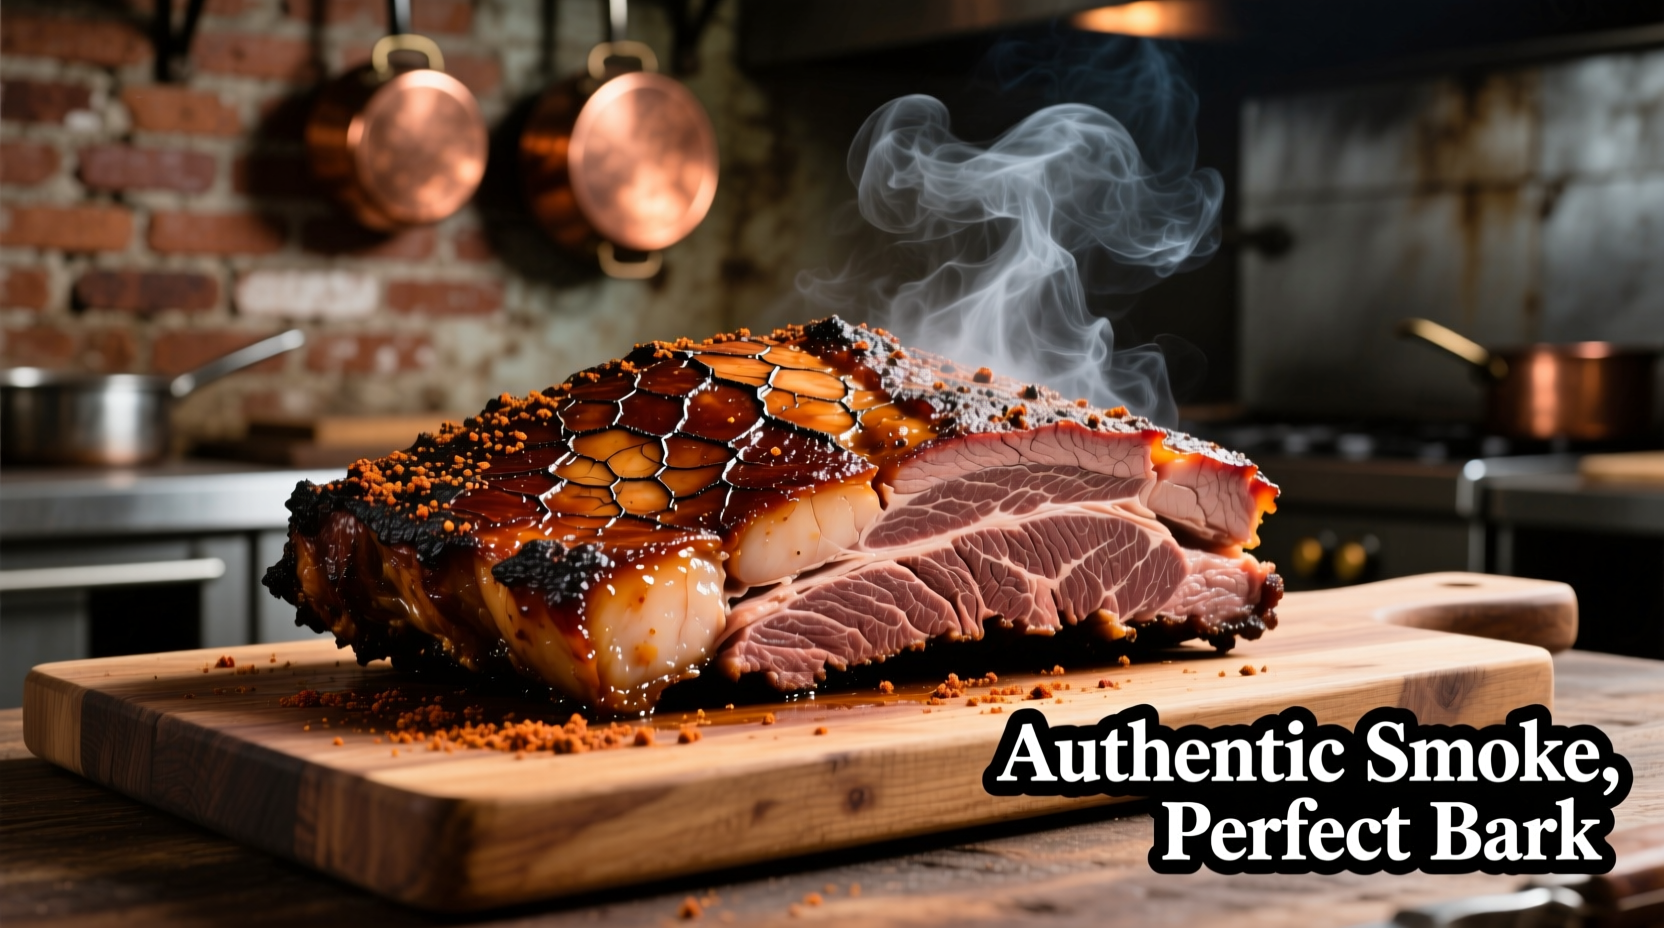
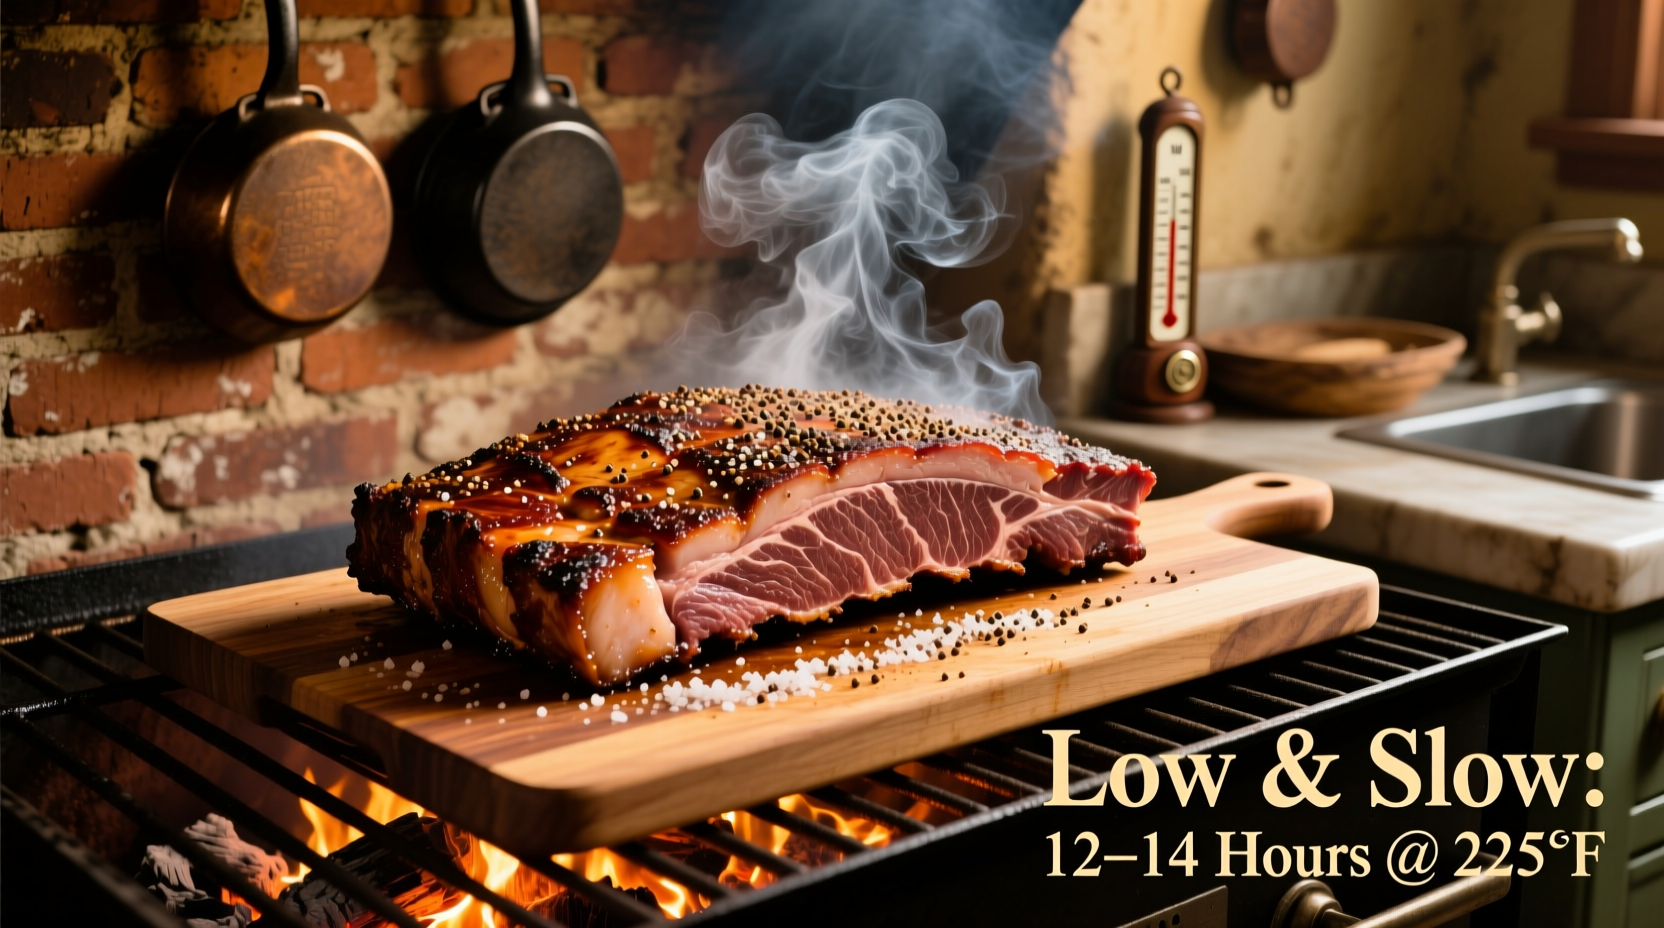
Your Complete Roadmap to Perfect Brisket
Mastering brisket separates casual grillers from true barbecue artists. This tough cut transforms into melt-in-your-mouth perfection when handled correctly. I've cooked hundreds of briskets across professional kitchens and backyard setups - here's exactly what works based on decades of hands-on experience.
Why Brisket Challenges Most Home Cooks
Brisket contains abundant collagen and connective tissue that requires precise temperature management to break down properly. The Texas A&M Meat Science program confirms collagen begins converting to gelatin around 160°F and continues transforming up to 205°F. Rush this process, and you'll end up with dry, chewy results. Patience and temperature control make all the difference.
Step 1: Selecting Your Foundation
Start with quality - this determines 50% of your outcome. Look for:
- USDA Choice or Prime grade with consistent marbling throughout
- Packer cut (12-14 lbs) including both point and flat sections
- Deep red color without excessive drying or browning
- Thick deckle (point section) for better fat distribution
| Cut Grade | Marbling Level | Best For | Price Range |
|---|---|---|---|
| Select | Minimal | Budget meals$3-4/lb | |
| Choice | Moderate | Best value$5-7/lb | |
| Prime | Abundant | Competition quality$8-12/lb |
Step 2: Essential Equipment Checklist
Don't wing this process. You need:
- Quality smoker or oven with tight temperature control
- Leave-in meat thermometer (Thermapen recommended)
- Sharp boning knife for trimming
- Butcher paper or aluminum foil for wrapping
- Heavy-duty gloves for handling hot meat
Step 3: The Critical Trim & Season
Trimming properly sets up even cooking:
- Remove hard fat deposits from the point section
- Trim the fat cap to 1/4-inch thickness for optimal rendering
- Round off sharp edges that might burn
- Apply 1 tablespoon coarse kosher salt and 1 tablespoon coarse black pepper per pound

Step 4: Mastering the Cook Process
Temperature control makes or breaks your brisket:
- Maintain steady 225-235°F throughout cooking
- Place brisket fat-side down on smoker grate
- Insert thermometer probe into thickest part of flat
- Expect 1 to 1.5 hours per pound cooking time
Step 5: Navigating the Stall
The dreaded stall hits between 150-170°F when evaporative cooling slows temperature rise. Don't panic - this is normal. Options:
- Patient approach: Wait it out (adds 2-4 hours)
- Wrap method: Encase in butcher paper at 165°F to push through
- Temperature bump: Increase to 250°F temporarily
| Cooking Stage | Temperature Range | What's Happening | Action Required |
|---|---|---|---|
| Initial Cook | 140-160°F | Surface drying, smoke absorption | Monitor temperature stability |
| The Stall | 160-170°F | Evaporative cooling slowing cook | Decide on wrapping strategy |
| Final Push | 170-203°F | Collagen converting to gelatin | Maintain steady temperature |
Step 6: The Rest That Makes Perfect
Slicing too soon releases precious juices. Proper resting:
- Wrap tightly in butcher paper after reaching 203°F
- Place in empty cooler or warm oven (150°F)
- Rest for minimum 2 hours (up to 4 hours)
- Internal temperature will stabilize around 165°F
Troubleshooting Common Brisket Issues
Even experienced cooks face these challenges:
- Dry flat section: Insufficient fat cap or overcooking - keep flat side down during cook
- Bitter smoke flavor: Using green wood or excessive smoke - maintain thin blue smoke only
- Hard to slice: Slicing with the grain instead of against it - identify grain direction first
- Uneven cook: Irregular meat thickness - rotate brisket periodically during cooking
When to Choose Alternative Methods
Traditional smoking isn't always practical. Consider these alternatives:
- Oven method: For consistent temperature control in bad weather (225°F, tightly wrapped in foil after 4 hours)
- Reverse sear: For competition-style bark (smoke at 225°F to 165°F, then finish at 300°F)
- Sous vide: For guaranteed tenderness (145°F for 24-48 hours, then sear)
Remember: Each method has trade-offs. Traditional smoking delivers superior flavor complexity but demands more attention. Oven cooking provides reliability but lacks authentic smoke profile.
Pro Tips from Decades of Experience
These subtle techniques make professional-level results accessible:
- Spray with apple juice only during first 2 hours to avoid washing off seasoning
- Use butcher paper instead of foil for better bark retention
- Place brisket in a pan after wrapping to catch juices for au jus
- Always slice against the grain - this shortens muscle fibers for tenderness
Perfect Brisket Slicing Technique
How you cut determines presentation and texture:
- Identify grain direction in both point and flat sections (they run differently)
- Separate point from flat using a sharp knife
- Cut flat section into 1/4-inch slices against the grain
- Cut point section into cubes for burnt ends or thin slices


 浙公网安备
33010002000092号
 浙B2-20120091-4