
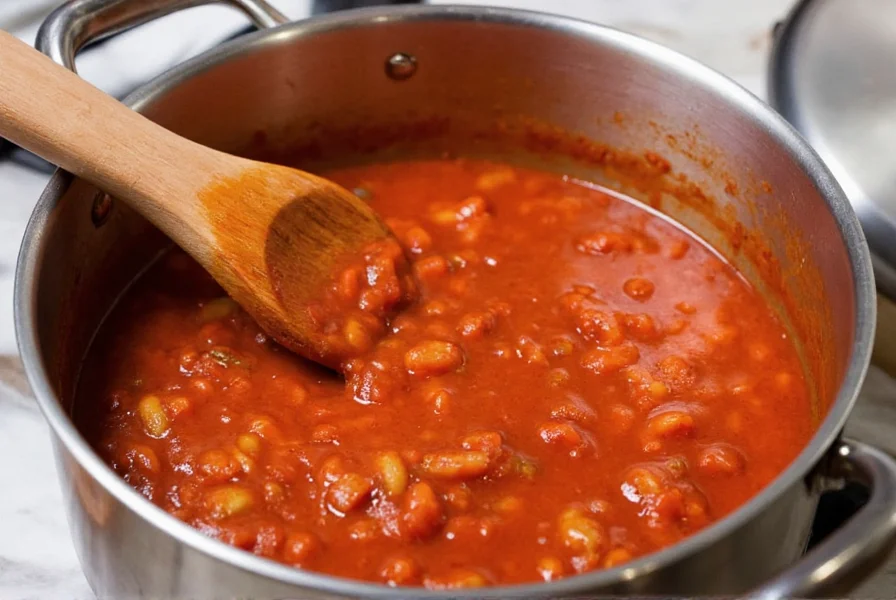
Simmering transforms chili from a simple mixture of ingredients into a complex, deeply flavorful dish. This critical cooking phase allows time for flavors to meld, proteins to tenderize, and spices to fully integrate. Understanding the science behind simmering helps you create restaurant-quality chili at home.
The Science Behind Simmering Chili
When you simmer chili, you're not just cooking—it's a flavor transformation process. The gentle heat breaks down connective tissues in meats, releases natural sugars from vegetables, and allows spices to fully bloom. During this process, water-soluble compounds dissolve while fat-soluble flavors emulsify, creating that signature rich, complex chili taste.
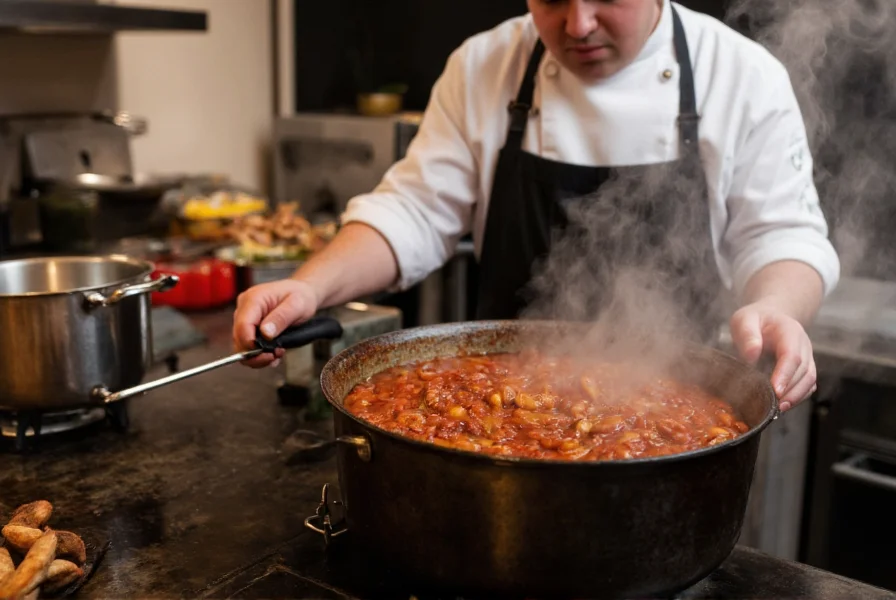
Professional chefs emphasize that chili rarely improves with less than 90 minutes of simmering. The magic happens between the 2-3 hour mark when volatile compounds mellow and deeper flavors emerge. This explains why many chili competitions require minimum cooking times—great chili simply can't be rushed.
Factors Affecting Your Chili Simmering Time
Several variables influence how long you should simmer your chili. Understanding these helps you adjust timing for perfect results every time:
| Factor | Shorter Simmer (1.5-2 hrs) | Standard Simmer (2-3 hrs) | Extended Simmer (3-4+ hrs) |
|---|---|---|---|
| Meat Type | Ground beef/turkey | Chuck roast, short ribs | Tougher cuts like brisket |
| Chili Style | Texas red (no beans) | Classic bean chili | Complex multi-meat blends |
| Cooking Method | Instant Pot (natural release) | Stovetop standard | Slow cooker on low |
| Desired Consistency | Brothier texture | Classic thick chili | Very thick, stew-like |
Step-by-Step Simmering Process
Follow this professional approach to achieve perfectly simmered chili:
- Brief boil: Bring chili to a gentle boil first to blend initial flavors (5-10 minutes)
- Reduce to simmer: Lower heat until you see occasional bubbles breaking the surface
- Cover partially: Leave lid slightly ajar to allow controlled evaporation
- Stir periodically: Every 20-30 minutes to prevent sticking and ensure even cooking
- Taste test: Check flavor development at 90-minute intervals
- Final adjustment: In last 30 minutes, adjust seasoning and consistency as needed
Many home cooks make the mistake of keeping chili covered throughout simmering. For optimal thickness and flavor concentration, leave the lid partially off after the first hour. This controlled evaporation concentrates flavors without drying out your chili.
Signs Your Chili Has Simmered Perfectly
Don't rely solely on the clock—your senses provide the best indicators:
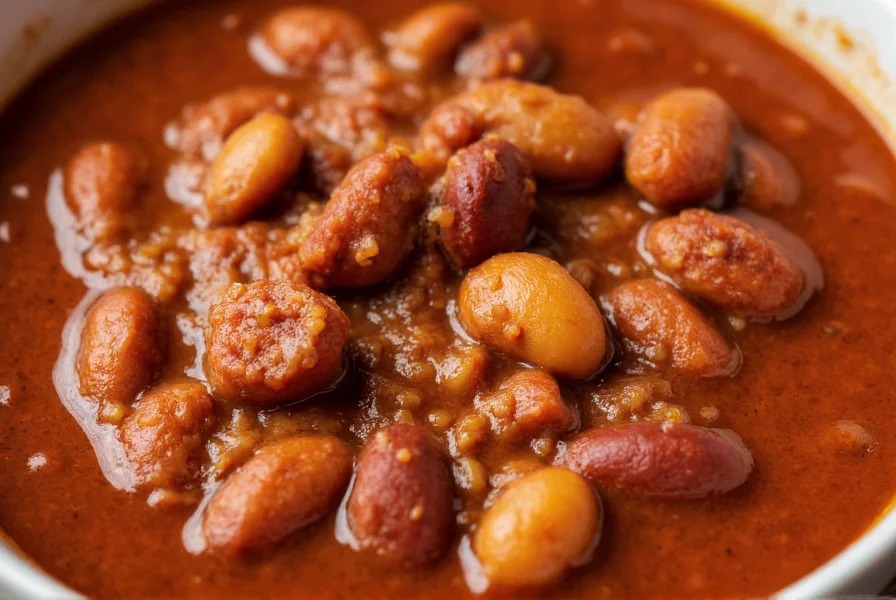
- Visual cues: Rich, deep color with oil separating slightly around edges
- Texture: Meat should pull apart easily but maintain shape
- Aroma: Sharp spice notes mellow into complex, rounded fragrance
- Taste: Individual ingredients blend into unified flavor profile
- Consistency: Coats spoon but isn't overly thick or watery
Professional chili makers often recommend removing chili from heat 15-20 minutes before serving. This brief resting period allows flavors to settle and improves overall taste. Many also swear by making chili a day ahead—the overnight rest significantly enhances flavor complexity as ingredients continue to meld.
Common Simmering Mistakes to Avoid
Achieving perfect chili requires avoiding these frequent errors:
- Boiling instead of simmering: Vigorous boiling breaks down ingredients too much and creates bitter flavors
- Over-stirring: Excessive stirring can break down beans and tomatoes too much
- Adding salt too late: Salt early to help draw out flavors during simmering
- Ignoring temperature: Maintain consistent low heat (180-200°F / 82-93°C)
- Rushing the process: Shorter simmering times yield noticeably less complex flavor
Advanced Simmering Techniques
For exceptional results, consider these professional techniques:
Many award-winning chili cooks use the "simmer-rest-simmer" method: simmer for 90 minutes, remove from heat for 30 minutes, then return to low heat for another 60-90 minutes. This cycle enhances flavor development while preventing overcooking.
When simmering chili overnight (8-12 hours), reduce heat to the lowest possible setting and check periodically. Extended simmering requires careful monitoring to maintain proper liquid levels and prevent scorching. Many professional kitchens use specialized low-temperature equipment for all-day simmering.
For optimal results when meal prepping, simmer chili just to the point of doneness, then cool and refrigerate. Reheat gently the next day—the additional time allows flavors to deepen further. This "next-day chili" approach consistently produces superior flavor complexity compared to same-day serving.
Frequently Asked Questions
Can you simmer chili too long?
Yes, over-simmering chili beyond 5-6 hours can cause ingredients to break down excessively. Beans may become mushy, tomatoes lose their structure, and delicate spices can evaporate. For most recipes, 4 hours represents the upper limit for optimal texture and flavor balance. If simmering longer, monitor consistency closely and add liquid as needed.
Should chili simmer covered or uncovered?
Start covered for the first 30-60 minutes, then partially uncover for the remainder of simmering time. This approach balances flavor development with proper consistency. Complete coverage traps too much moisture, while leaving completely uncovered causes excessive evaporation. The ideal compromise is a lid slightly ajar, allowing controlled reduction while maintaining adequate liquid levels.
Does chili taste better the longer it simmers?
Up to a point—flavor improves significantly between 1.5-3 hours of simmering as ingredients meld. Beyond 4 hours, additional simmering yields diminishing returns and risks ingredient breakdown. The sweet spot for most chili recipes is 2.5-3.5 hours. Many cooks find that chili tastes even better after refrigerating overnight, as flavors continue to develop off the heat.
How do I fix chili that's simmered too long?
If your chili has over-simmered and become too thick, gradually add small amounts of broth, water, or tomato juice while heating gently. For broken-down ingredients, consider adding fresh diced vegetables during the last 30 minutes of cooking. If flavors have become muted, refresh with a splash of vinegar or fresh spices. In extreme cases, blending a portion can restore some texture while maintaining flavor.
Can I simmer chili in a slow cooker?
Yes, slow cookers work well for chili simmering. For best results, brown ingredients first, then cook on LOW for 6-8 hours or HIGH for 3-4 hours. The gentle, consistent heat of a slow cooker produces excellent results, though the flavor profile differs slightly from stovetop simmering. Check periodically to ensure proper consistency, as slow cookers evaporate less liquid than stovetop methods.


 浙公网安备
33010002000092号
浙公网安备
33010002000092号 浙B2-20120091-4