
Home canning enthusiasts often wonder exactly how long to pressure can tomato sauce safely. Getting the processing time right isn't just about preserving flavor—it's a critical food safety requirement. The USDA's Complete Guide to Home Canning specifies these exact processing times because tomatoes fall into a tricky category: they're acidic enough for water bath canning when properly acidified, but many tomato sauce recipes include low-acid ingredients like onions, carrots, or peppers that require pressure canning for safety.
| Jar Size | Processing Time (0-1,000 ft) | Processing Time (1,001-2,000 ft) | Processing Time (2,001-4,000 ft) | PSI Required |
|---|---|---|---|---|
| Pints (500ml) | 25 minutes | 25 minutes | 25 minutes | 11 PSI |
| Quarts (1L) | 30 minutes | 30 minutes | 35 minutes | 11 PSI |
This processing time table, verified by the National Center for Home Food Preservation, shows why altitude matters in pressure canning. At higher elevations, water boils at lower temperatures, requiring longer processing times or higher pressure to achieve the necessary 240°F (116°C) internal temperature that destroys botulism spores. Many home canners don't realize that failing to adjust for altitude increases food safety risks significantly.
Why Pressure Canning Is Essential for Tomato Sauce
While whole tomatoes can often be safely processed in a water bath canner with added acid, tomato sauce presents unique challenges. When you blend or cook tomatoes down into sauce, you change their density and heat penetration characteristics. Added ingredients like vegetables, meat, or starches further reduce acidity, moving your product into the low-acid food category where pressure canning becomes mandatory.
"Many home canners mistakenly think all tomato products can use water bath canning," explains food safety researcher Dr. Elizabeth Andress. "But once you add even small amounts of low-acid ingredients or thicken the sauce, you've created conditions where botulism spores can survive water bath processing temperatures."
Step-by-Step Pressure Canning Process
Preparation Phase: Setting Up for Success
Before you even start your sauce, gather these essential items:
- Pressure canner in good working condition (check gaskets and vents)
- Properly sized canning jars with new lids (pint or quart Mason jars)
- Tomato sauce recipe with documented pH below 4.6 or pressure canning instructions
- Pressure gauge tester (available at most county extension offices)
- Timer dedicated solely to canning
Crucially, verify your pressure canner's accuracy. A USDA study found that 22% of home pressure canners had inaccurate gauges, potentially leading to under-processing. Get yours tested annually at your local cooperative extension office—this simple step prevents dangerous under-processing.
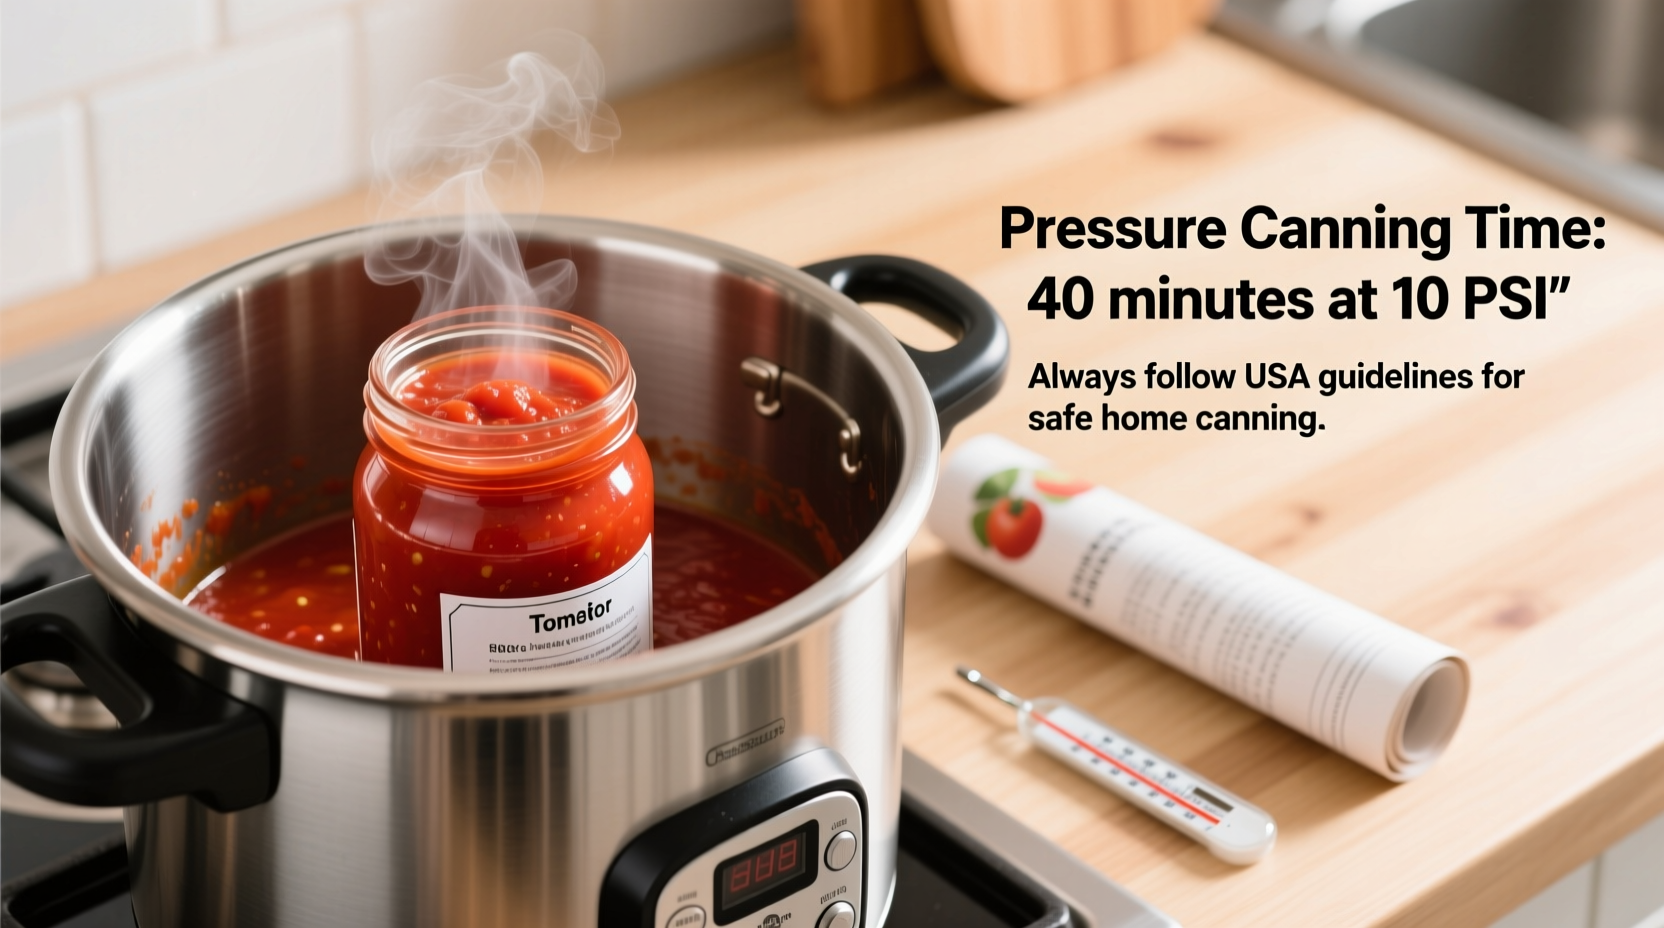
Processing Phase: The Critical 25-30 Minute Window
Follow these precise steps during processing:
- Fill jars leaving 1-inch headspace, removing air bubbles with a non-metallic tool
- Wipe jar rims clean and apply lids with proper fingertip-tight bands
- Place jars on rack in canner with 2-3 inches of hot water already in the bottom
- Secure lid and allow steam to vent for 10 full minutes before closing vent
- Bring to correct pressure (10-11 PSI for weighted gauge canners) and start timer
- Maintain steady pressure for full processing time (25 min pints, 30 min quarts)
- Turn off heat and let pressure return to zero naturally (never force-cool)
The "start timer" moment often confuses beginners—it begins when your canner reaches the target pressure, not when you put it on the stove. This distinction matters because reaching proper pressure can take 10-15 minutes depending on your stove and canner size.
Post-Processing: Ensuring Safety Before Storage
After processing completes, follow these verification steps:
- Wait 5 minutes after pressure returns to zero before opening vent
- Remove lid away from your face to avoid steam burns
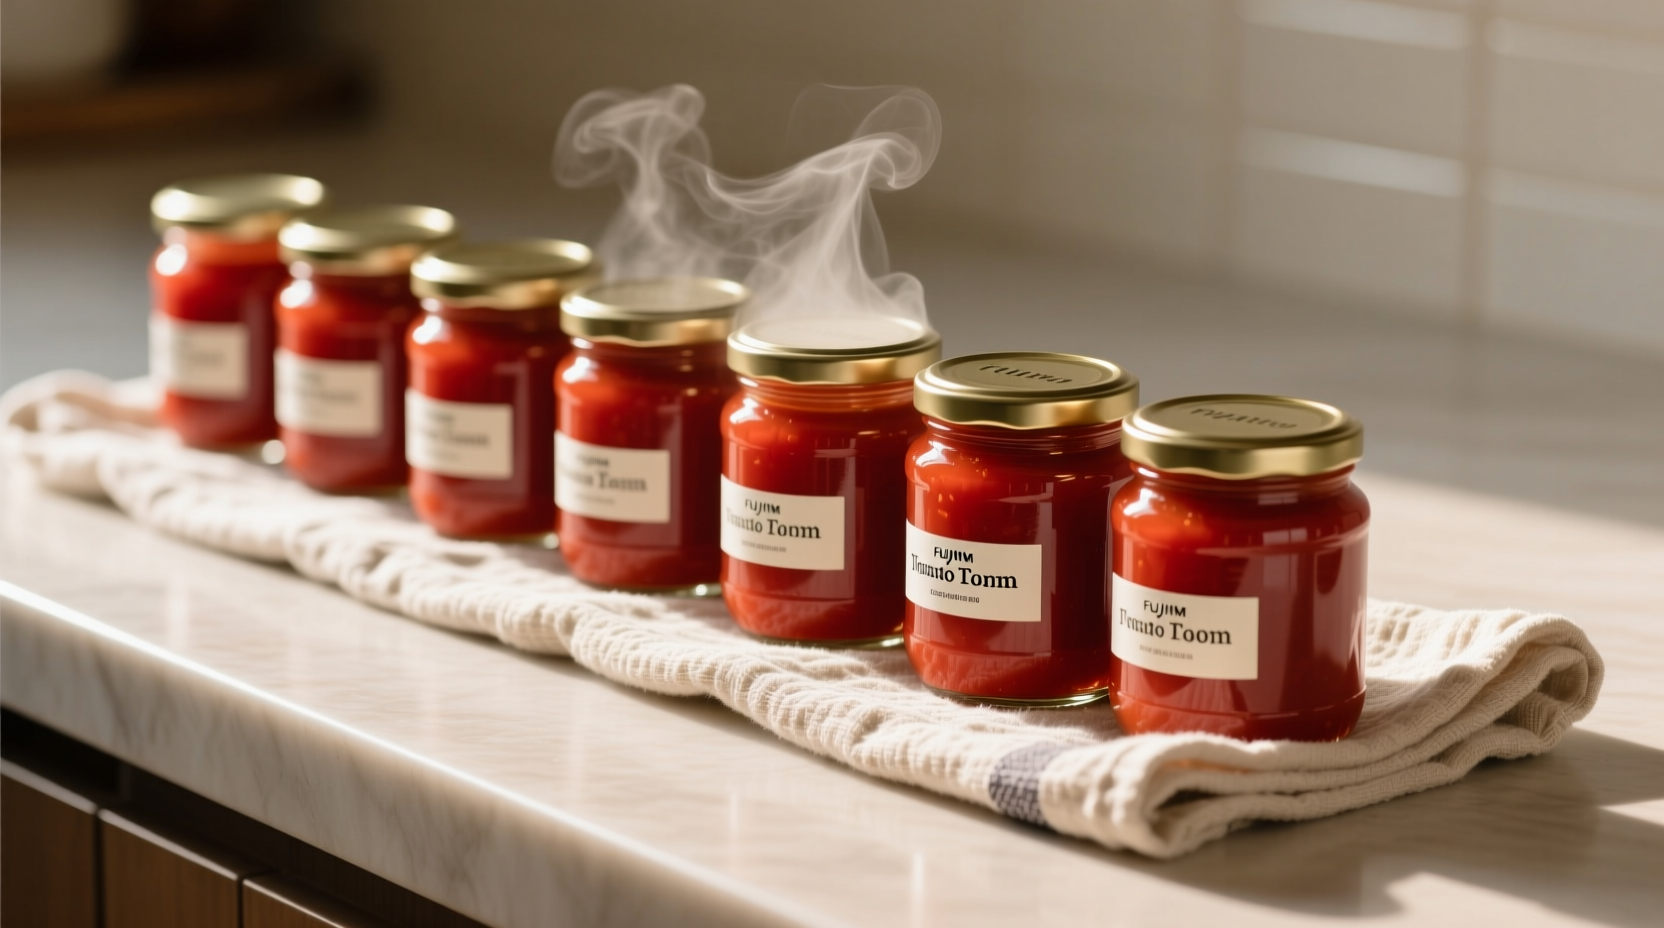
- Transfer jars to cooling rack with space between them
- Listen for "ping" sounds as lids seal (24 hours for full seal)
- Press center of each lid to confirm concave, non-flexing seal
- Refrigerate and use any unsealed jars immediately
Never skip the 24-hour seal verification period. A study by the University of Minnesota Extension found that 7% of jars appeared sealed initially but failed during the 24-hour period. Properly sealed jars should have concave lids that don't flex when pressed.
Common Mistakes That Compromise Safety
Based on analysis of home canning incidents reported to the FDA, these errors most frequently lead to unsafe tomato sauce:
- Using water bath canning instead of pressure canning for sauce with added ingredients
- Processing for less time than USDA guidelines specify
- Not adjusting for altitude above 1,000 feet
- Using outdated canning guides with obsolete recommendations
- Ignoring pressure fluctuations during processing
"I've seen too many cases where people followed a family recipe that didn't account for modern food science," says canning safety expert Linda Ziedrich. "The 25-30 minute processing time isn't arbitrary—it's the minimum time required to ensure the center of the jar reaches temperatures that destroy botulism spores."
Storage Guidelines for Maximum Safety
Properly pressure-canned tomato sauce remains safe for 12-18 months when stored correctly:
- Store in cool, dark place between 50-70°F (10-21°C)
- Keep jars at least 6 inches off floor and away from heat sources
- Check seals before each use and discard any with broken seals
- Refrigerate after opening and use within 5 days
- Always boil home-canned low-acid foods for 10 minutes before serving
Remember that even perfectly processed jars can develop problems over time. The USDA recommends using home-canned foods within one year for best quality and safety. Discard any jars showing signs of spoilage: spurting liquid when opened, unnatural colors, mold, or off odors.
When Water Bath Canning Might Be Appropriate
For basic tomato sauce made from 100% tomatoes with added citric acid or lemon juice (2 tablespoons per quart), water bath canning may be safe with these conditions:
- pH must test below 4.6 using proper food testing strips
- No additional low-acid ingredients included
- Processing time of 40 minutes for pints, 45 minutes for quarts
However, most home recipes include onions, garlic, or other vegetables that lower acidity, making pressure canning the only safe option. When in doubt, choose pressure canning—it provides a greater margin of safety for mixed-ingredient sauces.
Frequently Asked Questions
Can I process tomato sauce for less time if I add extra lemon juice?
No, adding acid doesn't reduce required pressure canning time. While acidification allows water bath canning for plain tomatoes, mixed-ingredient sauces still require full pressure canning times regardless of added acid because density affects heat penetration.
Why do quart jars need longer processing than pints?
Quart jars have greater density and volume, requiring more time for heat to penetrate to the center where cold spots occur. The additional 5 minutes ensures the entire contents reach the necessary 240°F temperature to destroy botulism spores.
What happens if my pressure drops during processing?
If pressure drops below the required level, immediately return to proper pressure and restart the timer from zero. Incomplete processing creates dangerous conditions where botulism spores may survive. Never estimate or guess about processing time.
How do I adjust processing times above 4,000 feet elevation?
Above 4,000 feet, increase processing time by 5 minutes for both pints and quarts. At 6,000+ feet, use 15 PSI instead of 10-11 PSI with weighted gauge canners. Always consult the USDA's Complete Guide to Home Canning for precise high-altitude adjustments.
Can I reuse canning jar lids for pressure canning?
No, the USDA and jar manufacturers recommend using new lids each time. The sealing compound deforms during processing and cannot create a reliable seal when reused, creating serious food safety risks with pressure-canned low-acid foods.


 浙公网安备
33010002000092号
浙公网安备
33010002000092号 浙B2-20120091-4