
The Essential Guide to Perfectly Cooked Chicken Strips on Stovetop
Nothing beats the convenience of cooking chicken strips on your stovetop when you need a quick, protein-packed meal. But getting that perfect golden exterior with juicy, fully cooked interior requires precise timing and technique. Get it wrong, and you'll face dry, overcooked chicken or worse—undercooked poultry that poses food safety risks.
Why Proper Cooking Time Matters for Chicken Strips
Chicken must reach a safe internal temperature of 165°F (74°C) to eliminate harmful bacteria like salmonella, according to the USDA Food Safety and Inspection Service. Undercooking risks foodborne illness, while overcooking creates dry, tough meat. The stovetop method offers direct heat control, but requires careful timing since chicken strips cook quickly.
Preparation: Setting Up for Success
Before you even turn on your burner, proper preparation ensures consistent cooking times:
- Bring chicken to room temperature: Remove from refrigerator 15-20 minutes before cooking for even cooking
- Dry the surface: Pat strips thoroughly with paper towels—moisture creates steam instead of sear
- Season properly: Salt just before cooking (salting too early draws out moisture)
- Choose the right oil: Use high smoke point oils like avocado, canola, or vegetable oil
- Preheat your pan: Medium-high heat for 3-5 minutes until a drop of water sizzles immediately
| Chicken Strip Thickness | Recommended Cooking Time | Visual Doneness Indicators |
|---|---|---|
| Thin (1/4 inch) | 4-5 minutes per side | Golden brown crust, no pink when cut |
| Standard (1/2 inch) | 5-7 minutes per side | Brown crust with slight resistance when pressed |
| Thick (3/4 inch+) | 7-9 minutes per side | Deep golden color, juices run clear |
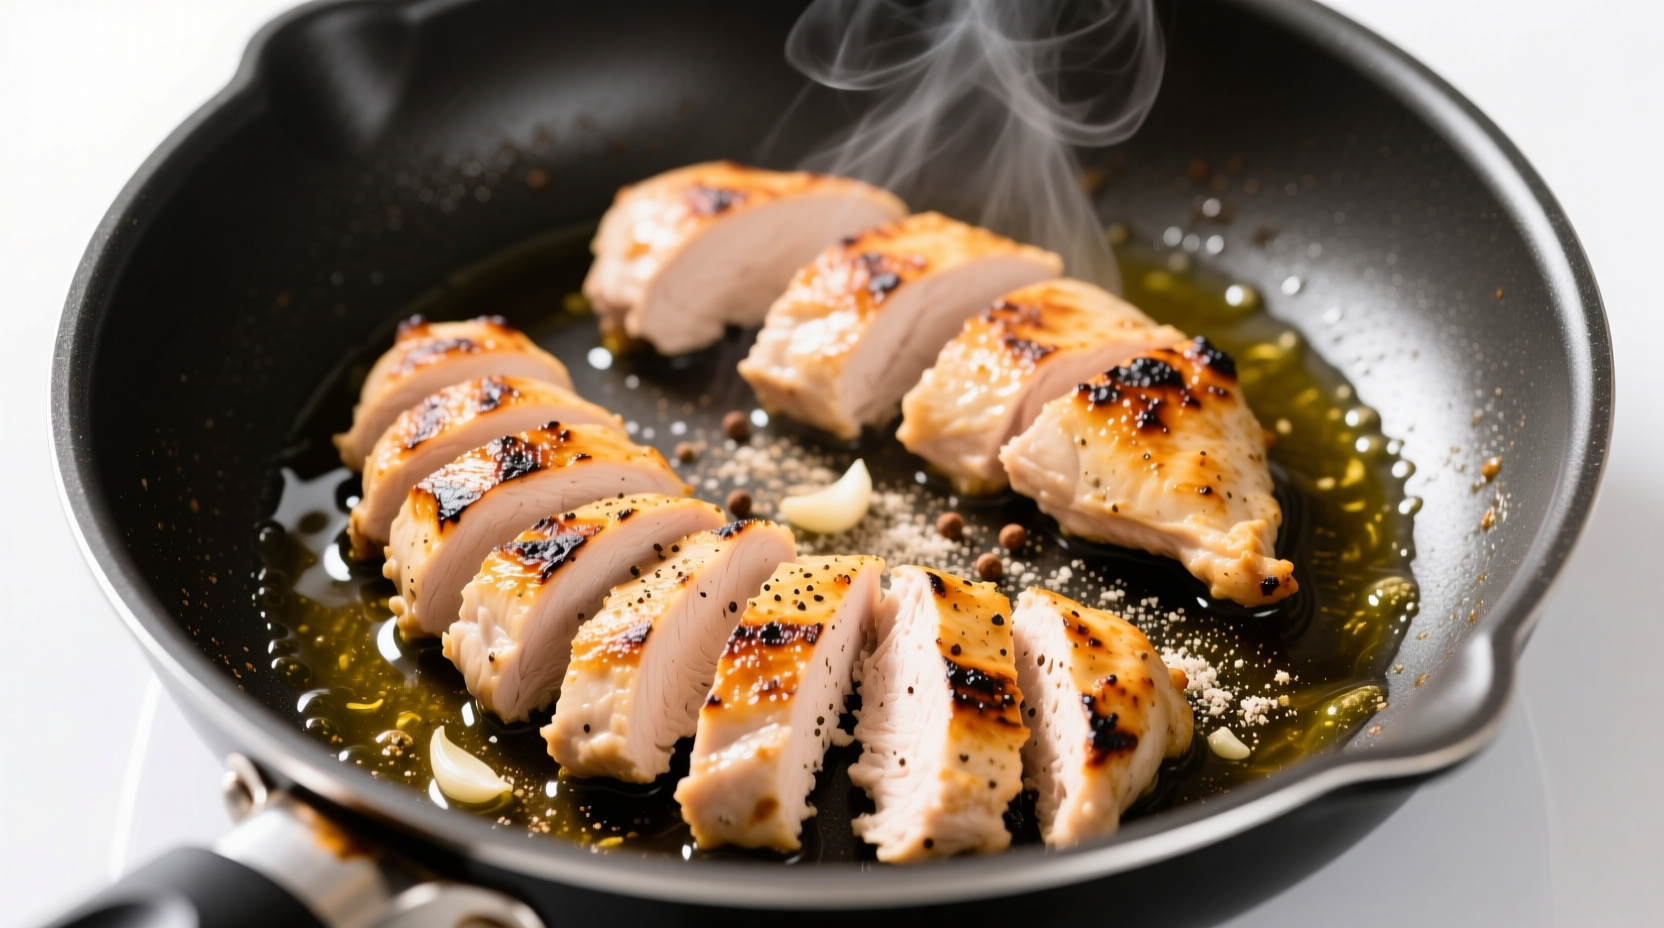
Step-by-Step Cooking Process
Follow these precise steps for restaurant-quality chicken strips at home:
1. Heat Management Is Critical
Medium-high heat (around 375°F) provides the ideal balance between searing and cooking through. Too hot causes burnt exteriors with raw interiors; too low creates steamed, soggy chicken. Test your pan temperature by flicking a few drops of water—they should dance and evaporate within 1-2 seconds.
2. Cooking Time Breakdown
Place chicken strips in a single layer with space between them (crowding lowers pan temperature). Here's the precise timing:
- First side: 5-7 minutes without moving to develop crust
- Flip once: Use tongs, not a fork (prevents juice loss)
- Second side: 4-6 minutes until internal temperature reaches 165°F
How to Verify Doneness: Beyond Timing
While timing provides a guideline, these verification methods ensure perfect results every time:
Thermometer Method (Most Reliable)
Insert an instant-read thermometer into the thickest part of the strip. The USDA mandates 165°F (74°C) for safety, but professional chefs often remove chicken at 160°F (71°C) and let carryover cooking finish the process to prevent dryness.
Visual and Tactile Indicators
- Color: Uniform golden brown (not dark brown or black)
- Juices: Run clear, not pink
- Texture: Firm but slightly springy when pressed
- Cut test: No pink areas visible in the center
Common Mistakes That Alter Cooking Time
Several factors can extend or reduce your chicken strip cooking time. Understanding these context boundaries helps you adjust on the fly:
- Cold chicken from refrigerator: Adds 1-2 minutes per side (always bring to room temperature first)
- Overcrowded pan: Creates steam, extending cooking time by 30-50%
- Frequent flipping: Prevents proper crust formation, increasing total cooking time
- Incorrect heat level: Low heat doubles cooking time while risking dryness
- Thickness variation: Uneven strips require staggered cooking times
Troubleshooting Guide
Fix common chicken strip problems with these professional adjustments:
Burnt Exterior, Raw Interior
Cause: Heat too high
Solution: Reduce to medium heat, cover pan to finish cooking through
Dry, Tough Chicken
Cause: Overcooking or skipping resting period
Solution: Remove at 160°F, rest 5 minutes before serving
Pale, Soggy Strips
Cause: Insufficient pan preheating or wet chicken
Solution: Dry chicken thoroughly, ensure proper pan temperature
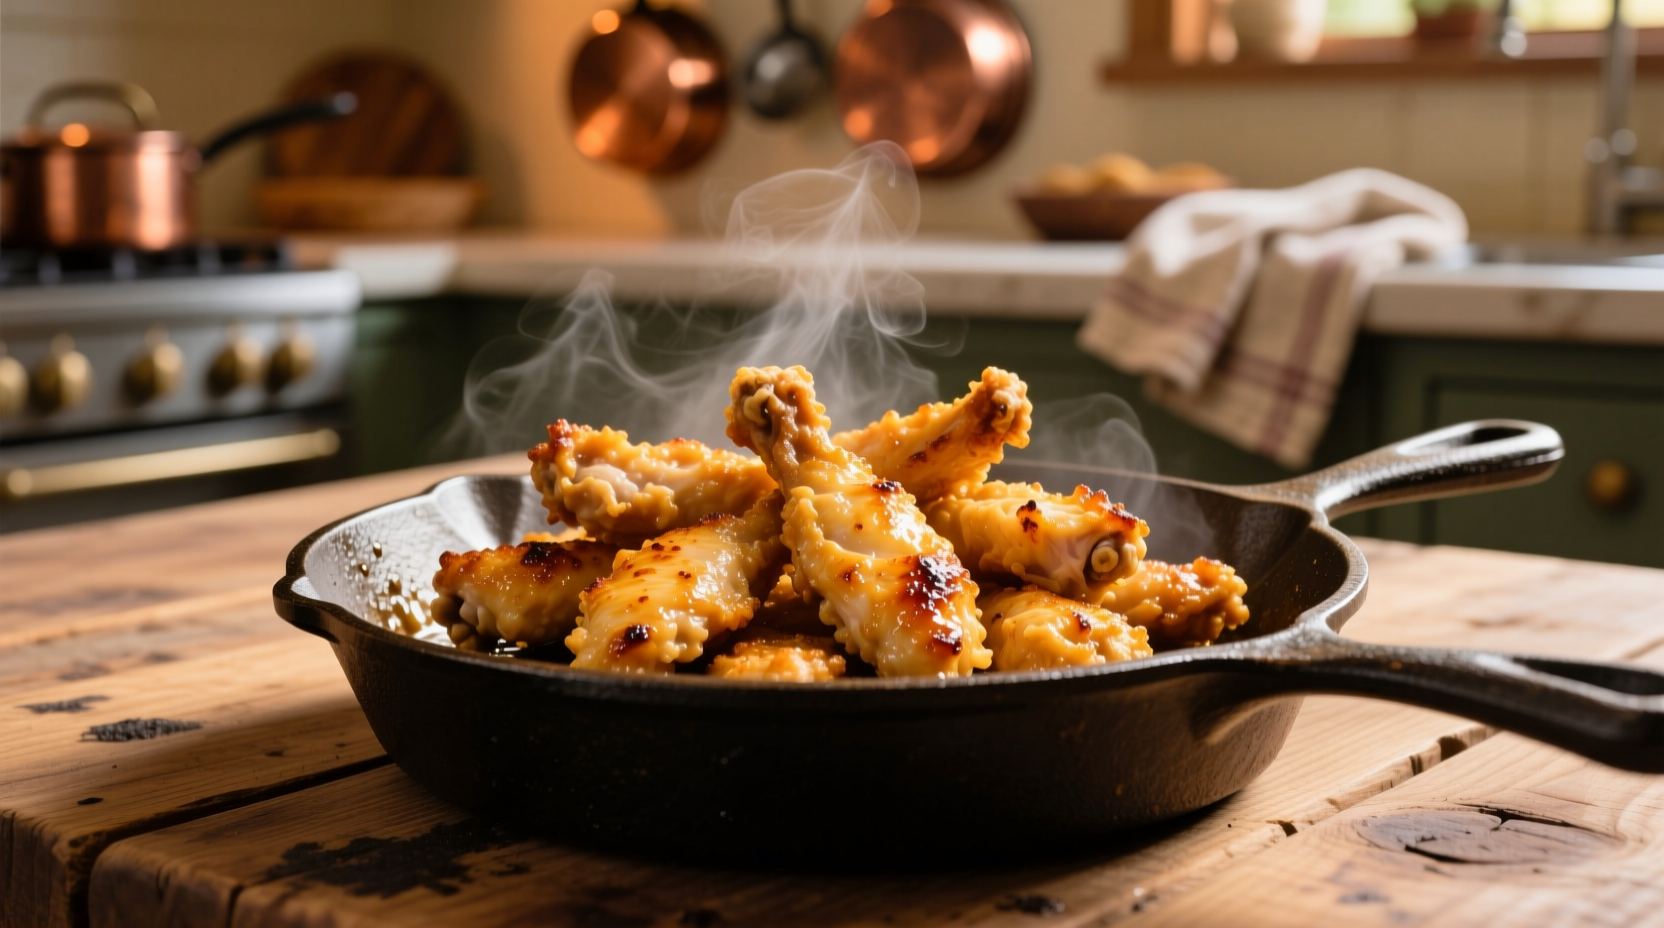
Pro Tips for Restaurant-Quality Results
Professional chefs use these techniques to consistently cook perfect chicken strips:
- Rest before cutting: Let chicken rest 5 minutes after cooking for juicier results
- Finish with butter: Add a tablespoon of butter during last minute for enhanced flavor
- Acid balance: Squeeze fresh lemon juice after cooking to cut richness
- Temperature check: Always verify with a thermometer—timing alone isn't reliable
- Batch cooking: Cook in batches to maintain proper pan temperature
Serving Suggestions for Perfect Chicken Strips
Pair your perfectly cooked chicken strips with complementary sides that enhance their flavor:
- Classic combo: Mashed potatoes and green beans
- Healthy option: Quinoa salad with cherry tomatoes and cucumber
- Kid-friendly: Sweet potato fries with honey mustard dip
- Meal prep: Slice into salads or wraps for next-day lunches
Frequently Asked Questions
How long to cook frozen chicken strips on stove?
Frozen chicken strips require 8-10 minutes per side on medium heat. Thawing first yields better results, but if cooking frozen, reduce heat slightly and increase cooking time by 50% while checking internal temperature carefully.
Can you cook chicken strips in butter instead of oil?
Yes, but combine butter with a high smoke point oil (1:1 ratio) to prevent burning. Add butter during the last 2-3 minutes of cooking for flavor without compromising the sear. Pure butter burns at 300°F, below the ideal chicken searing temperature.
Why do my chicken strips stick to the pan?
Chicken sticks when the pan isn't hot enough before adding protein or when you try to flip too soon. Ensure proper preheating (water droplets should dance), and wait until the chicken naturally releases from the pan surface before flipping—usually around the 4-minute mark for medium heat.
How do I keep chicken strips from drying out?
Prevent dryness by removing chicken at 160°F (not 165°F), then letting carryover cooking finish the process during a 5-minute rest. Also, avoid overcooking, don't pierce with forks while cooking, and consider brining thin strips for 30 minutes in salted water before cooking.
What's the best oil for cooking chicken strips on stove?
Use oils with high smoke points (400°F+): avocado oil (520°F), canola oil (400°F), or refined olive oil (465°F). These withstand the medium-high heat needed for proper searing without burning or creating harmful compounds.


 浙公网安备
33010002000092号
浙公网安备
33010002000092号 浙B2-20120091-4