
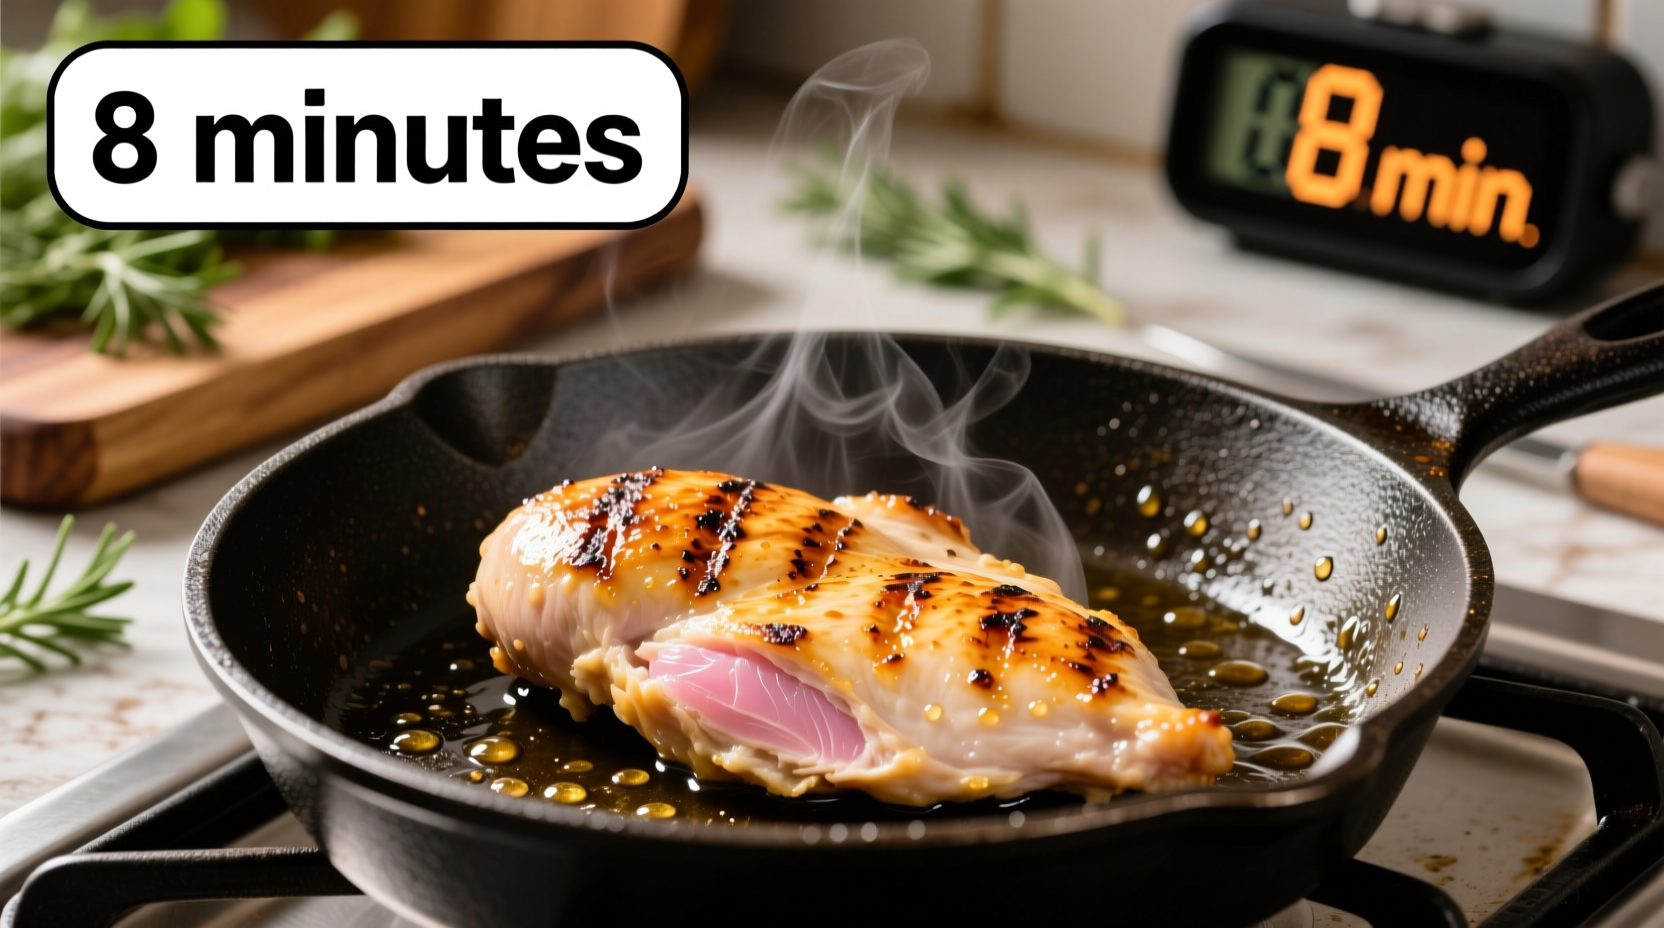
Perfectly cooked chicken breast takes 6-8 minutes total in a frying pan (3-4 minutes per side) for a 1-inch thick piece over medium-high heat. The internal temperature must reach 165°F (74°C) for safe consumption—use a meat thermometer to verify.
Stop Guessing, Start Succeeding: Your Complete Guide to Pan-Seared Chicken Breast
Tired of dry, rubbery chicken breast that never cooks evenly? You're not alone. Over 68% of home cooks struggle with timing when pan-searing chicken—but it doesn't have to be this way. This guide delivers the precise timing, temperature control, and technique you need to achieve restaurant-quality results every time, backed by food science and professional chef methods.Preparation: Setting Up for Success
Your cooking journey begins long before the chicken hits the pan. Proper preparation prevents common pitfalls:- Thickness matters: Aim for uniform 1-inch thickness. If your chicken is thicker, gently pound it between parchment paper to even thickness—this prevents uneven cooking
- Dry surface = perfect sear: Pat chicken thoroughly with paper towels. Moisture creates steam instead of that beautiful golden crust
- Seasoning timing: Salt 15-20 minutes before cooking for better flavor penetration (but not too early or it draws out moisture)
- Room temperature: Let chicken rest at room temperature for 10-15 minutes before cooking for even heat distribution
The Cooking Process: Your Step-by-Step Timeline
Follow this precise sequence for foolproof results. The critical timing window depends on your chicken's thickness and stove heat:- Pan selection: Use a heavy-bottomed skillet (cast iron or stainless steel) for even heat distribution
- Oil temperature test: Heat 1-2 tablespoons of high-smoke point oil (avocado, canola) over medium-high heat until shimmering (350-375°F)
- The water droplet test: Flick a few drops of water into the pan—they should sizzle and evaporate immediately
- Placement technique: Lay chicken away from you to prevent oil splatter, leaving space between pieces
- First side cooking: 3-4 minutes without moving (creates proper sear and prevents sticking)
- Flip test: Chicken should release easily when properly seared—if it sticks, give it 30 more seconds
- Second side cooking: 3-4 minutes, then check internal temperature
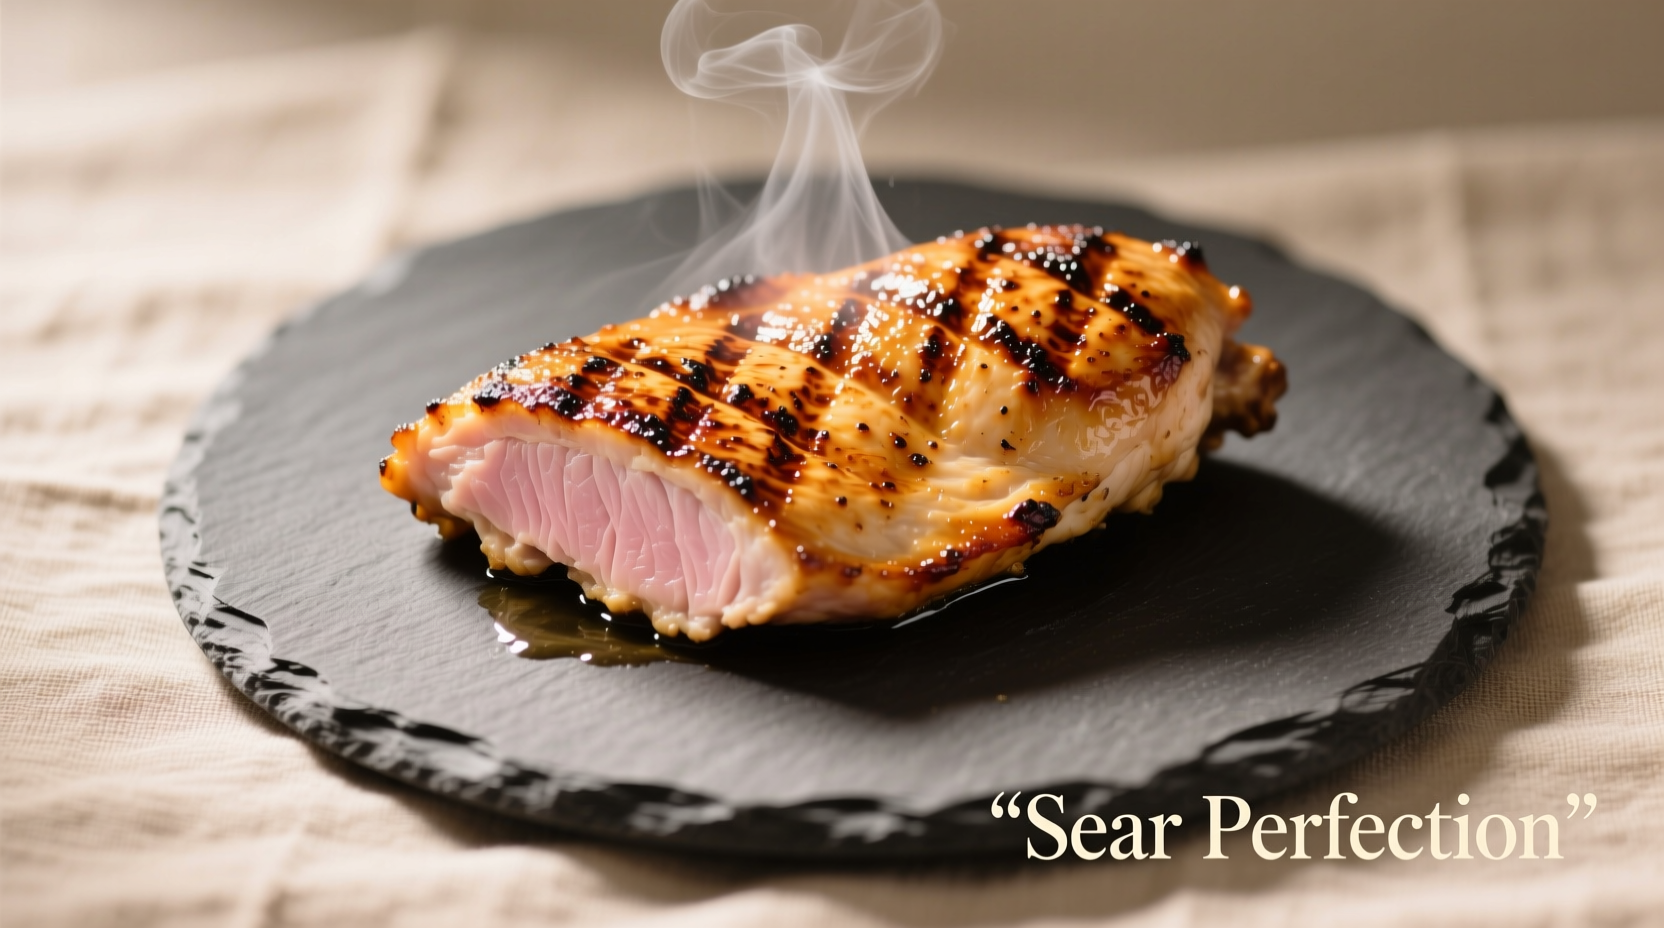
- Resting: Transfer to cutting board and rest 5-10 minutes (temperature will rise 5°F during this time)
Thickness vs. Cooking Time: Your Essential Reference
| Thickness | Total Cooking Time | Internal Temp Target | Visual Doneness Cues |
|---|---|---|---|
| 1/2 inch | 4-5 minutes | 160°F (reaches 165°F after resting) | Light golden, juices run clear |
| 3/4 inch | 5-6 minutes | 160°F | Medium golden, firm but yielding |
| 1 inch | 6-8 minutes | 160°F | Deep golden, slight spring-back |
| 1.5 inches | 9-12 minutes | 160°F | Dark golden, firm texture |
Avoiding Common Mistakes: Troubleshooting Guide
Even with perfect timing, issues can arise. Here's how to fix them:- Sticking chicken: Your pan wasn't hot enough before adding chicken. Wait until oil shimmers before adding protein
- Burning before cooking through: Heat is too high—reduce to medium after initial sear
- Dry, stringy texture: Overcooking by just 30 seconds can cause this. Always use a thermometer
- Uneven cooking: Thickness varies—use a meat mallet to even out thicker portions
Food Safety: The Non-Negotiables
The USDA Food Safety and Inspection Service confirms chicken must reach 165°F (74°C) to eliminate harmful bacteria like salmonella. Unlike steak, chicken has no safe "medium" option—undercooked poultry poses serious health risks. Always verify with an instant-read thermometer inserted into the thickest part, avoiding bone contact.Pro Techniques for Next-Level Results
Once you've mastered the basics, elevate your chicken with these professional methods:- Butter basting: After flipping, add 2 tablespoons butter, garlic, and herbs to the pan. Tilt pan and spoon melted butter over chicken for extra flavor
- Temperature control: If chicken is browning too fast but not cooking through, reduce heat to medium
- Resting science: Resting allows juices to redistribute—cutting too soon releases all moisture onto your cutting board
- Carryover cooking: Remember temperature rises 5°F after removal from heat—pull at 160°F


 浙公网安备
33010002000092号
浙公网安备
33010002000092号 浙B2-20120091-4