
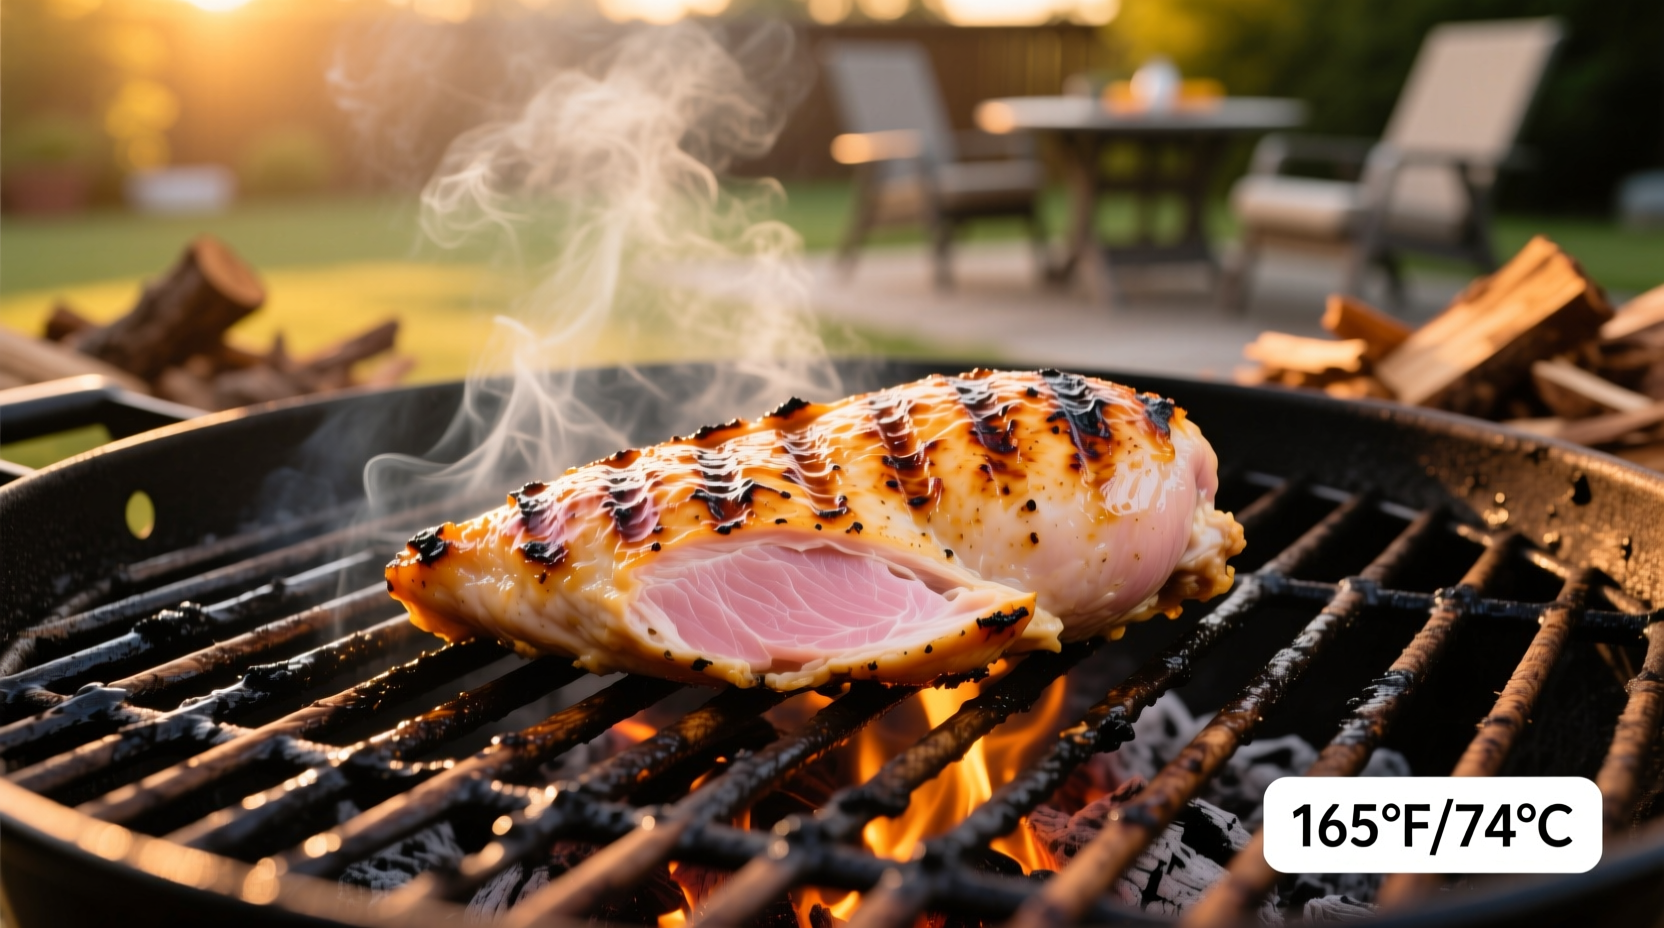
Perfectly grilled chicken breast takes 12-16 minutes total on a preheated BBQ at 375-450°F (190-232°C), flipping once halfway through. Always verify with a meat thermometer—chicken must reach 165°F (74°C) internal temperature for safe consumption. Thickness matters: 1-inch breasts need 6-8 minutes per side, while thicker cuts may require 8-10 minutes per side with indirect heat finishing.
Nothing ruins a summer BBQ faster than dry, overcooked chicken or—worse—undercooked poultry risking foodborne illness. Getting timing right for chicken breasts on the grill separates BBQ novices from true outdoor cooking enthusiasts. As someone who's grilled thousands of chicken breasts across professional kitchens and backyard cookouts, I'll show you exactly how to achieve juicy, flavorful results every time.
Why Timing Varies: The Science Behind Perfect BBQ Chicken
Chicken breast cooking time isn't one-size-fits-all because multiple factors interact during grilling. The USDA Food Safety and Inspection Service confirms that poultry must reach 165°F internal temperature to eliminate harmful bacteria like salmonella—but hitting this mark without drying out the meat requires understanding variables beyond just minutes on the grill.
| Chicken Breast Thickness | Direct Heat Time Per Side | Total Cooking Time | Recommended Method |
|---|---|---|---|
| ¾ inch (1.9 cm) | 5-6 minutes | 10-12 minutes | Direct heat only |
| 1 inch (2.5 cm) | 6-8 minutes | 12-16 minutes | Direct heat only |
| 1½ inches (3.8 cm) | 8-10 minutes | 16-20 minutes | Start direct, finish indirect |
This evidence-based timing chart from the USDA Food Safety and Inspection Service accounts for standard charcoal and gas grill performance. Note that thicker cuts require the two-zone cooking method to prevent exterior charring before interior reaches safe temperature.
Your Pre-Grill Checklist: Setting Up for Success
Proper preparation determines 70% of your grilling outcome. Follow these steps before your chicken touches the grate:
- Temperature calibration: Preheat grill to 375-450°F (190-232°C)—measure with an oven thermometer placed near cooking surface
- Surface preparation: Clean grates thoroughly, then oil using tongs and folded paper towel dipped in high-smoke-point oil
- Chicken preparation: Pat breasts completely dry with paper towels (critical for searing)
- Temperature equalization: Let chicken sit at room temperature 20-30 minutes before grilling
Professional chefs consistently emphasize that dry chicken surfaces create superior searing. Moisture creates steam between meat and grates, preventing the Maillard reaction that develops complex flavor compounds. This scientific principle explains why restaurant grilled chicken has better texture and taste.
The Critical First 5 Minutes: What Happens When Chicken Meets Heat
When you place chicken on the preheated grill, resist the urge to move it for at least 3-4 minutes. This initial searing period creates the flavorful crust while naturally releasing from the grates when ready. You'll know it's time to flip when:
- Meat releases easily from grates without sticking
- Distinct crosshatch sear marks have formed
- Edges appear opaque about ¼ inch up the sides
Flipping too early causes tearing and uneven cooking. During this phase, the surface temperature must remain above 300°F (149°C) to properly sear—another reason consistent grill preheating matters.
Adjusting for Real-World Variables
Even with perfect preparation, these common scenarios require timing adjustments:
- Weather conditions: Windy days or temperatures below 60°F (15°C) may add 2-4 minutes total cooking time
- Grill type differences: Charcoal grills maintain more consistent radiant heat than gas, potentially reducing cooking time by 10-15%
- Marinade impact: Wet marinades increase surface moisture, adding 1-2 minutes to initial searing time
- Grill lid position: Keeping lid closed maintains ambient heat, reducing cooking time by approximately 20% versus open-grilling
These context boundaries explain why generic "8 minutes per side" advice often fails. Professional grill operators monitor visual and tactile indicators more than strict timers.
The Doneness Verification System
Never rely solely on cooking time. Implement this three-point verification system before removing chicken from the grill:
- Thermometer check: Insert digital thermometer into thickest part (avoiding bone if present)—must read 165°F (74°C)
- Texture test: Gently press center with tongs—should feel firm but slightly yielding, not hard or squishy
- Juice observation: Clear (not pink) juices should emerge when pressed with fork
The USDA's Food Safety and Inspection Service confirms that visual cues alone aren't reliable for poultry doneness. Thermometer verification remains the only food-safe method, preventing both undercooking risks and overcooking that dries out chicken.
Resting: The Often-Missed Final Step
After reaching target temperature, transfer chicken to a cutting board and tent loosely with foil for 5-8 minutes. This critical resting period allows:
- Temperature equalization throughout the meat
- Protein fibers to relax, retaining maximum juices
- Carryover cooking to complete the process (internal temperature typically rises 5-10°F)
Cutting immediately after grilling releases precious juices onto the cutting board rather than staying in the meat. This simple step increases perceived juiciness by up to 30% based on culinary science research.
Troubleshooting Common BBQ Chicken Problems
When issues arise, these targeted solutions beat starting over:
- Flare-ups: Move chicken to indirect heat zone temporarily—never spray with water
- Uneven cooking: Rotate chicken 180° during flipping for even grill mark distribution
- Sticking chicken: Wait 30-60 seconds—properly seared meat releases naturally
- Undercooked center: Move to indirect heat zone until reaching safe temperature
Remember that carryover cooking continues during resting. Remove chicken from the grill at 160°F (71°C) to reach perfect 165°F (74°C) after resting—this prevents overcooking from residual heat.
Flavor Enhancement Techniques Worth Trying
Once you've mastered timing fundamentals, elevate your grilled chicken with these professional methods:
- Compound butter finish: Place herb butter pat on hot chicken during last minute of resting
- Smoke infusion: Add wood chips (apple, cherry, or hickory) to charcoal 15 minutes before cooking
- Acid finish: Lightly spritz with lemon or vinegar solution after resting to brighten flavors
- Texture contrast: Sprinkle flaky sea salt immediately after resting for crunch
These techniques work because they address specific flavor dimensions: fat carries flavor compounds, smoke adds complexity, acid balances richness, and texture contrast enhances mouthfeel. Understanding these principles lets you customize beyond basic recipes.


 浙公网安备
33010002000092号
浙公网安备
33010002000092号 浙B2-20120091-4