
Most potato varieties take 70-120 days to grow from planting to harvest, with early-season types ready in 70-90 days, mid-season in 90-110 days, and late-season varieties requiring 110-120+ days. The exact timeline depends on potato type, climate conditions, soil quality, and proper care throughout the growing season.
Have you ever wondered exactly when you'll be able to harvest your homegrown potatoes? Whether you're planning your garden calendar or just planted your first seed potatoes, knowing the precise timeline helps ensure you don't dig too early or wait too long. Understanding the complete growth cycle—from planting to that satisfying harvest moment—is essential for maximizing your potato yield and quality.
Understanding Potato Growth Timelines by Variety
Not all potatoes grow at the same pace. The variety you choose dramatically impacts your waiting period. Let's break down the three main categories:
| Potato Type | Days to Maturity | Common Varieties | Best Harvest Indicators |
|---|---|---|---|
| Early-season | 70-90 days | Yukon Gold, Norland, Irish Cobbler | Flowers appear, vines vigorous |
| Mid-season | 90-110 days | Kennebec, Red Pontiac, Purple Viking | Flowers fade, foliage starts yellowing |
| Late-season | 110-135 days | Russet Burbank, Katahdin, Elba | Foliage completely dies back |
This comparison shows why selecting the right variety matters for your specific growing season. Early-season potatoes give you 'new potatoes' with thin skins perfect for immediate eating, while late-season varieties develop thicker skins ideal for winter storage. According to the University of Minnesota Extension, understanding these distinctions prevents common mistakes like harvesting storage varieties too early when their skins haven't properly set.
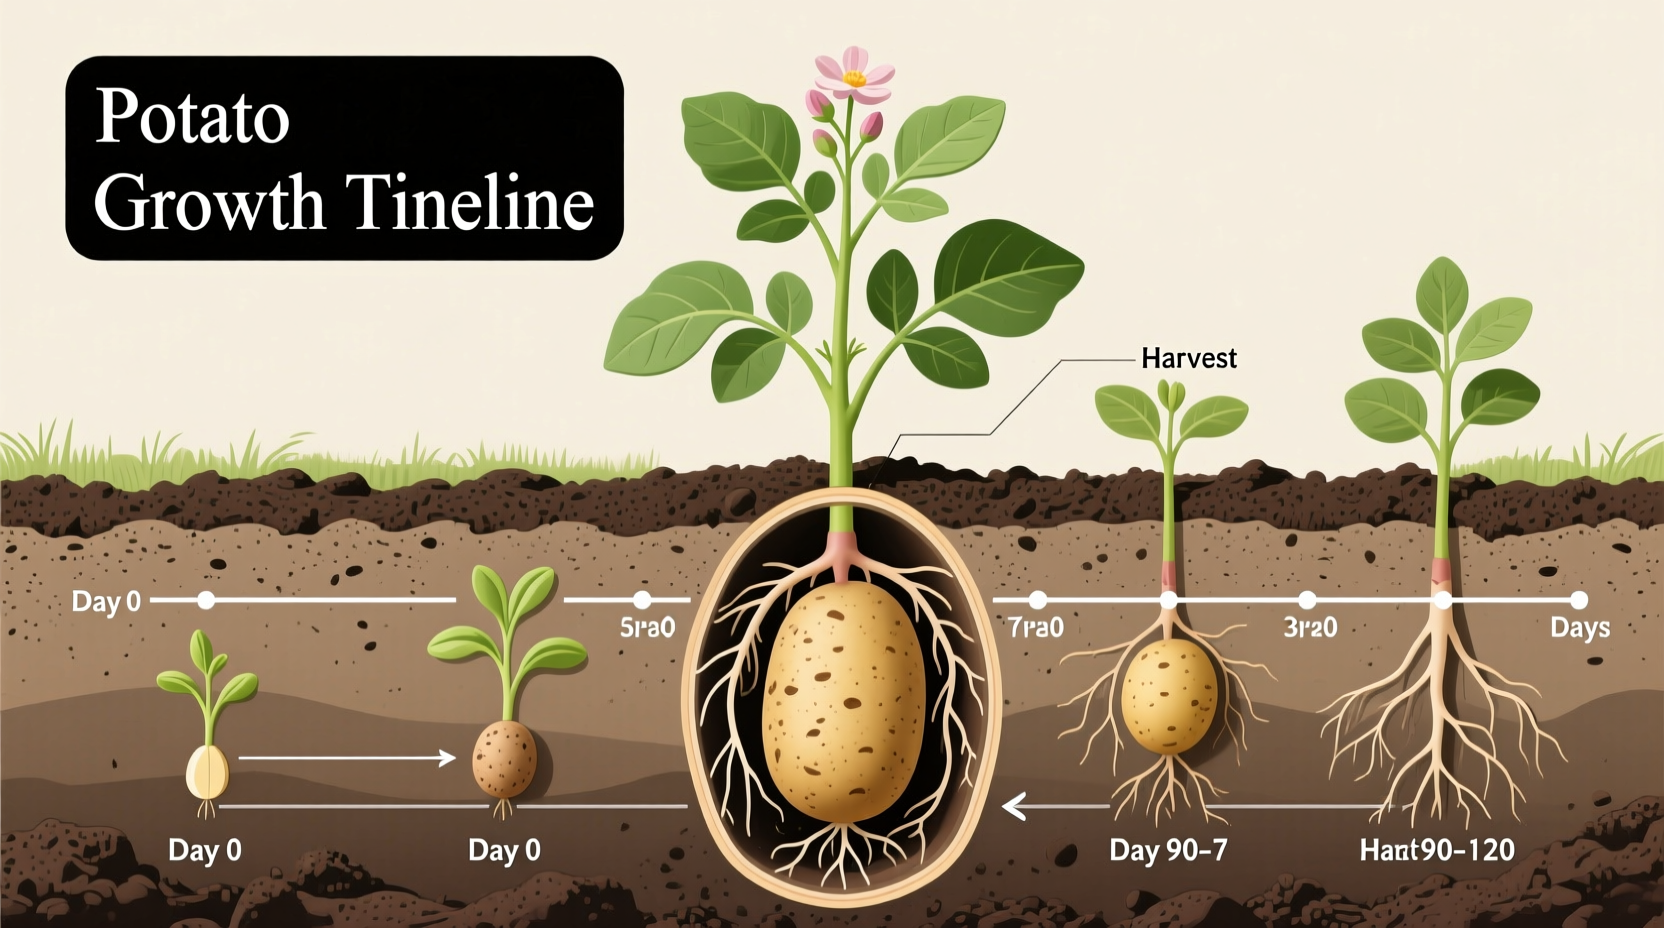
Your Potato's Journey: A Day-by-Day Growth Timeline
Watching potatoes grow is fascinating when you know what's happening beneath the soil. Here's exactly what occurs during each phase:
Weeks 1-2: The Awakening (Days 0-14)
After planting your seed potatoes 4-6 inches deep in well-prepared soil, they begin developing roots while the eyes sprout. During this critical establishment phase, consistent moisture is essential but avoid overwatering which can cause rot. You won't see anything above ground yet, but underground activity determines your entire crop's success.
Weeks 3-6: Leafy Explosion (Days 15-45)
This is when green shoots break through the soil surface and rapidly develop into bushy plants. The plant focuses energy on photosynthesis, building the foliage that will ultimately feed your tubers. Proper hilling (mounding soil around the base) during this phase protects developing tubers from sunlight which causes greening. According to Oregon State University Extension, plants at this stage require about 1-2 inches of water weekly.
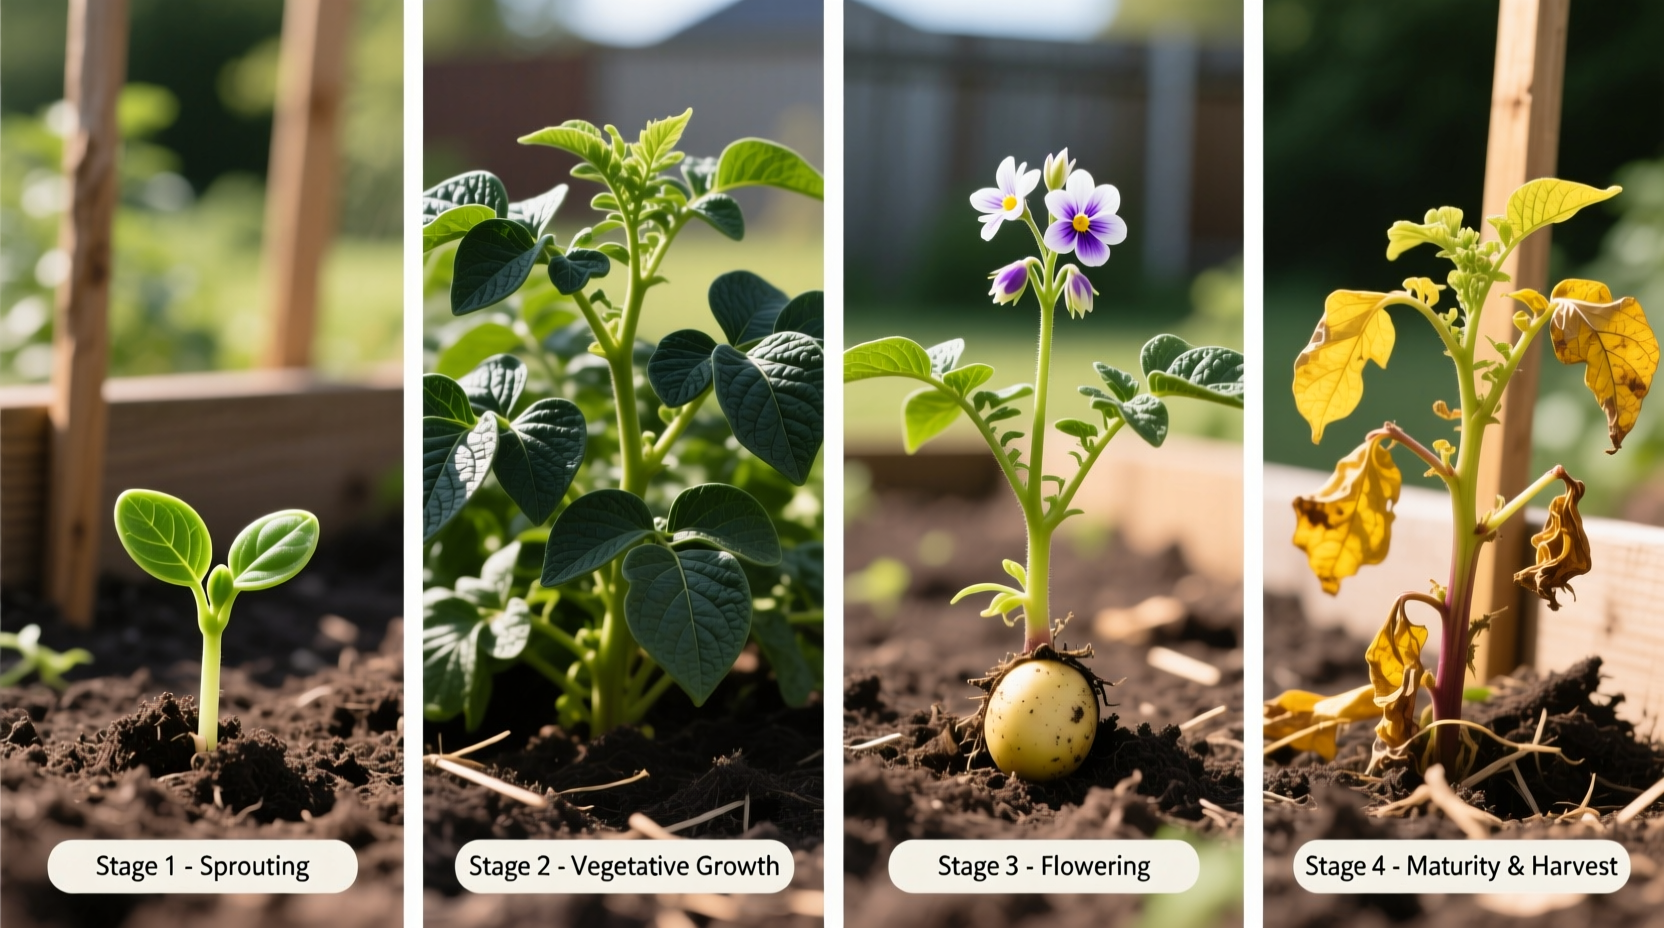
Weeks 7-10: Tuber Formation (Days 46-75)
The magic happens now! After flowering begins (typically around day 50-60), the plant redirects energy underground to form actual potatoes. This critical tuber bulking phase requires consistent moisture—drought stress now creates misshapen tubers while excess water causes rot. Early varieties reach harvestable size during this period, while maincrop potatoes continue developing.
Weeks 11-16: Maturation and Ready for Harvest (Days 76-120+)
Late in the season, the plant naturally begins dying back as energy transfers to the tubers. For storage potatoes, wait until 2-3 weeks after complete vine death for skins to properly thicken. This curing period in the ground significantly improves storage life. Early varieties don't require this waiting period—you can harvest 'new potatoes' as soon as they reach usable size, typically when flowers appear.
4 Key Factors That Speed Up or Delay Your Potato Harvest
While variety sets your baseline timeline, these elements significantly impact your actual harvest date:
Climate and Temperature Conditions
Potatoes grow best in cool temperatures between 60-70°F (15-21°C). When soil temperatures exceed 80°F (27°C), tuber formation slows dramatically or stops completely. In warmer climates, planting earlier in spring or using mulch to keep soil cool becomes essential. The USDA Natural Resources Conservation Service notes that potatoes are a cool-season crop that performs poorly when temperatures consistently exceed 85°F.
Soil Quality and Preparation
Loose, well-drained soil rich in organic matter allows tubers to expand freely. Heavy clay soils delay maturity and cause misshapen potatoes. Ideal soil pH ranges from 5.0-6.0—more acidic than many garden crops. Adding compost before planting improves both drainage and nutrient availability, potentially shaving 7-10 days off your total growing time.
Water Management Practices
Consistent moisture is crucial, especially during tuber formation. Fluctuating between drought and saturation creates hollow hearts or裂tubers. Aim for 1-2 inches of water weekly, increasing slightly during peak tuber formation. Drip irrigation maintains more consistent soil moisture than overhead watering, which can spread diseases that delay harvest.
Regional Growing Considerations
Your location dramatically affects planting dates and total growing time:
- Northern climates: Shorter growing seasons require early varieties; plant as soon as soil can be worked in spring
- Southern climates: Plant in fall for winter harvest to avoid summer heat; may require 10-14 days longer for maturity
- Mountain regions: Shorter frost-free periods necessitate early varieties; elevation affects soil warming
Proven Strategies to Optimize Your Potato Growing Timeline
Want to maximize your harvest within your specific timeframe? Implement these research-backed techniques:
Chitting (Pre-sprouting) Your Seed Potatoes
Place seed potatoes in a bright, cool location (50-60°F) 2-4 weeks before planting to encourage sprout development. This gives plants a 7-10 day head start once planted. The Oregon State University Extension confirms chitting improves emergence speed and can advance harvest dates, especially valuable in short-season climates.
Precision Hilling Techniques
When plants reach 6-8 inches tall, mound soil around the base to cover all but the top leaves. Repeat every 2-3 weeks as plants grow, maintaining 4-6 inches of soil coverage over developing tubers. This prevents greening while encouraging additional tuber formation along buried stems. Use a hoe or garden rake for efficiency in larger plantings.
Strategic Variety Selection
Match varieties to your specific climate and goals:
- Short growing seasons: Focus on early varieties like 'Yukon Gold' (70 days)
- Long-term storage needs: Choose late varieties like 'Russet Burbank' (110+ days)
- Continuous harvest: Plant early, mid, and late varieties simultaneously
Common Mistakes That Delay Your Potato Harvest
Avoid these pitfalls that extend your waiting period or reduce yield:
Planting Too Early in Cold Soil
While potatoes tolerate cool weather, soil temperatures below 45°F (7°C) cause seed potatoes to rot rather than sprout. Wait until soil consistently reaches 50°F at planting depth. Use a soil thermometer for accuracy—this simple step prevents 2-3 weeks of delayed emergence.
Insufficient Hilling
Failing to hill properly exposes developing tubers to sunlight, causing greening (which produces toxic solanine). Plants then divert energy to protect exposed tubers rather than producing new ones. Proper hilling also creates additional space for tuber development along the stem.
Irregular Watering During Tuber Set
The 3-4 week period after flowering is critical for tuber formation. Inconsistent moisture during this phase causes misshapen potatoes, hollow centers, or secondary growth that delays maturity. Install a moisture meter to maintain consistent 60-70% soil moisture during this crucial window.
When Exactly Should You Harvest Your Potatoes?
Timing your harvest correctly affects both immediate quality and storage potential:
Harvesting New Potatoes
For tender 'new potatoes' with thin skins, harvest 2-3 weeks after plants finish flowering. Gently dig around the plant base to remove a few tubers while leaving the plant intact to continue producing. These delicate potatoes don't store well—enjoy them within days of harvest.
Harvesting Maincrop for Storage
Wait until foliage completely dies back, then wait an additional 2-3 weeks for skins to thicken. This curing period in the ground significantly improves storage life. Carefully dig when soil is dry to prevent rot. Cure harvested potatoes in a dark, humid location (50-60°F) for 10-14 days before long-term storage.
Signs Your Potatoes Are Ready
- Foliage turns yellow and dies back naturally
- Rub skin gently—it should resist scraping off
- Tuber size matches variety expectations
- Soil around plants appears slightly raised from tuber growth
Troubleshooting Delayed Potato Maturity
If your potatoes seem behind schedule, check these common issues:
Nutrient Deficiencies
Yellowing leaves or stunted growth often indicates nitrogen deficiency. Potatoes need moderate nitrogen early for foliage development, but excess nitrogen later delays tuber formation. Use a balanced fertilizer with higher potassium during tuber set to encourage development.
Pest and Disease Pressure
Potato beetles, aphids, or fungal diseases like early blight force plants to divert energy to defense rather than tuber production. Inspect plants weekly and address issues promptly with appropriate organic or chemical controls to prevent significant delays.
Compacted Soil Conditions
Hard, compacted soil restricts tuber expansion, slowing development and creating misshapen potatoes. Test soil before planting and amend with compost to improve structure. Raised beds often provide better drainage and looser soil for optimal growth.


 浙公网安备
33010002000092号
浙公网安备
33010002000092号 浙B2-20120091-4