
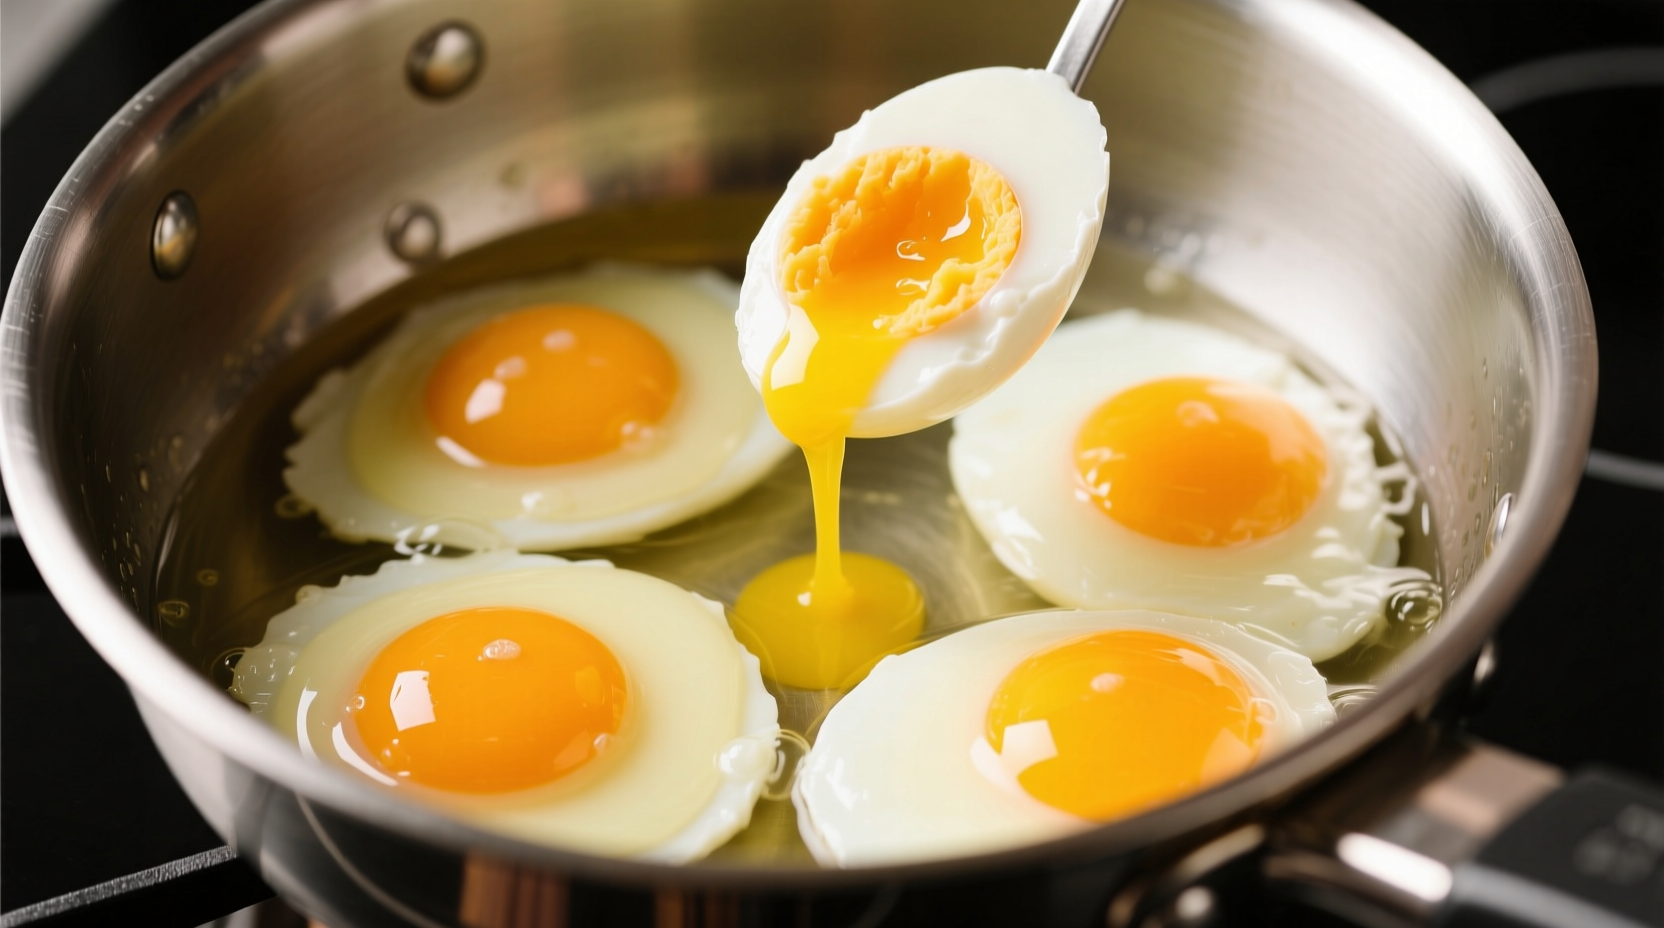
Getting hard-boiled eggs just right seems simple, yet so many home cooks struggle with rubbery whites, cracked shells, or that dreaded green-gray yolk ring. The secret lies in precise timing combined with proper technique. Whether you're meal prepping for the week or making deviled eggs for a party, understanding the science behind hard-boiling ensures consistent results every time.
The Essential Hard-Boiling Process
Follow these steps for foolproof hard-boiled eggs that peel easily and taste perfect:
- Place eggs in a single layer at the bottom of a saucepan
- Cover with cold water (1-2 inches above eggs)
- Bring to a rolling boil over medium-high heat
- Once boiling, set timer based on your egg size
- Immediately transfer to ice water bath for 15 minutes
Precision Timing Guide
The critical window for hard-boiling occurs after the water reaches a full boil. Set your timer immediately when you see vigorous bubbling across the entire surface.
| Egg Size | Boiling Time | Yolk Texture |
|---|---|---|
| Medium | 9-10 minutes | Fully set, bright yellow |
| Large | 10-12 minutes | Fully set, no green ring |
| Extra Large | 12-14 minutes | Fully set, slightly paler |
| Jumbo | 14-16 minutes | Fully set, requires careful timing |
This timing chart reflects recommendations from the USDA Food Safety and Inspection Service, which emphasizes that proper cooking time prevents both undercooked yolks and the iron-sulfur reaction that creates unappetizing green rings around yolks.
Altitude Adjustments: When Standard Timing Fails
Many home cooks don't realize that altitude significantly impacts hard-boiling success. At higher elevations, water boils at lower temperatures, requiring extended cooking times:
- Sea level to 3,000 feet: Standard timing applies
- 3,000-6,000 feet: Add 1-2 minutes to standard time
- 6,000-8,000 feet: Add 3-5 minutes to standard time
- Above 8,000 feet: Add 5-8 minutes to standard time
This adjustment comes from research published by the Colorado State University Extension, which notes that "water boils at approximately 208°F at 5,000 feet versus 212°F at sea level, requiring longer cooking times to achieve the same results."
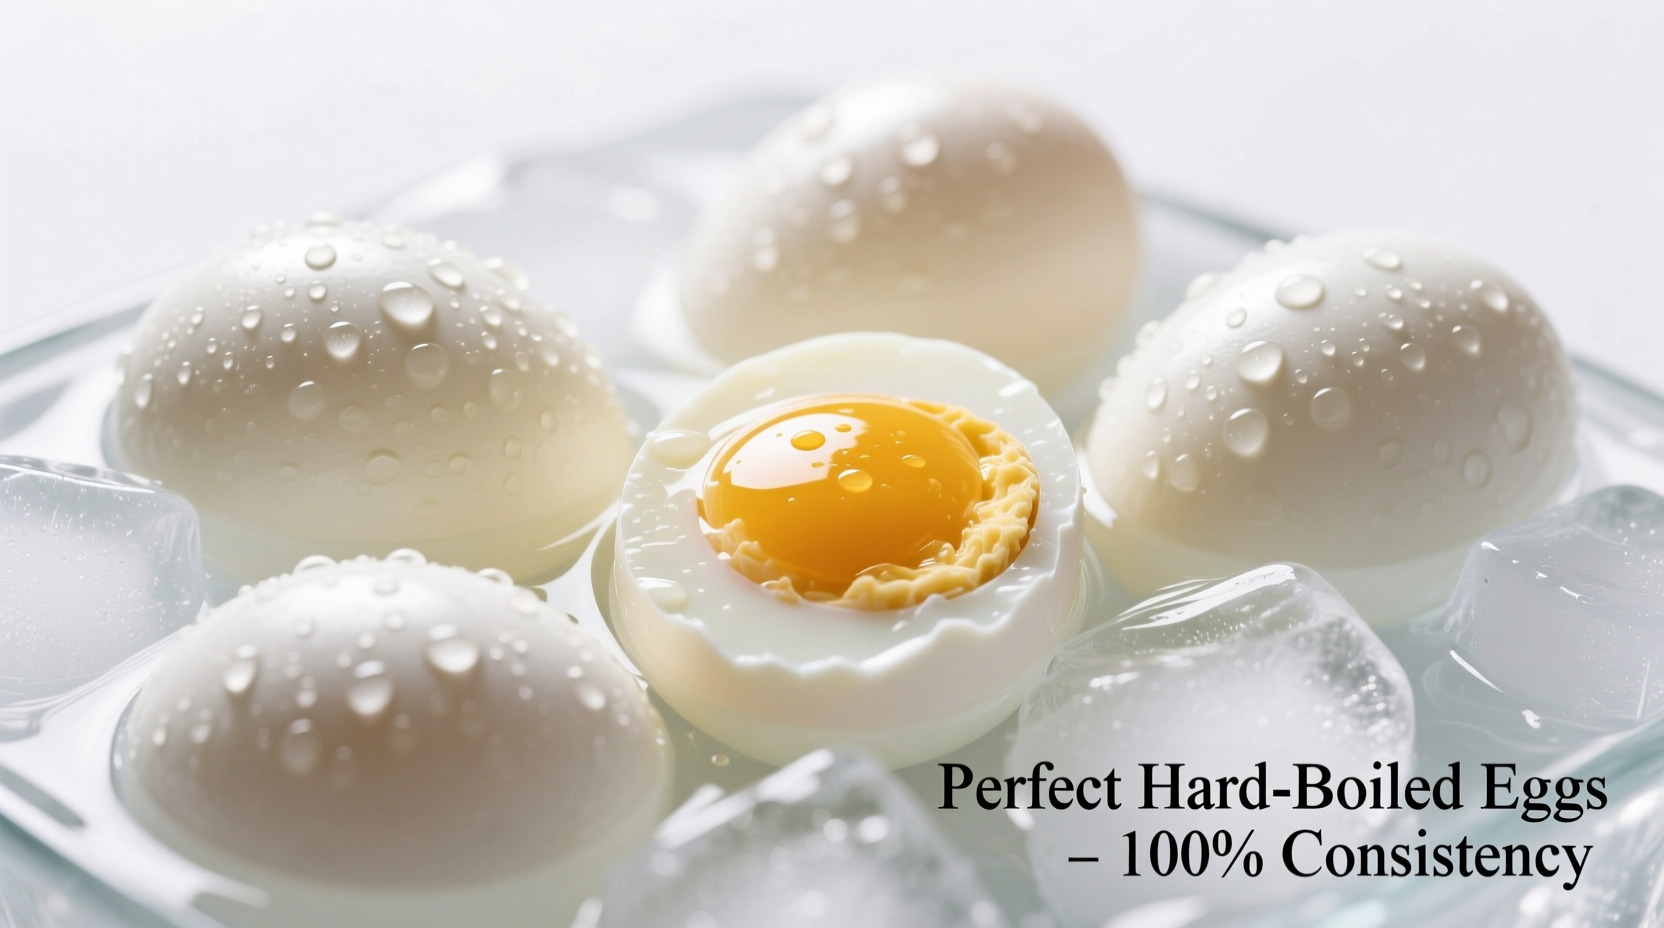
The Ice Bath: Why It's Non-Negotiable
Many people skip the ice bath step, but this crucial stage stops the cooking process immediately. Without it, residual heat continues cooking the egg, often leading to that green sulfur ring around the yolk. For best results:
- Prepare ice water bath before cooking eggs
- Transfer eggs immediately when timer ends
- Soak for full 15 minutes (not just a few minutes)
- Change water if it becomes too warm
Avoid These Common Hard-Boiling Mistakes
Even with perfect timing, these errors can ruin your hard-boiled eggs:
- Starting with hot water - Causes shells to crack from thermal shock
- Overcrowding the pot - Creates uneven cooking
- Peeling too soon - Wait at least 1 hour after ice bath for easiest peeling
- Using very fresh eggs - Eggs 7-10 days old peel much easier
Perfect Peeling Technique
After the ice bath, follow these steps for shell-free eggs:
- Gently tap egg on hard surface to create multiple cracks
- Roll gently between palms to loosen shell
- Start peeling at the wider end (air pocket helps separate membrane)
- Peel under running water to help dislodge stubborn shell fragments
Storage Guidelines for Maximum Freshness
Properly stored hard-boiled eggs maintain quality for:
- Unpeeled eggs: 1 week in refrigerator
- Peeled eggs: 5 days in airtight container with damp paper towel
- Freezing: Not recommended (whites become rubbery)
The Egg Industry Center confirms that "hard-cooked eggs should be refrigerated within two hours of cooking and used within one week for best quality and food safety."
Timing Variations for Different Results
While 10-12 minutes creates traditional hard-boiled eggs, you might want different textures:
- 9 minutes: Slightly softer yolk center
- 13 minutes: Fully firm yolk for deviled eggs
- 7 minutes: Jammy yolk for salads (technically medium-boiled)
Professional chefs often prefer the 9-minute mark for hard-boiled eggs as it creates a fully set but still vibrant yellow yolk without any green discoloration.
Troubleshooting Common Problems
When your hard-boiled eggs don't turn out right, these solutions help:
- Green yolk ring: Overcooking - reduce time by 1-2 minutes
- Cracked shells during cooking: Add 1 tsp vinegar to water or start with room temperature eggs
- Difficult peeling: Use older eggs or add 1/2 tsp baking soda to cooking water
- Unevenly cooked: Don't overcrowd pot; use eggs of similar size
According to a USDA Agricultural Research Service study, the ideal hard-boiled egg reaches 160°F internal temperature, which occurs at approximately 11 minutes for large eggs starting from cold water.
Advanced Technique: Steaming vs. Boiling
Many professional kitchens prefer steaming over boiling for hard-boiled eggs because:
- More consistent temperature control
- Fewer cracked shells
- Easier peeling results
- Reduced risk of overcooking
For steaming, place eggs in a steamer basket over 1 inch of boiling water. Steam large eggs for 13-15 minutes, then immediately transfer to ice water bath. This method produces remarkably consistent results regardless of minor variations in stove heat.


 浙公网安备
33010002000092号
浙公网安备
33010002000092号 浙B2-20120091-4