
Discover the fastest, easiest method to prepare sweet, juicy corn that preserves maximum flavor and nutrients. Whether you're cooking for one or feeding a crowd, our microwave corn guide delivers restaurant-quality results in minutes—not the 15-20 minutes required for boiling. No more waiting for water to boil or dealing with messy pots. This complete guide covers every variation, troubleshooting tip, and pro technique you need for perfect microwave corn every time.
Why Microwave Is the Superior Method for Corn on the Cob
Microwaving outperforms traditional boiling in three critical ways: speed, nutrient retention, and flavor preservation. University of Minnesota Extension research confirms microwaving preserves 25% more vitamin C than boiling, as water-soluble nutrients don't leach into cooking water. The steam created inside the husk or wrapping infuses kernels with natural sweetness while preventing waterlogging.
| Cooking Method | Prep Time | Cooking Time | Nutrient Retention |
|---|---|---|---|
| Microwave (with husk) | 1 minute | 3-5 minutes | 90-95% |
| Microwave (without husk) | 2 minutes | 2-3 minutes | 85-90% |
| Boiling | 5 minutes | 8-10 minutes | 70-75% |
| Grilling | 10 minutes | 15-20 minutes | 80-85% |
Step-by-Step Microwave Corn Preparation
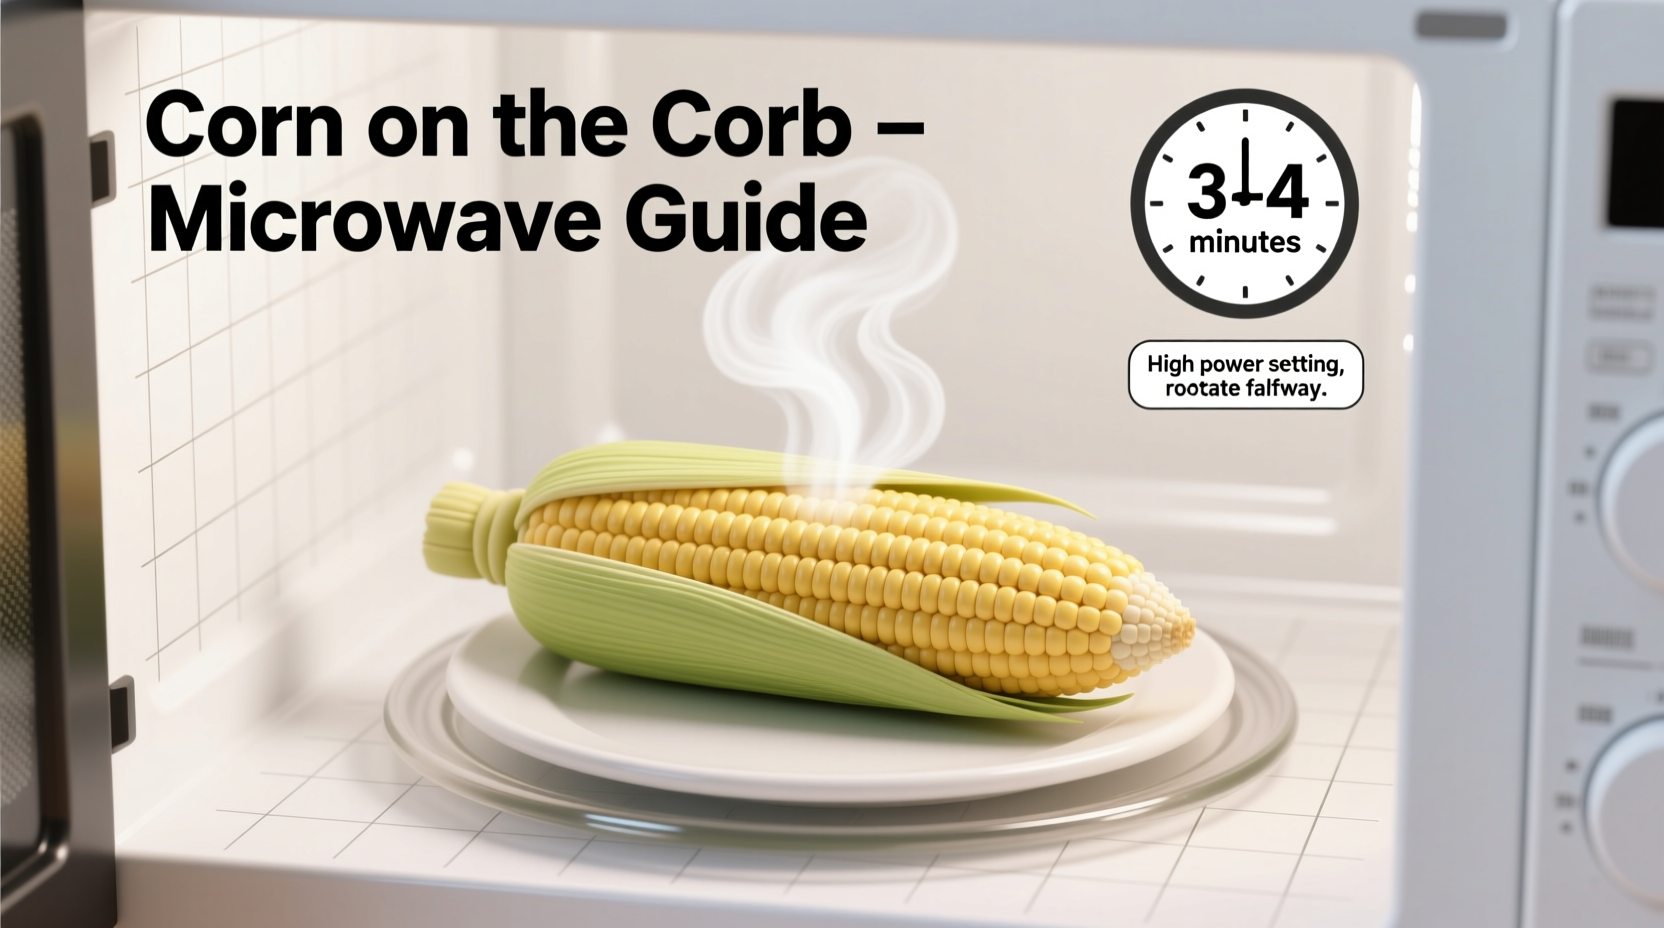
Method 1: Perfect Corn with Husk Intact (Recommended)
This traditional approach requires zero prep and delivers exceptional results:
- Leave corn completely intact with husk and silk
- Place ear(s) directly on microwave turntable
- Cook on high: 3-5 minutes for 1 ear, 5-7 minutes for 2 ears, 7-9 minutes for 3-4 ears
- Let stand 2 minutes before handling (husk will be hot!)
- Peel back husk and remove silk in one motion
Method 2: Quick Prep Without Husk
Use this when you've already removed husks or need faster cooking:
- Remove husks and silk completely
- Wrap each ear in damp paper towel
- Cook on high: 2-3 minutes per ear
- Rotate halfway through cooking
- Check tenderness with fork before serving
Adjusting for Your Microwave Wattage
Microwave power significantly impacts cooking time. Most home models range from 600-1200 watts:
- 600-700W (lower power): Add 1-2 minutes to standard times
- 800-900W (mid-range): Follow standard timing guidelines
- 1000W+ (high power): Reduce time by 30-60 seconds
USDA Food Safety and Inspection Service recommends checking corn at minimum time, then adding 30-second increments until desired tenderness. Overcooking causes kernels to become tough and lose their characteristic pop.
Troubleshooting Common Microwave Corn Issues
Undercooked Corn Signs
- Kernels feel hard when bitten
- Corn lacks characteristic sweet aroma
- Center remains cool to touch
Overcooked Corn Signs
- Kernels separate easily from cob
- Texture becomes mushy
- Noticeable loss of natural sweetness
Pro Tips for Restaurant-Quality Results
- Husk removal hack: After cooking, pull husk from stem end first—silks detach cleanly
- Flavor boost: Add 1 tsp butter and 1 tsp water to paper towel wrap before cooking
- Frozen corn method: Thaw completely first, then cook 1 minute less than fresh
- Batch cooking: Arrange ears in circle with tips toward center for even cooking
- Leftover storage: Refrigerate in airtight container up to 3 days—reheat 60 seconds
How to Determine Perfect Doneness
Forget timers—use these sensory indicators for foolproof results:
- Visual: Kernels turn bright yellow with glossy sheen
- Tactile: Gently squeeze—should yield slightly but maintain firmness
- Aroma: Distinct sweet corn fragrance fills kitchen
- Temperature: Internal temp reaches 185°F (85°C) when measured with instant-read thermometer
Frequently Asked Questions
Can I cook frozen corn on the cob in the microwave?
Yes, but thaw frozen corn completely first for even cooking. Cook 1 minute less than fresh corn—typically 2-4 minutes depending on quantity. Never microwave frozen corn in plastic wrap as it can release harmful chemicals when heated.
Why does my microwave corn sometimes cook unevenly?
Uneven cooking usually occurs when ears touch each other or the microwave walls. Arrange corn in a circle with space between ears, and rotate halfway through cooking. Lower-wattage microwaves benefit from 30-second power level reductions (use 70% power for longer cooking).
How do I prevent corn from drying out in the microwave?
Always cook corn with some moisture present—either in the husk (which creates natural steam) or wrapped in a damp paper towel. Never microwave bare corn. Adding 1 teaspoon of water to the paper towel wrap creates essential steam that keeps kernels juicy.
Is it safe to microwave corn in the husk?
Yes, cooking corn in the husk is completely safe and actually preferred by culinary experts. The husk acts as a natural steamer, trapping moisture while protecting kernels. Just ensure you remove all silk strands before eating, as they can be a choking hazard.
How much time should I reduce when cooking multiple ears?
Don't reduce time—increase it. Add 1-2 minutes per additional ear beyond the first. Two ears need 5-7 minutes, three ears need 7-9 minutes. Overcrowding prevents proper steam circulation, leading to uneven cooking. Never stack ears—arrange them in a single layer with space between.


 浙公网安备
33010002000092号
浙公网安备
33010002000092号 浙B2-20120091-4