
Nothing ruins dinner plans faster than dry, overcooked chicken or the worry of undercooked poultry. Getting boneless chicken breast cooking times right is essential for both food safety and perfect texture. This comprehensive guide delivers precise timing for every cooking method, backed by food safety standards and culinary science.
Why Chicken Breast Cooking Times Vary
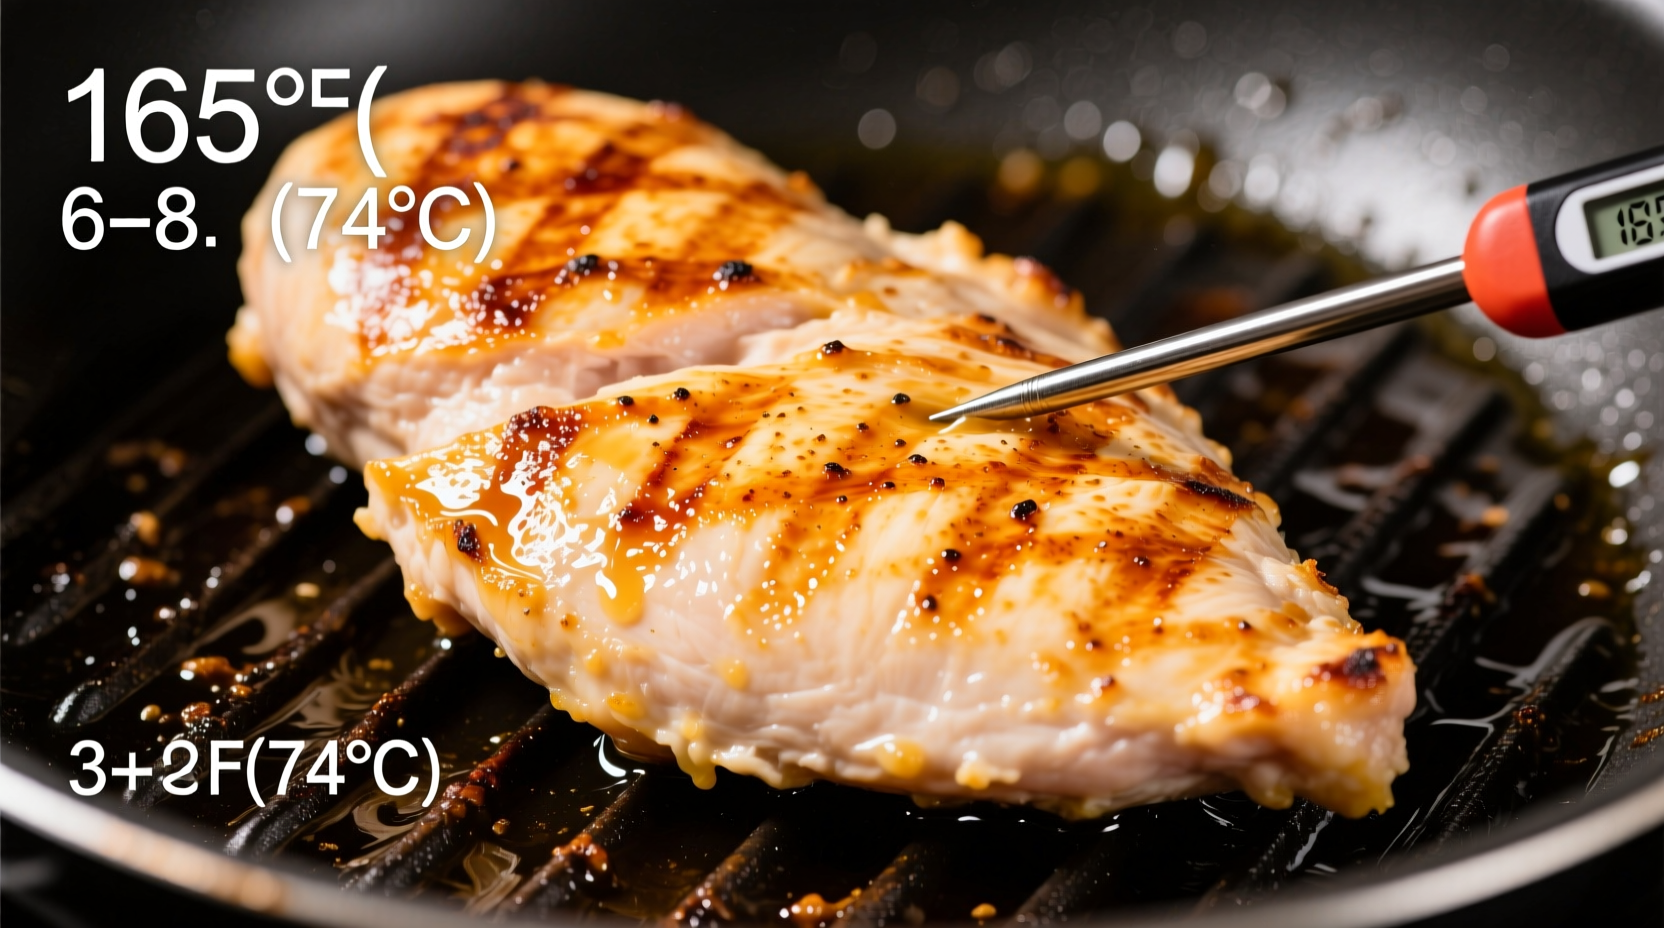
Many home cooks struggle with chicken breast because cooking time isn't one-size-fits-all. The USDA Food Safety and Inspection Service confirms that poultry must reach 165°F (74°C) internal temperature to be safe, but the time to reach this varies significantly based on:
- Thickness - A 1/2-inch cut cooks much faster than a 1.5-inch "pocket" breast
- Starting temperature - Cold-from-fridge chicken needs 25% more cooking time
- Cooking method - Direct heat vs. indirect affects timing dramatically
- Carryover cooking - Temperature continues rising 5-10°F after removal from heat
According to research from the USDA Food Safety and Inspection Service, undercooked chicken remains a leading cause of foodborne illness, while overcooked chicken becomes dry and tough due to protein denaturation.
Stovetop Cooking: Fast and Flexible
The stovetop method works well for weeknight dinners. For best results:
- Pat chicken dry and season (moisture prevents proper browning)
- Heat oil in skillet over medium-high heat (375°F)
- Cook 5-7 minutes per side for 1-inch thick breasts
- Reduce heat if chicken browns too quickly
- Check temperature 5 minutes before expected finish time
Thinner cuts (1/2 inch) may cook in just 8-10 total minutes, while thicker cuts (1.5 inches) could take 18-22 minutes. Always finish cooking in the oven if the exterior browns before reaching 165°F internally.
| Thickness | Stovetop Time | Target Temp | Rest Time |
|---|---|---|---|
| 1/2 inch | 8-10 minutes | 160°F | 5 minutes |
| 3/4 inch | 12-15 minutes | 160°F | 5 minutes |
| 1 inch | 15-20 minutes | 160°F | 5-10 minutes |
| 1.5 inches | 18-22 minutes | 160°F | 10 minutes |
Oven Baking: Hands-Off Perfection
Baking chicken breast in the oven delivers consistent results with minimal attention. Professional chefs recommend these temperature guidelines from the American Culinary Federation:
- 400°F (204°C) - 20-25 minutes for 1-inch breasts (best for juicy results)
- 375°F (190°C) - 25-30 minutes (more even cooking for thicker cuts)
- 425°F (218°C) - 18-22 minutes (crispy exterior, faster cooking)
Pro tip: Place chicken on a wire rack over a baking sheet for even air circulation. This prevents steaming and promotes browning on all sides. Insert thermometer into thickest part without touching bone (if present).
Grilling Boneless Chicken Breast
Grilling adds delicious char but requires careful temperature management. Follow these steps:
- Create two-zone fire (direct and indirect heat)
- Sear over direct heat for 2-3 minutes per side
- Move to indirect heat to finish cooking
- Close lid to create oven-like environment
- Check temperature frequently near end
For standard 1-inch chicken breasts, total grilling time is typically 12-16 minutes. Thicker cuts may need 18-22 minutes. Always let chicken rest 5-10 minutes before slicing to retain juices.
Air Fryer and Instant Pot Methods
Modern appliances offer faster cooking with specific timing:
- Air Fryer (400°F): 12-15 minutes for 1-inch breasts, flip halfway through
- Instant Pot (high pressure): 8-10 minutes cooking time plus 10 minutes natural release
The air fryer's rapid hot air circulation cooks chicken faster than conventional ovens while maintaining moisture. The Instant Pot works well for meal prep but requires careful timing to avoid dryness.
Safety First: Verifying Proper Doneness
Never rely solely on cooking time or color to determine doneness. The FDA Food Code mandates 165°F as the minimum safe temperature for poultry. Use these verification methods:
- Instant-read thermometer - Insert into thickest part (most reliable method)
- Visual check - No pink remaining, juices run clear
- Texture test - Firm but yielding to gentle pressure
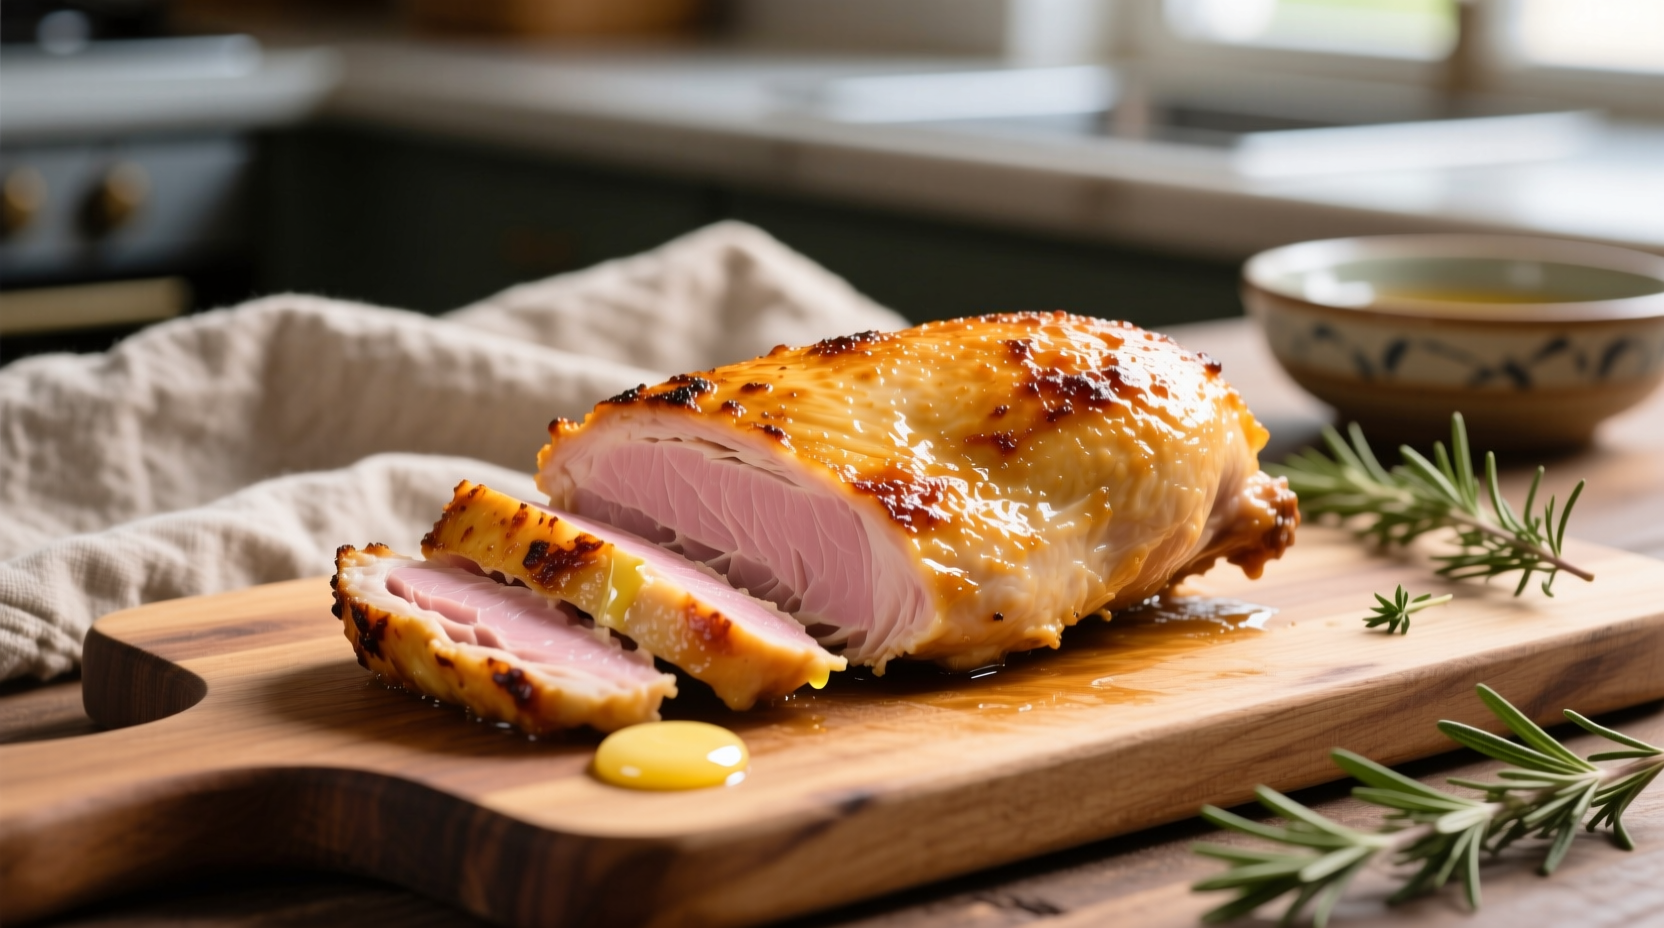
Remember that chicken continues cooking during resting time. Remove from heat at 160°F to reach 165°F after resting. This prevents overcooking while ensuring safety.
Troubleshooting Common Chicken Breast Problems
Dry chicken? Likely overcooked or not rested properly. Try brining (30 minutes in 1/4 cup salt + 4 cups water) before cooking.
Uneven cooking? Pound thicker areas to create uniform thickness. Use a meat mallet or rolling pin with plastic wrap.
Undercooked center? Sear first, then finish in lower oven temperature (325°F) until safe temperature reached.
Burning exterior? Reduce heat immediately and finish cooking in 300°F oven until safe temperature reached.
Pro Tips for Juicy, Flavorful Chicken Every Time
Professional chefs use these techniques to guarantee perfect chicken:
- Brine or dry brine - Salt helps retain moisture during cooking
- Pound to even thickness - Ensures uniform cooking throughout
- Bring to room temperature - 20-30 minutes before cooking for even results
- Rest properly - 5-10 minutes covered with foil allows juices to redistribute
- Slice against the grain - Creates more tender bite-sized pieces
For best flavor development, marinate chicken for 2-4 hours (but no longer than 12 hours with acidic ingredients which can start to "cook" the surface).
Frequently Asked Questions
How can I tell if chicken breast is done without a thermometer?
Without a thermometer, check for clear juices when pierced, firm texture that yields slightly to pressure, and no pink color in the thickest part. However, a thermometer is the only reliable method to ensure food safety.
Why does my chicken breast always come out dry?
Chicken breast becomes dry when overcooked past 165°F or not allowed to rest properly. Try brining before cooking, pounding to even thickness, and removing from heat at 160°F to account for carryover cooking during the resting period.
Should I cover chicken breast while cooking?
Covering traps steam which can prevent proper browning. For stovetop and grill cooking, leave uncovered. When baking in oven, covering isn't necessary unless the chicken is browning too quickly before reaching safe temperature.
How long should chicken breast rest after cooking?
Rest chicken breast for 5-10 minutes depending on thickness. This allows juices to redistribute throughout the meat. Cover loosely with foil to retain warmth without creating steam that would soften the exterior.
Can I cook frozen chicken breast without thawing?
Yes, but increase cooking time by 50% and check temperature carefully. The USDA recommends cooking frozen chicken at a slightly lower temperature to ensure the center reaches 165°F before the exterior overcooks.


 浙公网安备
33010002000092号
浙公网安备
33010002000092号 浙B2-20120091-4