
From Clove to Harvest: Your Complete Guide to Growing Garlic
Whether you're a backyard gardener or planning a small-scale crop, understanding how is garlic grown properly transforms your harvest from mediocre to magnificent. This comprehensive guide walks you through every stage of garlic cultivation with science-backed techniques that professional growers use.
Why Garlic Deserves a Spot in Your Garden
Garlic isn't just a kitchen staple—it's one of the most rewarding crops for home growers. Unlike many vegetables, garlic requires minimal maintenance once established and provides exceptional value per square foot. A single pound of planting stock can yield 5-10 pounds of harvest, making how to grow garlic successfully knowledge essential for food-savvy gardeners.
Understanding Garlic Varieties: The Foundation of Successful Cultivation
Before learning how is garlic grown in your specific conditions, you must select the right variety. Garlic falls into two main categories with distinct growing requirements:
| Variety Type | Best Climate Zones | Flavor Profile | Storage Life | Special Characteristics |
|---|---|---|---|---|
| Hardneck (Ophioscorodon) | 3-7 (cold winters) | Bold, complex | 5-7 months | Produces edible scapes, requires vernalization |
| Softneck (Sativum) | 6-10 (milder winters) | Milder, consistent | 9-12 months | Braiding capability, no scapes, better for warmer climates |
According to the Oregon State University Extension Service, hardneck varieties like 'Music' and 'German Extra Hardy' perform best in northern climates where winter temperatures consistently drop below 40°F for 4-8 weeks—a process called vernalization that triggers proper bulb formation.
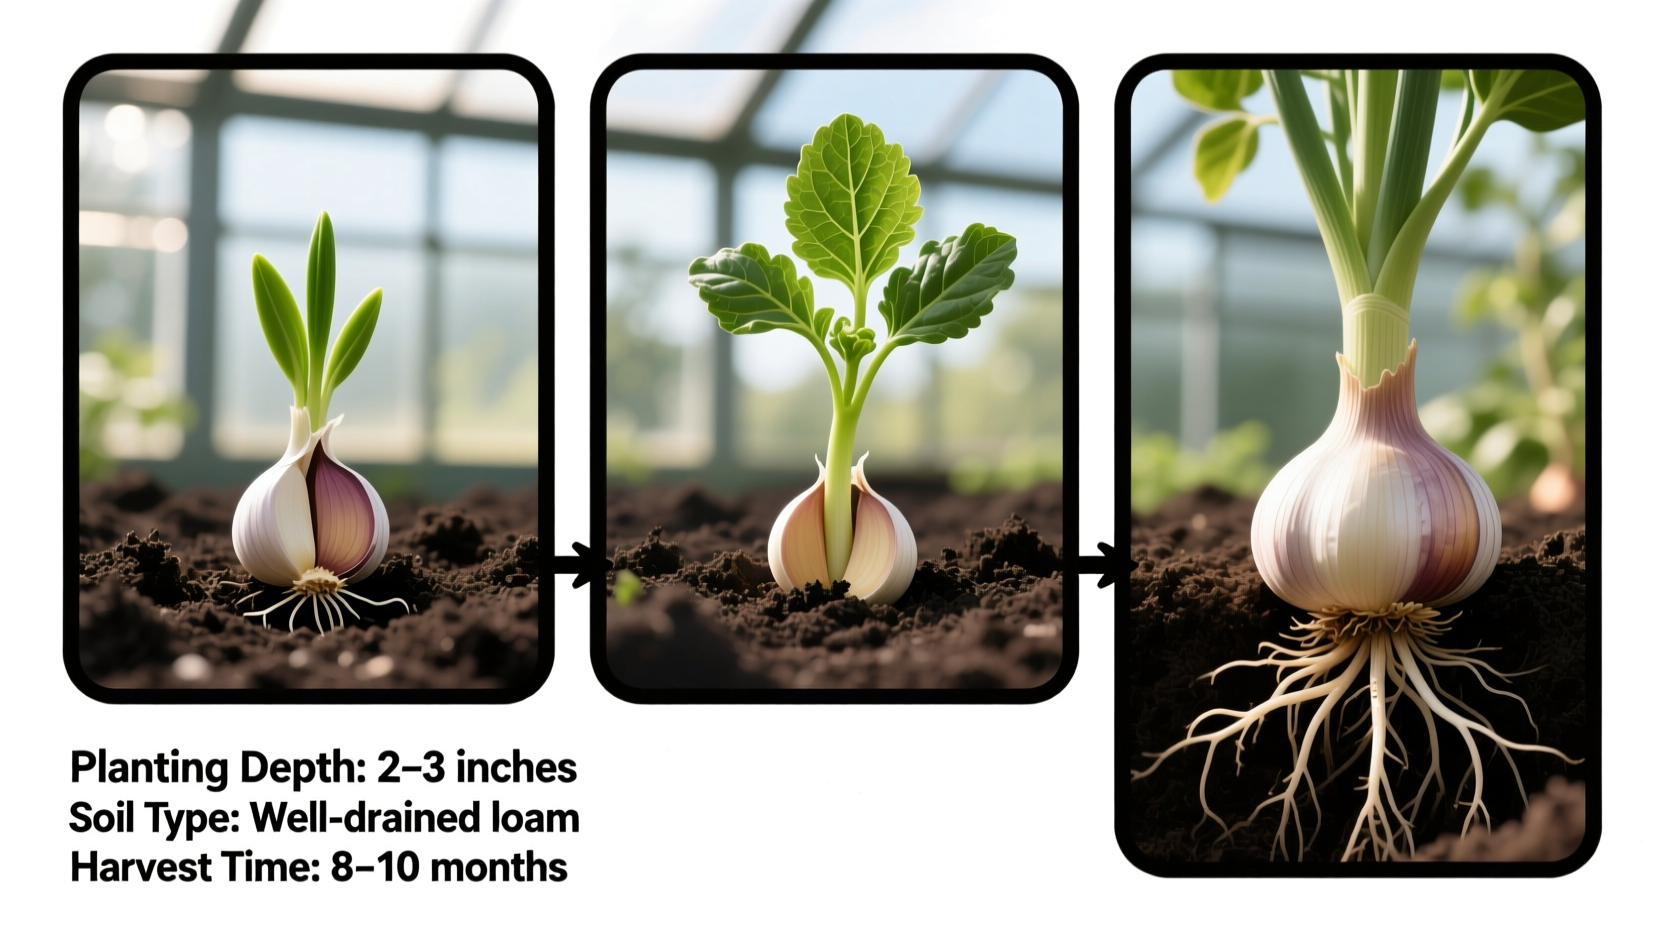
The Garlic Growing Timeline: What Happens Underground
Understanding the natural progression of how garlic grows helps you provide appropriate care at each critical stage. This timeline shows what occurs beneath the soil:
- Weeks 1-4 (Root Development): After fall planting, cloves develop roots while top growth remains minimal. This crucial phase establishes the foundation for bulb development.
- Weeks 5-12 (Winter Dormancy): Growth pauses during coldest months. Mulch (6-8 inches of straw) protects cloves from freeze-thaw cycles.
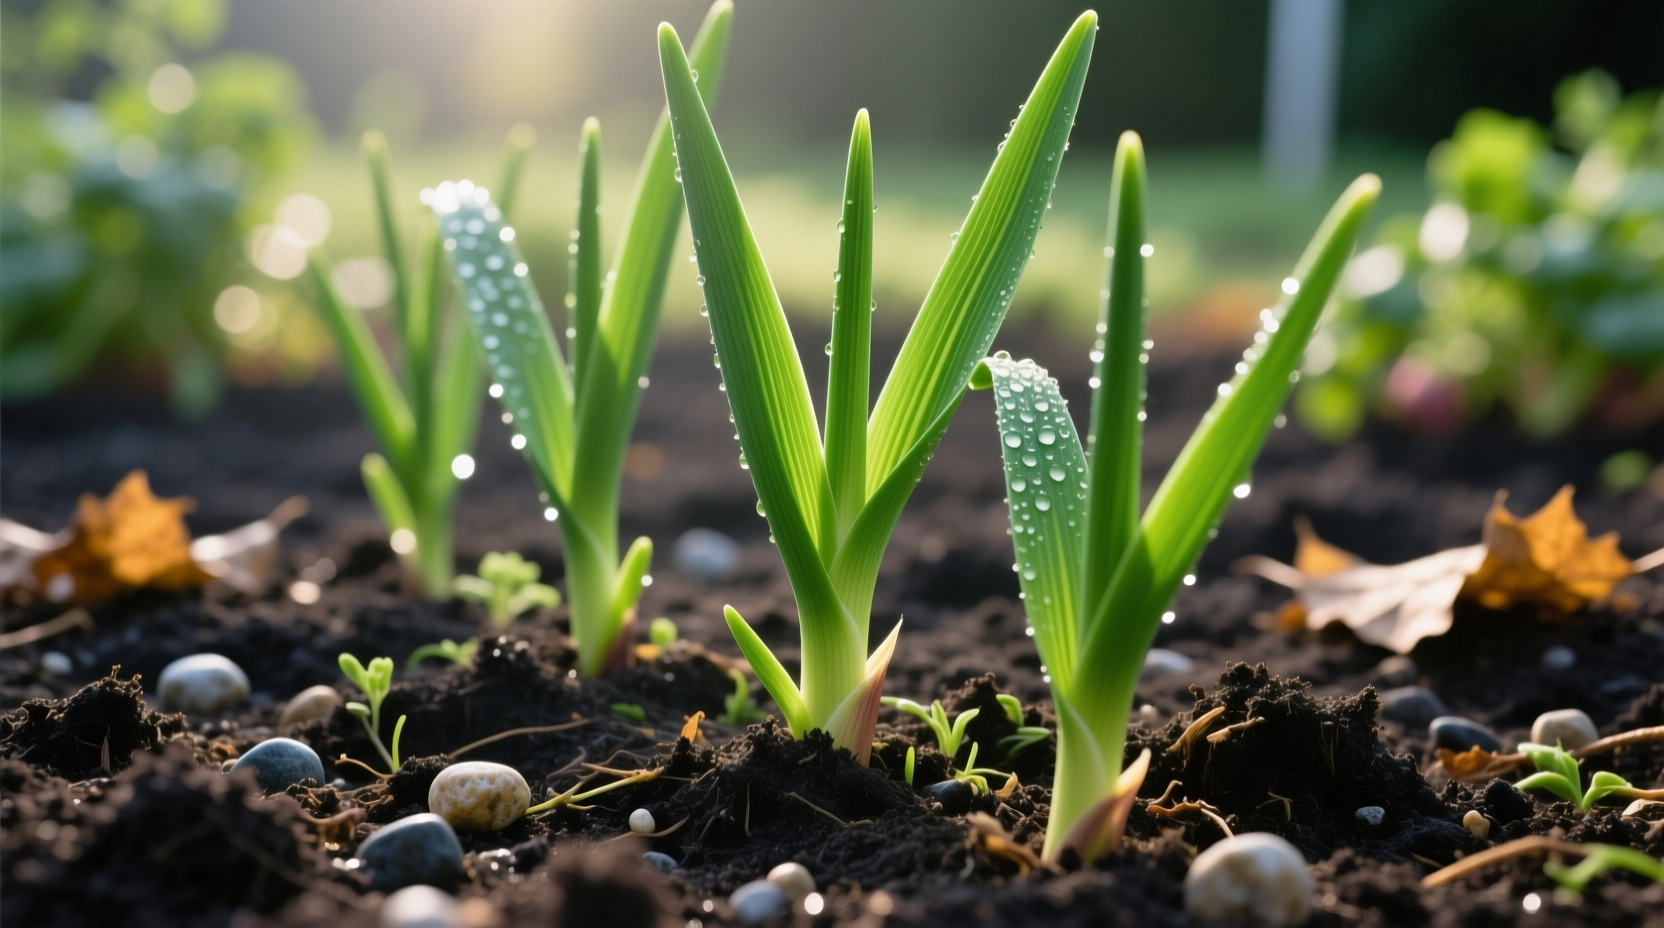
- Early Spring (Leaf Emergence): Green shoots appear as temperatures warm. This marks the beginning of active growth requiring consistent moisture.
- Late Spring (Bulb Initiation): When daylight reaches 12-14 hours, the plant shifts energy to bulb formation—a process dependent on proper nutrition.
- Early Summer (Bulb Maturation): Leaves begin yellowing from tips downward, signaling harvest time approaching.
Step-by-Step Garlic Planting Guide
Follow these precise steps for optimal results when growing garlic from cloves:
Soil Preparation (4-6 Weeks Before Planting)
- Test soil pH (ideal range: 6.0-7.5) using a reliable kit
- Amend with 3-4 inches of compost and 10-10-10 organic fertilizer
- Create raised beds 6-8 inches high for improved drainage
Planting Process (Critical Timing)
Planting timing varies significantly by climate zone. The USDA Agricultural Research Service recommends:
- Cold climates (Zones 3-5): Plant 2-4 weeks before first hard frost (typically September-October)
- Moderate climates (Zones 6-7): Plant October-November
- Warm climates (Zones 8-10): Plant December-January after chilling cloves in refrigerator for 4-8 weeks
Planting Technique
- Separate bulb into individual cloves 1-2 days before planting
- Plant cloves pointy-end up, 2-4 inches deep (deeper in sandy soils)
- Space cloves 4-6 inches apart in rows 12-18 inches apart
- Cover with soil and apply 6-8 inches of straw mulch
Seasonal Care: Maximizing Your Garlic Yield
Proper care throughout the growing season determines your harvest quality. Here's what professional growers do differently when growing garlic successfully:
Spring Maintenance
- Remove mulch when shoots reach 2-3 inches tall
- Fertilize with nitrogen-rich amendment when leaves are 6-8 inches tall
- For hardneck varieties, cut scapes when they form their first coil (boosts bulb size by 20-30%)
Watering Requirements
Garlic needs consistent moisture but hates waterlogged soil. The University of California Agriculture and Natural Resources specifies:
- 1 inch of water weekly during active growth (March-May)
- Reduce watering 2-3 weeks before harvest to prevent rot
- Drip irrigation preferred over overhead watering
Harvesting and Curing: The Make-or-Break Stage
Knowing when to harvest garlic separates successful growers from disappointed gardeners. Watch for these visual cues:
- Lower third of leaves turn brown while upper leaves remain green
- Soil around plants appears cracked from expanding bulbs
- For precise timing, dig one test bulb to check wrapper integrity
Harvest on a dry morning using a garden fork to gently loosen soil. Never pull plants by their stems. After harvesting:
- Cure bulbs in a shaded, well-ventilated area for 2-3 weeks
- Keep temperatures between 75-85°F with 60-70% humidity
- Store only perfectly formed bulbs with intact wrappers
Troubleshooting Common Garlic Growing Problems
Even experienced gardeners encounter challenges. Here's how to address frequent issues when growing garlic at home:
Small Bulb Size
- Cause: Late planting, insufficient nutrients, or overcrowding
- Solution: Plant earlier, use balanced fertilizer, and maintain proper spacing
Yellowing Leaves
- Cause: Overwatering, nutrient deficiency, or fungal disease
- Solution: Adjust watering schedule, apply nitrogen supplement, or use copper fungicide
White Rot or Basal Plate Rot
- Cause: Fungal pathogens in soil
- Solution: Rotate crops every 3-4 years, avoid planting in infected soil
Storing Your Harvest: Preserving Flavor and Potency
Proper storage extends your garlic's shelf life significantly. Follow these guidelines for how to store homegrown garlic effectively:
- Store at 55-65°F with 60-70% humidity
- Keep in mesh bags or open baskets for air circulation
- Never store in refrigerators (triggers sprouting)
- Softneck varieties store 9-12 months; hardnecks 5-7 months
For immediate use, keep garlic at room temperature away from direct sunlight. The University of Minnesota Extension confirms that proper storage maintains allicin content—the compound responsible for garlic's health benefits and pungent flavor.
Advanced Tips for Exceptional Garlic
Professional growers employ these techniques to maximize quality when growing garlic commercially or for premium home harvests:
- Use soil thermometers to determine optimal planting time (soil temp 50-60°F at 4" depth)
- Apply kelp extract spray during bulb formation for larger cloves
- Rotate planting locations annually to prevent disease buildup
- Save your largest, healthiest bulbs for next season's planting stock


 浙公网安备
33010002000092号
浙公网安备
33010002000092号 浙B2-20120091-4