
Want to multiply your garlic harvest without buying new bulbs every season? You're in the right place. This guide reveals exactly how to propagate garlic successfully using two proven methods—whether you're a beginner gardener or looking to expand your current crop. You'll learn the optimal timing, step-by-step planting techniques, and professional tips that ensure robust growth and maximum yield.
Why Propagate Garlic Yourself
Commercial garlic often carries diseases or isn't adapted to your local climate. When you propagate your own:
- You develop disease-resistant strains specific to your garden
- You save money by avoiding annual bulb purchases
- You preserve heirloom varieties that supermarkets don't carry
- Your garlic adapts to local soil conditions over time
Understanding Garlic Propagation Methods
Garlic reproduces vegetatively through two primary methods:
| Propagation Method | Time Required | Difficulty Level | Best For |
|---|---|---|---|
| Clove propagation | 7-9 months | Beginner | Most home gardeners |
| Bulbil propagation | 2-3 years | Advanced | Scaling up production |
According to the University of Minnesota Extension, clove propagation produces harvestable bulbs in one season, while bulbil propagation (using the small aerial bulbs) creates more plants but takes multiple seasons to reach full size.
Step-by-Step Garlic Propagation Guide
Phase 1: Preparation (4-6 Weeks Before Planting)
Timing is critical—plant 4-6 weeks before your area's first expected frost. This gives cloves time to develop roots without sprouting shoots before winter. The Old Farmer's Almanac recommends October planting for most temperate zones.
What you'll need:
- Healthy garlic bulbs (never use grocery store garlic)
- Well-draining soil with pH 6.0-7.0
- Compost or aged manure
- Gardening gloves and trowel
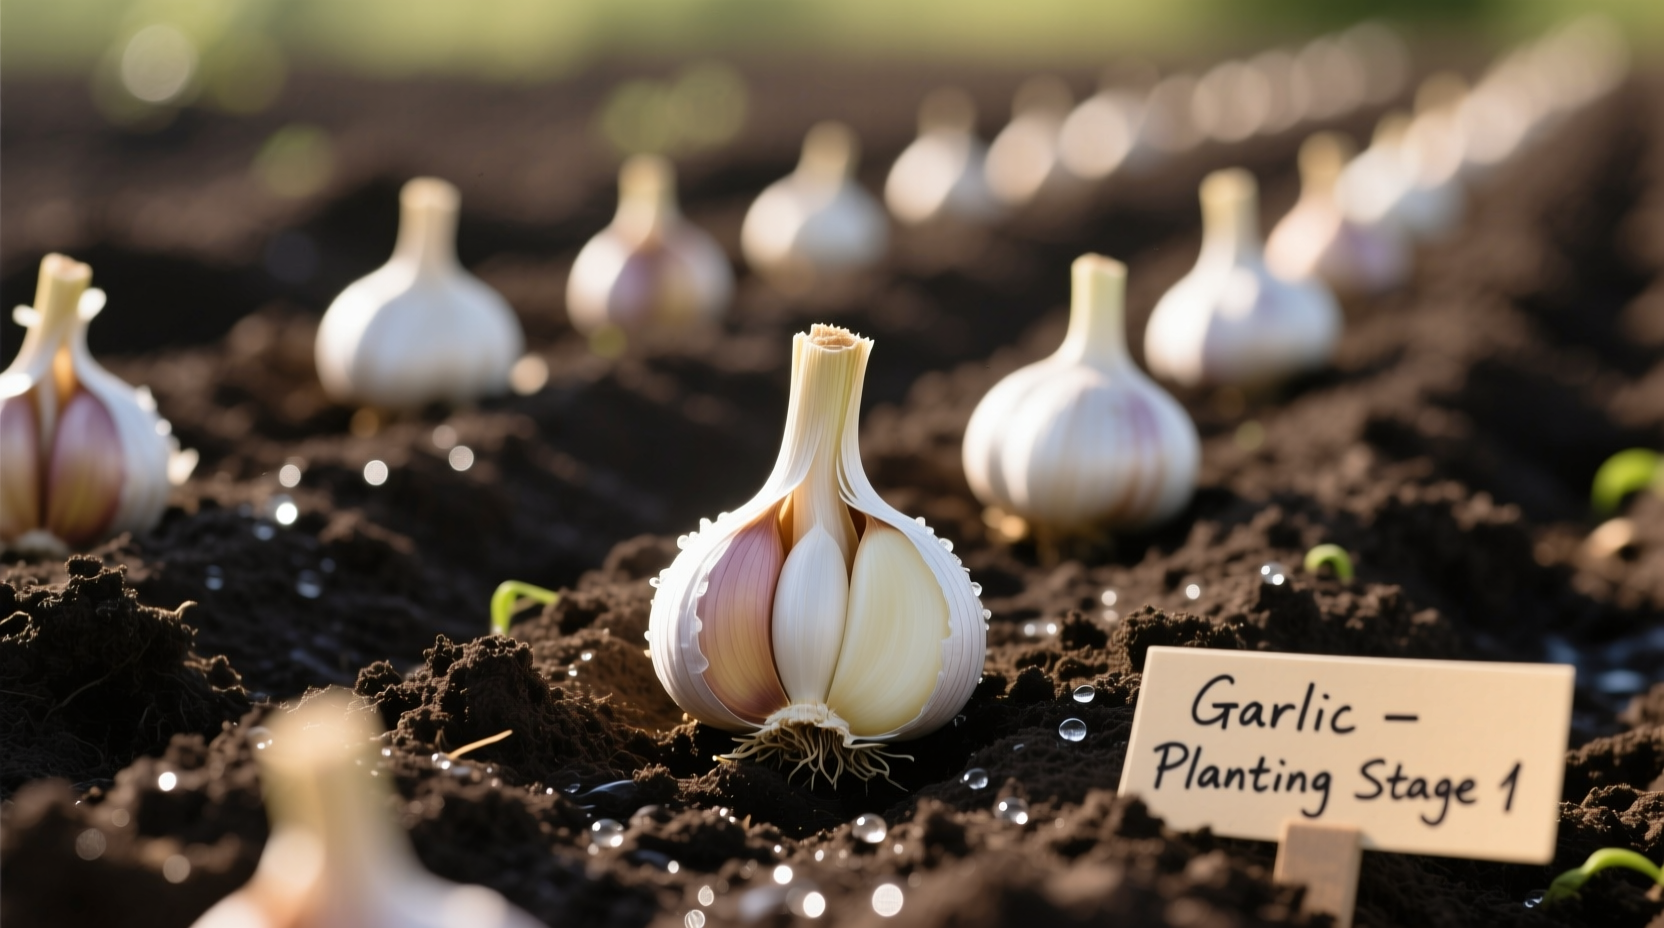
Phase 2: Selecting and Preparing Cloves
Choose your largest, healthiest bulbs. Gently separate cloves 1-2 days before planting, keeping the papery husk intact. Discard any cloves with dark spots or soft areas.
Pro tip: Place cloves in the refrigerator for 40 days before planting (vernalization). Research from North Carolina State University shows this cold treatment increases bulb size by 20-30% in warmer climates.
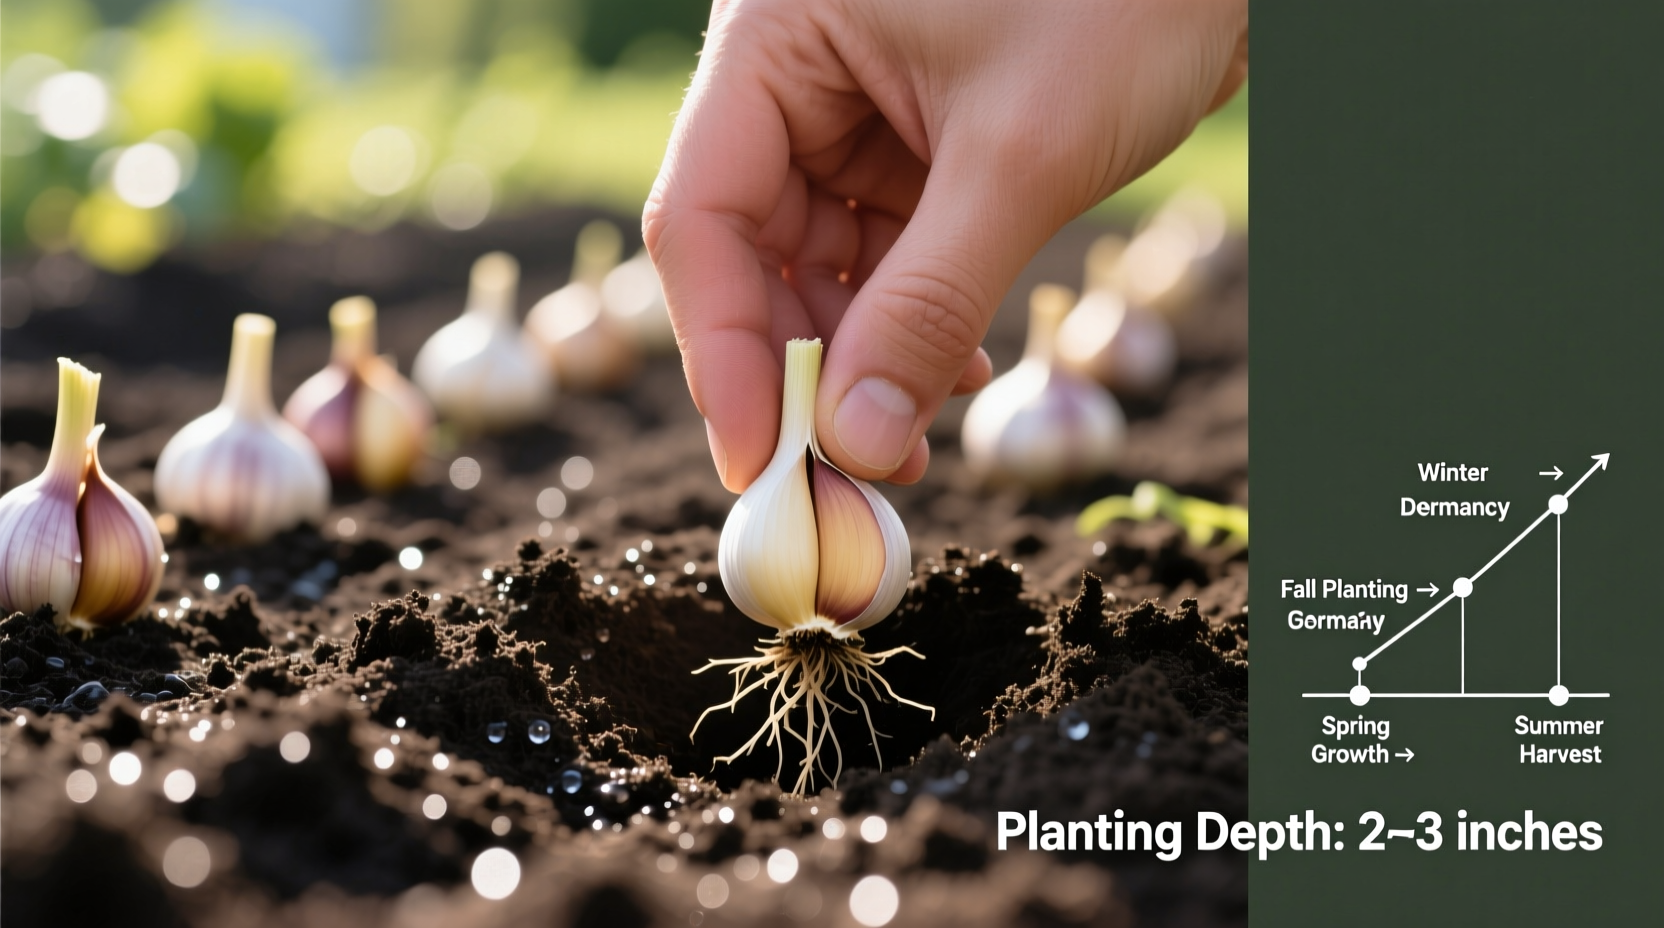
Phase 3: Planting Your Garlic
Follow these precise steps for optimal growth:
- Prepare soil: Mix 3 inches of compost into planting area
- Create furrows: 2-4 inches deep (deeper in sandy soil)
- Place cloves: Pointy end up, flat root end down
- Spacing: 4-6 inches between cloves, 12-18 inches between rows
- Cover with soil: 2 inches of soil over cloves
- Mulch: Apply 3-6 inches of straw after ground cools
The Oregon State University Extension emphasizes that proper depth prevents winter heaving in cold climates and protects cloves from temperature fluctuations.
Phase 4: Care and Maintenance
Water only when top inch of soil is dry. Overwatering causes rot. In spring:
- Fertilize with nitrogen-rich fertilizer when shoots reach 6 inches
- Remove mulch when shoots emerge in spring
- Cut scapes (flower stalks) from hardneck varieties
- Weed carefully to avoid damaging shallow roots
Monitor for these common issues:
- Yellowing leaves: Could indicate overwatering or nutrient deficiency
- White mold: Remove affected plants immediately
- Poor bulb development: Often due to insufficient cold period
Phase 5: Harvesting and Storage
Harvest when 40% of leaves have turned brown (usually July). Gently dig bulbs using a garden fork. Cure in a dry, shaded area with good airflow for 2-3 weeks. Store at 55-65°F with 60-70% humidity.
The University of Kentucky Cooperative Extension notes that properly cured garlic can store for 6-12 months, depending on variety.
Advanced Propagation: Growing from Bulbils
For gardeners wanting to multiply plants rapidly:
- Allow hardneck garlic scapes to develop flower heads
- Harvest when flower heads split open
- Plant bulbils 1 inch deep, 2 inches apart
- Expect small round bulbs (called rounds) in first year
- Replant rounds the following season for full-sized bulbs
This method takes longer but produces disease-free plants. The Royal Horticultural Society reports that bulbil propagation helps maintain genetic diversity in heirloom varieties.
Troubleshooting Common Propagation Problems
Problem: Cloves rot before sprouting
Solution: Improve drainage or plant shallower in heavy soils. Never water after planting until spring.
Problem: Small bulb size
Solution: Ensure adequate cold period, proper spacing, and timely scape removal.
Problem: Premature bolting
Solution: Plant at correct time—too early causes premature growth before winter.
When Garlic Propagation Won't Work
Garlic propagation has limitations you should know:
- Softneck varieties don't produce bulbils
- Tropical climates lack sufficient cold period for proper bulb formation
- Diseased stock will propagate problems to new plants
- Soil pH outside 5.5-8.0 range significantly reduces success
According to USDA Plant Hardiness Zone data, garlic propagation works best in zones 3-8. Gardeners in zones 9-11 should select specific varieties bred for warmer climates and provide artificial cold treatment.


 浙公网安备
33010002000092号
浙公网安备
33010002000092号 浙B2-20120091-4