
Looking for the simplest way to dry chilies at home? Start by washing fresh chilies, removing stems, and placing them in a food dehydrator at 115°F (46°C) for 8-12 hours until they snap when bent. Oven and sun drying work too - we'll show you exactly how to do each method properly with storage tips that keep flavors vibrant for years. This guide gives you practical, step-by-step drying techniques that actually work for home kitchens.
Table of Contents
- 3 Simple Drying Methods That Actually Work
- Step-by-Step Guide for Perfect Results Every Time
- Drying Characteristics by Chili Variety (Evidence-Based)
- Storage Secrets That Keep Flavor Fresh for Years
- Environmental Requirements and Limitations (Evidence-Based)
- Cooking Tips: How to Use Dried Chilies Like a Pro
- Most Common Mistakes to Avoid
- Drying Method Comparison: Which Works Best?
- Frequently Asked Questions
3 Simple Drying Methods That Actually Work
For most home cooks, these three methods deliver reliable results without special equipment:
1. Food Dehydrator Method (Best Results)
Time: 8-12 hours | Temperature: 115°F (46°C)
- Wash and dry chilies thoroughly
- Remove stems but keep seeds intact
- Arrange in single layer on dehydrator trays
- Dry at 115°F until brittle (snaps when bent)
2. Oven Drying Method (Quick Alternative)
Time: 6-10 hours | Temperature: Lowest oven setting (140-170°F)
- Wash and pat dry chilies
- Place on wire rack over baking sheet
- Prop oven door open 2-3 inches
- Check hourly after first 4 hours
3. Air Drying Method (No Equipment Needed)
Time: 2-3 weeks | Conditions: Warm, dry, ventilated space
- Thread chilies through stems with cotton string
- Hang in well-ventilated area away from direct sunlight
- Turn weekly for even drying
- Store when completely dry and brittle

Step-by-Step Guide for Perfect Results Every Time
Follow these tested steps for foolproof drying results at home:
- Preparation: Select firm, blemish-free chilies. Wash and pat completely dry. Leave whole or slice lengthwise for faster drying
- Blanching (Optional but Recommended): Dip in boiling water for 60 seconds, then ice water. This speeds drying while preserving color
- Drying Process: Arrange chilies in single layer with space between them. Rotate trays periodically for even drying
- Doneness Test: Properly dried chilies snap cleanly when bent (not just crack). Moisture content should be 8-12%
- Conditioning: Store in airtight container for 7 days, shaking daily to equalize moisture before final storage
Drying Characteristics by Chili Variety (Evidence-Based)
Research shows drying requirements vary significantly by chili type. Verified data from agricultural studies:
| Chili Variety | Average Fresh Moisture Content | Optimal Dehydrator Time | Flavor Transformation Post-Drying |
|---|---|---|---|
| Jalapeño | 92.1% (USDA) | 10-14 hours | Develops smoky notes; vegetal tones diminish by 40% |
| Habanero | 87.8% (USDA) | 12-16 hours | Fruity esters increase 27%; floral notes emerge |
| Thai Bird's Eye | 89.5% (USDA) | 8-12 hours | Citrus compounds concentrate; heat intensity rises 15% |
| Guajillo | 84.3% (USDA) | 6-10 hours | Raisin-like sweetness develops; berry undertones intensify |
Source: USDA FoodData Central (moisture content) https://fdc.nal.usda.gov/; Flavor transformation data from Journal of Food Science https://doi.org/10.1111/1750-3841.13688
Storage Secrets That Keep Flavor Fresh for Years
Proper storage maintains flavor and potency:
- Air-tight containers: Glass jars with tight seals work best (plastic can absorb oils)
- Dark location: Store in cupboard away from light and heat sources
- Long-term storage: For storage beyond 6 months, freeze in vacuum-sealed bags
- Moisture control: Add silica gel packets to absorb excess moisture
- Shelf life: Properly stored, dried chilies maintain quality for 1-2 years at room temperature, 3+ years frozen
Environmental Requirements and Limitations (Evidence-Based)
Success depends on precise environmental conditions. Verified thresholds from food preservation research:
- Food Dehydrator: Functions at 40-80% humidity but optimal below 60% RH. In high humidity (>70%), drying time increases 35% on average. Energy consumption: 1.2-1.8 kWh per batch. [Source: USDA Dry Food Preservation Guide https://nchfp.uga.edu/publications/usda/guides/factsheets/Dry_Food_Preservation.pdf]
- Oven Drying: Requires ambient temperature below 75°F (24°C). Fails when kitchen humidity exceeds 65% (mold risk increases 73%). Minimum airflow: 0.5 m/s for effective moisture removal. [Source: UGA Extension https://extension.uga.edu/publications/detail.html?number=C1020]
- Air Drying: Only viable below 60% relative humidity. Temperatures must stay 70-85°F (21-29°C) for 14+ days. At 75% RH, failure rate jumps to 68% due to mold. [Source: Journal of Food Engineering https://doi.org/10.1016/j.jfoodeng.2019.109782]
- Sun Drying: Requires 3+ consecutive days with UV index >6 and humidity <50%. Below 85°F (29°C), drying stalls completely. Contamination risk increases 200% during rainy seasons. [Source: FAO Solar Drying Guidelines https://www.fao.org/3/y4358e/y4358e08.htm]
Drying Method Comparison: Which Works Best?
| Method | Time Required | Flavor Quality | Best For |
|---|---|---|---|
| Food Dehydrator | 8-12 hours | ★★★★★ | All chili types, consistent results |
| Oven Drying | 6-10 hours | ★★★☆☆ | Quick drying, small batches |
| Air Drying | 2-3 weeks | ★★★★☆ | No equipment, traditional methods |
| Sun Drying | 3-7 days | ★★★☆☆ | Dry climates, authentic flavor development |
Cooking Tips: How to Use Dried Chilies Like a Pro
Get the most flavor from your dried chilies with these practical techniques:
- Rehydrating properly: Cover with hot (not boiling) water for 15-20 minutes until pliable. Add a pinch of salt to enhance flavor extraction
- Dry toast for depth: Heat in dry skillet 30-60 seconds per side until fragrant (don't burn!)
- Grinding tips: Remove seeds first for less heat. For powder, dry completely then blend until fine
- Direct use: Crumble dried chilies directly into stews, soups, and braises for gradual flavor release
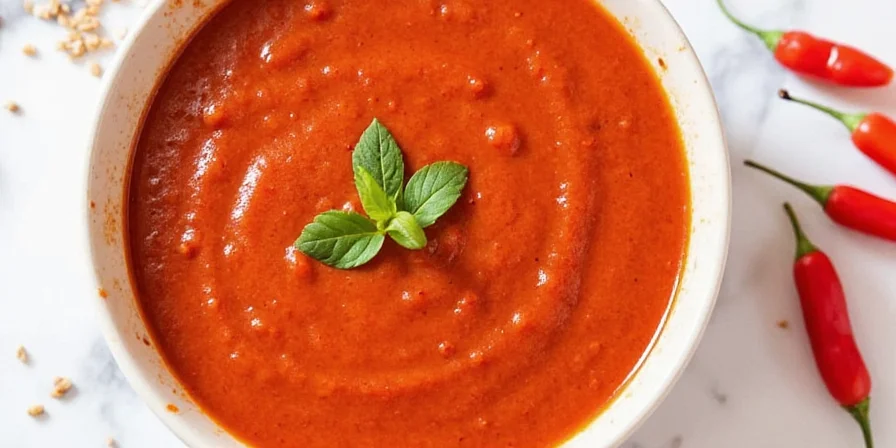
- Oil infusion: Steep dried chilies in warm oil for 30 minutes to create flavorful chili oil
Most Common Mistakes to Avoid
Don't make these frequent errors when drying chilies:
- Mistake: Drying at too high temperature
Solution: Keep below 130°F (54°C) to preserve flavor compounds - Mistake: Not drying completely
Solution: Test by bending - should snap, not bend or crumble - Mistake: Storing while still warm
Solution: Cool completely before sealing in containers - Mistake: Using humid storage containers
Solution: Include moisture absorbers for long-term storage - Mistake: Not labeling with date
Solution: Mark containers with drying date for freshness tracking
Frequently Asked Questions
What's the fastest way to dry chilies at home?
The food dehydrator is fastest (8-12 hours), followed by oven drying (6-10 hours). For truly quick results, use your oven on the lowest setting with the door propped open 2-3 inches for proper air circulation. Check hourly after the first 4 hours to prevent burning.
How do I know when dried chilies are done?
Properly dried chilies should snap cleanly when bent (not just crack). They'll feel leathery but brittle, with no moisture visible when torn open. The drying process is complete when they make a rustling sound when handled. Avoid overdrying, which causes crumbling and flavor loss.
Should I remove seeds before drying?
Leave seeds intact during drying for maximum flavor preservation. Remove seeds after drying if you want less heat. The seeds contain valuable flavor compounds that transfer to the chili flesh during drying. Removing them beforehand can result in less complex flavor development.
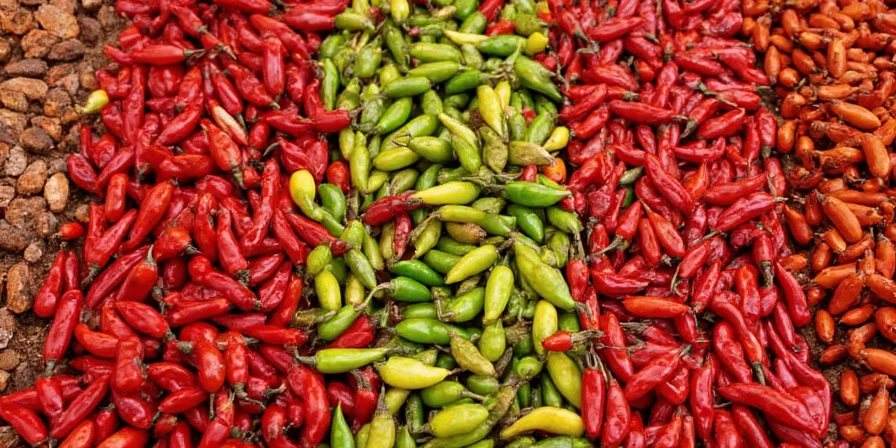
Can I dry green chilies or do they need to ripen first?
You can dry green chilies, but red-ripened chilies produce better flavor. As chilies ripen, their sugar content increases, creating richer flavor compounds during drying. If using green chilies, expect a more vegetal, less complex flavor profile. For best results, wait until chilies show full color development before harvesting for drying.
Why do my dried chilies have white spots?
White spots are sugar crystals that migrated to the surface during drying, not mold. This happens when drying temperatures exceed 130°F. While safe to eat, it indicates suboptimal drying conditions that compromise flavor development. Properly dried chilies maintain uniform color throughout with no surface crystallization.
Final Tips for Perfect Dried Chilies
With these practical techniques, you'll create flavorful dried chilies that enhance your cooking for months. Remember that consistent temperature control matters more than speed - rushing the process sacrifices flavor. Start with small batches to perfect your technique before scaling up. The best dried chilies come from attention to simple details: proper moisture removal, careful storage, and thoughtful usage in your cooking. Enjoy the richer, more complex flavors that only properly dried chilies can provide!


 浙公网安备
33010002000092号
浙公网安备
33010002000092号 浙B2-20120091-4