

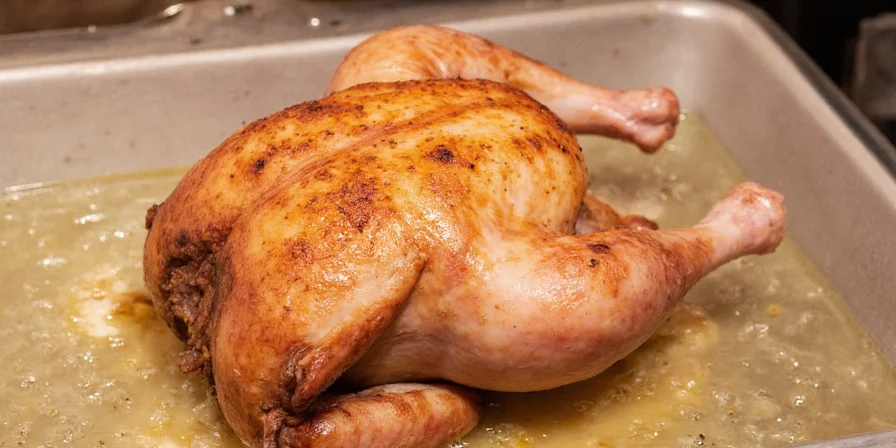
Stop serving dry, bland chicken forever. This simple dry brining method guarantees juicy, flavorful results with perfectly crispy skin—no special tools or restaurant experience required. Discover why professional chefs rely on this technique and how you can implement it in your home kitchen today.
Dry brining transforms ordinary chicken into extraordinary meals through basic kitchen science. Unlike wet brining that soaks meat in saltwater, dry brining applies salt directly to the chicken's surface then refrigerates uncovered. This simple process creates juicier meat and crisper skin than traditional methods—with less effort and no extra equipment.
| Wet Brining | Dry Brining |
|---|---|
| Requires large container and fridge space for submersion | Needs only salt and refrigerator space for uncovered chicken |
| Dilutes surface flavors with water absorption | Concentrates flavor while enhancing moisture retention |
| Takes 1-4 hours minimum with constant monitoring | Works with minimal hands-on time (12-48 hour passive process) |
| Often results in soggy skin that resists crisping | Creates ideal conditions for perfectly crispy golden skin |
Your Step-by-Step Dry Brining Guide for Perfect Chicken
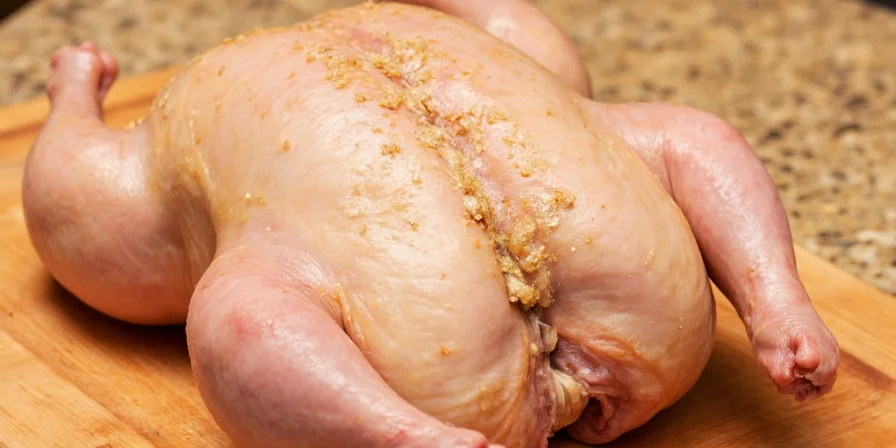
- Prepare your chicken properly: Pat the entire bird completely dry with paper towels—this critical step ensures salt adhesion and optimal skin crisping.
- Apply the right amount of salt: Use 1 tablespoon of kosher salt per 5 pounds of chicken. For table salt, reduce to 2 teaspoons (it's denser).
- Season strategically: Gently lift skin and apply half the salt directly to meat surface before seasoning exterior—this ensures even flavor distribution.
- Add flavor variations: Mix in preferred spices (see flavor guide below) but remember salt is essential for the brining process.
- Refrigerate uncovered: Place chicken on wire rack in refrigerator for 12-48 hours—the longer, the better (turkey requires 48-72 hours).
- Rest before cooking: Remove chicken 30-60 minutes before roasting to equalize temperature for even cooking.
Why This Method Solves Common Chicken Problems
- No more dry chicken: Salt changes protein structure to lock in natural juices during cooking
- Guaranteed crispy skin: Uncovered refrigeration dries skin surface for perfect browning
- Better flavor throughout: Salt penetrates deeper than surface seasoning alone
- Saves time and space: Eliminates brine preparation and large container requirements
- Works with any recipe: Complements all roasting, grilling, or air frying methods
Beginner-Friendly Flavor Variations
While the salt component is essential for the brining process, you can customize flavors to match your favorite cuisine. These simple blends work perfectly for weeknight dinners or special occasions:
| For Busy Weeknights | For Special Occasions |
|---|---|
| Basic: 1 tbsp kosher salt + 1 tsp garlic powder | Elegant: 1 tbsp kosher salt + 1 tsp herbes de Provence + lemon zest |
| Family Favorite: 1 tbsp kosher salt + 1 tsp paprika + 1/2 tsp onion powder | Gourmet: 1 tbsp kosher salt + 1 tsp smoked paprika + 1/2 tsp maple sugar |
| Quick Fix: 1 tbsp kosher salt + pre-minced garlic (1 tsp) | Restaurant Style: 1 tbsp kosher salt + 1 tsp turmeric + 1/2 tsp ginger powder |
Most Common Dry Brining Questions Answered
How soon can I cook after dry brining?
For best results, allow at least 12 hours of refrigeration time. In emergencies, 2 hours provides some benefit, but 24 hours yields dramatically juicier results.
Should I rinse the chicken after dry brining?
Never rinse! The salt has fully integrated and will not make your chicken taste salty when cooked properly.
Why must I leave the chicken uncovered in the fridge?
Air circulation creates the dry surface essential for perfect crisping. Covering traps moisture that prevents golden skin formation.
Can I use this method for chicken parts instead of whole birds?
Absolutely! Reduce refrigeration time to 4-12 hours for individual pieces. Bone-in, skin-on pieces work best for maximum flavor and moisture retention.
What's the biggest mistake people make with dry brining?
Skipping the drying step before salting. If skin remains wet, salt won't adhere properly and moisture won't redistribute effectively during cooking.
Proven Success Checklist for Perfect Results
| Critical Step | What to Watch For |
|---|---|
| Drying the chicken | Skin should feel completely dry to touch—no moisture visible |
| Salt application | Even coverage with no clumps; subcutaneous application under skin |
| Refrigeration time | Minimum 12 hours; 24-48 hours ideal for whole birds |
| Pre-cooking rest | 30-60 minutes at room temperature before roasting |
| Cooking temperature | Start high (425°F) for crisping, then reduce to 375°F for even cooking |
| Doneness check | 165°F internal temperature at thickest part, juices run clear |
Real Results You Can Expect
After implementing this dry brining technique, home cooks consistently report:
- Moisture retention even in lean breast meat (no more dry chicken breasts)
- Skin that achieves deep golden color with satisfying crisp texture
- Enhanced natural chicken flavor throughout the entire bird
- Reduced cooking time due to more efficient heat transfer
- Greater success rate with fewer "failed" chicken dinners
This method works reliably regardless of your cooking experience level. The science behind dry brining transforms a potentially challenging protein into a consistently delicious meal that impresses family and guests alike.


 浙公网安备
33010002000092号
浙公网安备
33010002000092号 浙B2-20120091-4