

Install tomato cages by placing them around young tomato plants (6-12 inches tall) before roots establish. Push cages 6-8 inches deep into soil, positioning them 2-3 inches from stems. As plants grow, gently weave branches through cage openings every 7-10 days to provide continuous support without damaging stems.
Discover the exact technique professional gardeners use to maximize tomato yields with proper cage installation. Whether you're growing cherry tomatoes on your balcony or heirloom varieties in a backyard garden, correctly using tomato cages prevents common problems like stem breakage, soil-borne diseases, and poor fruit development. This guide reveals the precise timing, positioning, and maintenance practices that transform your tomato plants from struggling vines to productive powerhouses.
Why Tomato Cages Outperform Other Support Methods
While stakes and trellises remain popular, tomato cages provide superior 360-degree support that accommodates natural plant growth patterns. University extension studies show caged tomatoes produce 20-30% more fruit than staked plants due to reduced stress and better air circulation. The circular design prevents the "pinching" effect common with single-stake systems, allowing plants to develop their full canopy without restriction.
| Support Method | Yield Impact | Maintenance Frequency | Best For |
|---|---|---|---|
| Tomato Cages | +20-30% yield | Weekly guidance | Determinate varieties, container gardens |
| Single Stakes | -10-15% yield | Daily tying | Indeterminate varieties, small spaces |
| Trellis Systems | +15-25% yield | Every 3-4 days | Commercial growing, vertical spaces |
Selecting the Right Cage for Your Garden
Not all tomato cages deliver equal results. For determinate (bush) varieties, choose compact cages 14-18 inches in diameter and 36 inches tall. Indeterminate (vining) tomatoes require robust cages at least 24 inches wide and 5-6 feet high. Look for welded wire construction with 4-6 inch openings - smaller gaps restrict growth while larger spaces allow branches to escape. Galvanized steel lasts 5-7 seasons, while plastic-coated options prevent stem abrasion but typically last only 2-3 years.
Perfect Installation Timing and Technique
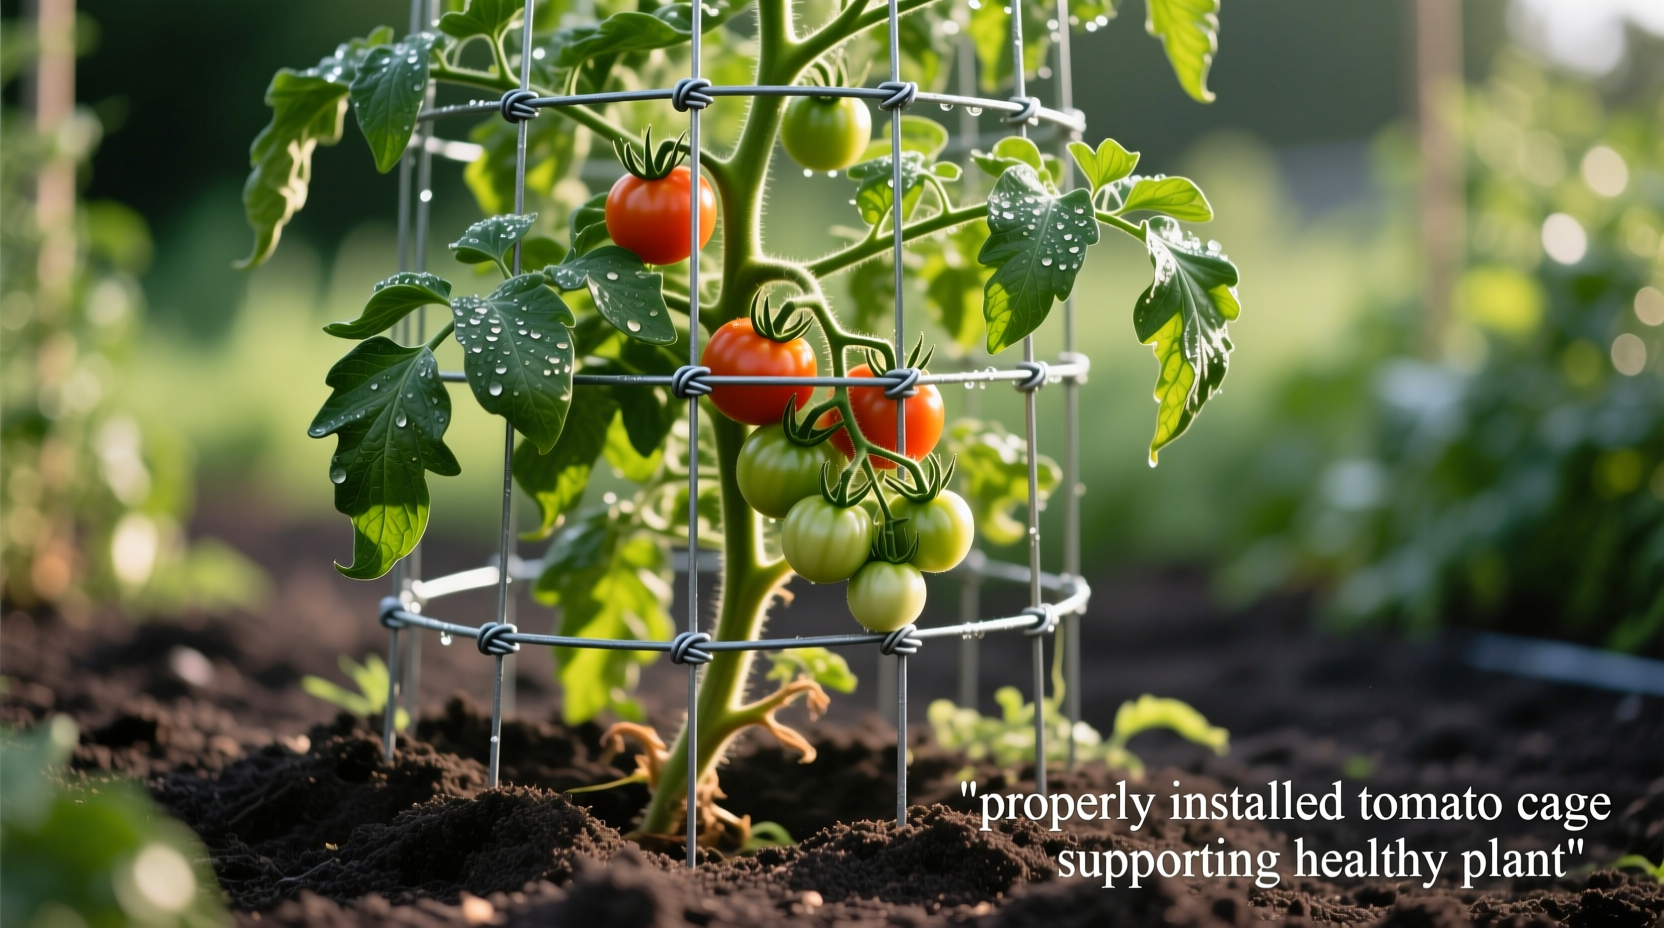
Timing proves critical for successful cage installation. Place cages when plants reach 6-12 inches tall - any later risks root damage during installation. Never wait until plants are flowering or fruiting. Position the cage 2-3 inches from the main stem, then push it 6-8 inches deep into the soil using a twisting motion. For heavy soil, use a trowel to create a pilot hole first. Secure with two 18-inch metal stakes driven through opposite cage legs for wind resistance.
Training Your Plants Through the Growing Season
Weekly guidance sessions prevent branches from escaping the cage structure. Every 7-10 days, gently weave new growth through cage openings while the stems remain flexible. Start from the bottom and work upward, positioning branches horizontally through the openings. Never force stiff stems - this causes breakage. For indeterminate varieties, pinch off suckers growing in the crotch between main stem and branches to direct energy toward fruit production. Remove any leaves touching the soil to prevent disease transmission.
Tomato Cage Evolution Timeline
Tomato support methods have evolved significantly since commercial tomato cultivation began:
- 1880s: Gardeners used repurposed hog wire fencing cut into cylinders
- 1930s: First manufactured tomato cages appeared with 3-leg design
- 1950s: Introduction of conical-shaped cages for better stability
- 1980s: Plastic-coated wire cages reduced stem damage
- 2000s: Development of modular, stackable cage systems
- Present: Heavy-gauge steel cages with integrated plant ties
When Tomato Cages Work Best (And When They Don't)
Tomato cages excel with determinate varieties and container gardening but have limitations. They're ideal for gardens with:
- Loose, well-draining soil that allows deep cage insertion
- Plants spaced at least 3 feet apart to prevent cage interference
- Gardeners who can commit to weekly plant guidance
Cages become problematic in:
- Clay-heavy soils where deep insertion is difficult
- High-wind areas without additional staking
- Overcrowded plantings where cages touch each other
- Gardens with limited mobility where bending is challenging
Troubleshooting Common Cage Problems
Cage tipping: Drive two 18-inch rebar stakes through opposite cage legs at 45-degree angles. For container plants, fill pots with 30% sand to increase weight.
Branches escaping: Install additional horizontal supports using soft plant ties every 12 inches. Never use wire directly on stems.
Rust development: Apply food-safe mineral oil to metal cages before storage. Consider switching to powder-coated options for coastal gardens.
Difficulty harvesting: Choose cages with wider top openings (at least 12 inches diameter) for indeterminate varieties to access fruit easily.
Maximizing End-of-Season Results
As harvest winds down, remove cages carefully to avoid damaging remaining fruit. Clean with a vinegar-water solution (1:3 ratio) to prevent disease transmission between seasons. Store cages vertically in a dry location - horizontal stacking causes permanent deformation. For plastic-coated cages, inspect for cracks that could harbor pathogens. Properly maintained cages typically last 5-7 growing seasons before replacement becomes necessary.


 浙公网安备
33010002000092号
浙公网安备
33010002000092号 浙B2-20120091-4