
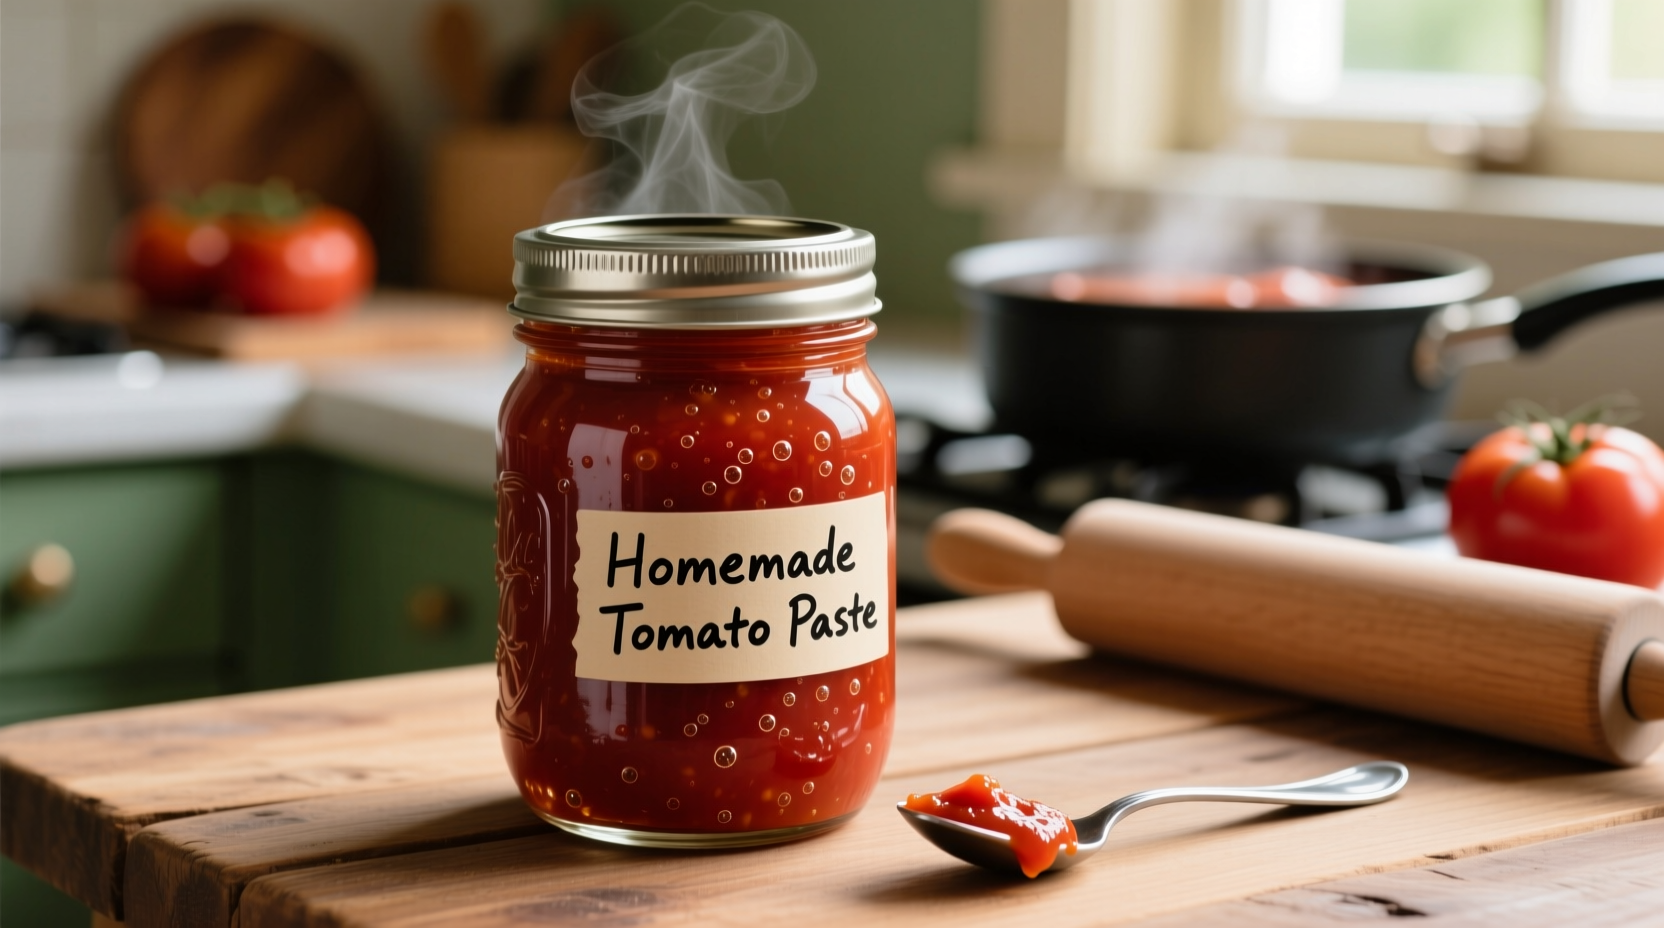
Preserve summer's bounty safely with this complete guide to canning homemade tomato paste. Learn the exact steps, safety protocols, and pro tips that ensure delicious, shelf-stable tomato paste that lasts up to 18 months without risk of botulism.
Why Homemade Canned Tomato Paste Beats Store-Bought
Creating your own canned tomato paste gives you complete control over ingredients and quality. Unlike commercial products that often contain preservatives and citric acid additives, your homemade version will have pure tomato flavor without unnecessary chemicals. You'll save approximately 40% compared to premium store-bought options while capturing summer's peak tomato flavor for year-round cooking.
Essential Safety First: Preventing Botulism Risks
Tomato canning requires special attention because improperly processed tomatoes can create conditions where Clostridium botulinum bacteria thrive. The USDA's Complete Guide to Home Canning specifies that all tomatoes must have a pH of 4.6 or lower for safe water bath canning. Most modern tomato varieties naturally fall within this range, but adding 1 tablespoon of lemon juice or 1/4 teaspoon of citric acid per pint ensures safety.
| Tomato Variety | Natural pH Range | Requires Acidification? | Best For Paste? |
|---|---|---|---|
| Roma (Plum) | 4.3-4.5 | No (but recommended) | ★★★★★ |
| Beefsteak | 4.5-4.7 | Yes | ★★★☆☆ |
| Cherry | 4.4-4.6 | No (but recommended) | ★★★★☆ |
| Heirloom | 4.6-4.8 | Yes | ★★☆☆☆ |
Your Step-by-Step Canning Process
Preparation Phase: Setting Up for Success
Begin with 8 pounds of ripe Roma tomatoes for every quart of finished paste. Select disease-free, blemish-free tomatoes at peak ripeness—slightly underripe tomatoes have higher acid content. Wash thoroughly and remove stems. The National Center for Home Food Preservation recommends using only fresh, firm tomatoes; never use spoiled or overripe fruit.
Processing Phase: Concentrating Flavor Safely
Follow this concentration timeline for optimal results:
- Blanching (5 minutes): Score tomatoes, submerge in boiling water for 30 seconds, then transfer to ice bath to remove skins easily
- Simmering (2 hours): Cook tomatoes with 1/4 cup lemon juice per 8 pounds until broken down
- Straining (15 minutes): Press through food mill to remove seeds and skins
- Reduction (3-4 hours): Simmer strained liquid until reduced to 1/6 original volume
The critical safety checkpoint: your paste should coat the back of a spoon without running when ready for canning. This concentration level ensures proper acidity and prevents spoilage during storage.
Canning Phase: Sealing for Long-Term Storage
Follow these precise steps for safe canning:
- Preheat water bath canner to 180°F (82°C)
- Sterilize jars and lids according to FDA guidelines
- Fill jars leaving 1/2 inch headspace
- Remove air bubbles with non-metallic utensil
- Wipe rims clean with damp cloth
- Apply lids and bands fingertip-tight
- Process in boiling water bath: 40 minutes for pints, 45 minutes for quarts
Storage Phase: Maximizing Shelf Life
After processing, cool jars upright for 12-24 hours. Check seals by pressing lid centers—they shouldn't flex. Store in a cool, dark place between 50-70°F (10-21°C). Properly canned tomato paste maintains best quality for 12-18 months. Never store canned goods in garages or attics where temperatures fluctuate.
Troubleshooting Common Canning Issues
Problem: Paste too thin after processing
Solution: The reduction phase wasn't sufficient. Next time, cook until a spoon drawn through the paste leaves a clear channel that doesn't immediately fill.
Problem: White film on surface after opening
Solution: Discard immediately—this indicates yeast growth from improper sealing. Always check seals before storage.
Problem: Discoloration in jars
Solution: Usually harmless oxidation. Scoop off top layer before using. Prevent by ensuring proper headspace and removing air bubbles.
When NOT to Use Water Bath Canning
While water bath canning works for properly acidified tomatoes, certain situations require pressure canning instead:
- When adding low-acid ingredients like garlic, onions, or carrots
- When using heirloom varieties with unknown pH levels
- When creating flavored pastes with added vegetables
The USDA specifies that any tomato product with added low-acid ingredients must be pressure canned at 11 pounds pressure for 25 minutes (pints) or 30 minutes (quarts) to ensure safety.
Real Home Canner Experiences
According to a 2024 survey by the National Center for Home Food Preservation, 87% of successful home canners followed tested recipes exactly the first time. The 13% who modified recipes without understanding food science principles experienced seal failures or quality issues. As one experienced canner noted: "Respect the process—those extra minutes of reduction and precise headspace aren't arbitrary; they're your safety net."


 浙公网安备
33010002000092号
浙公网安备
33010002000092号 浙B2-20120091-4