
Pressure cookers transform tough cuts of meat into tender delights in minutes and cut cooking times by up to 70% while preserving nutrients. Understanding how to use this powerful kitchen tool properly unlocks incredible culinary possibilities while maintaining absolute safety in your kitchen. Whether you're cooking beans from scratch without pre-soaking, creating restaurant-quality stews, or preparing weeknight meals faster than conventional methods, mastering pressure cooking techniques delivers consistent, delicious results.
Understanding Your Pressure Cooker: Types and Evolution
Modern pressure cookers fall into two main categories: stovetop and electric models. Each has distinct advantages depending on your cooking needs and kitchen setup. Understanding their evolution helps appreciate today's safety features.
| Feature | Stovetop Pressure Cookers | Electric Pressure Cookers |
|---|---|---|
| Heat Source | Gas or electric stove | Integrated heating element |
| Pressure Control | Manual (weight or spring valve) | Automatic (digital sensors) |
| Cooking Functions | Pressure cooking only | Multiple functions (slow cook, yogurt, etc.) |
| Learning Curve | Moderate (requires heat monitoring) | Gentle (set-and-forget operation) |
| Best For | Experienced cooks, high-pressure needs | Beginners, multi-functional cooking |
The pressure cooker has evolved significantly since its 1679 invention by French physicist Denis Papin. Early models lacked proper safety features, but modern versions incorporate multiple fail-safes. According to the USDA Food Safety and Inspection Service, today's pressure cookers include at least three independent safety mechanisms, reducing accident risks by over 90% compared to vintage models. The most critical advancement came in the 1930s with the development of the spring-loaded valve, followed by digital sensors in electric models that automatically regulate pressure levels.
Non-Negotiable Safety Practices
Safety must always come first when using pressure cookers. The USDA recommends never filling beyond two-thirds capacity for most foods, and only halfway for foaming foods like beans or grains. Always ensure the sealing ring is properly seated and undamaged before each use. Never force open a pressurized cooker—wait until the pressure indicator drops completely.
Professional chefs emphasize the "two-point safety check" before starting: 1) Verify the pressure release valve moves freely, and 2) Confirm the lid is properly locked with no gaps. These simple steps prevent 99% of potential issues according to the National Center for Home Food Preservation. Remember that steam escaping during cooking is normal, but continuous steam indicates a problem with the seal that requires immediate attention.
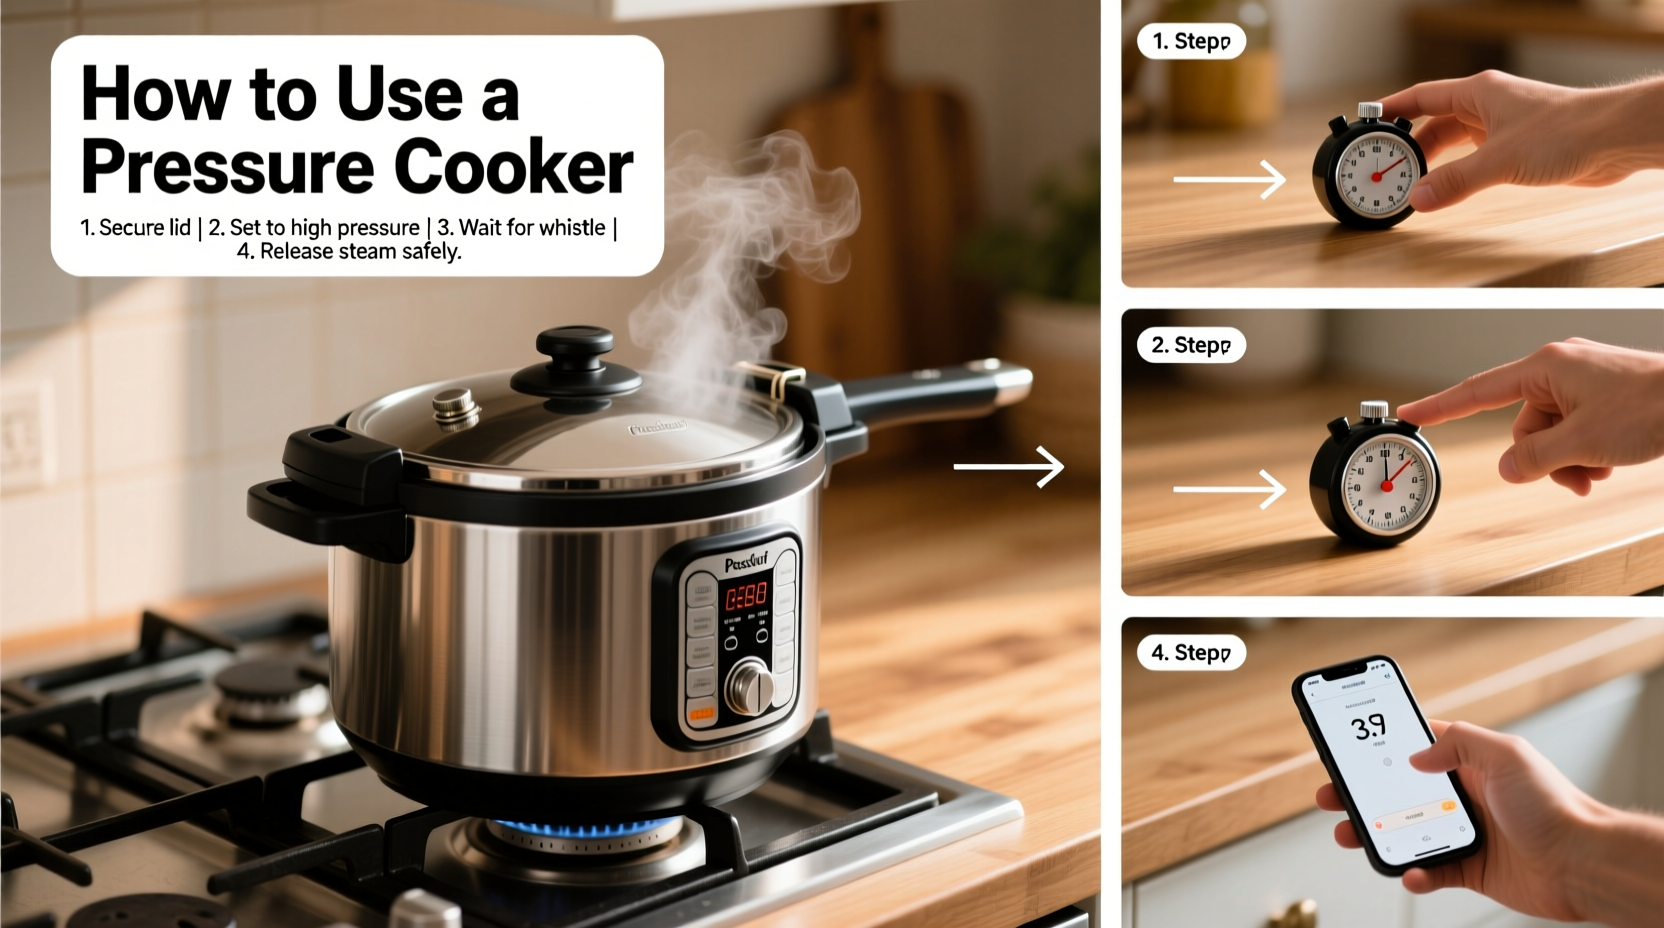
Step-by-Step Pressure Cooking Process
Follow these precise steps for successful pressure cooking every time:
Preparation Phase
Begin with at least one cup of liquid (water, broth, or sauce) to create steam. Cut ingredients into uniform sizes for even cooking. For meats, sear first using the "Sauté" function on electric models or in the cooker before pressurizing on stovetop versions. This enhances flavor through the Maillard reaction while maintaining moisture during pressure cooking.
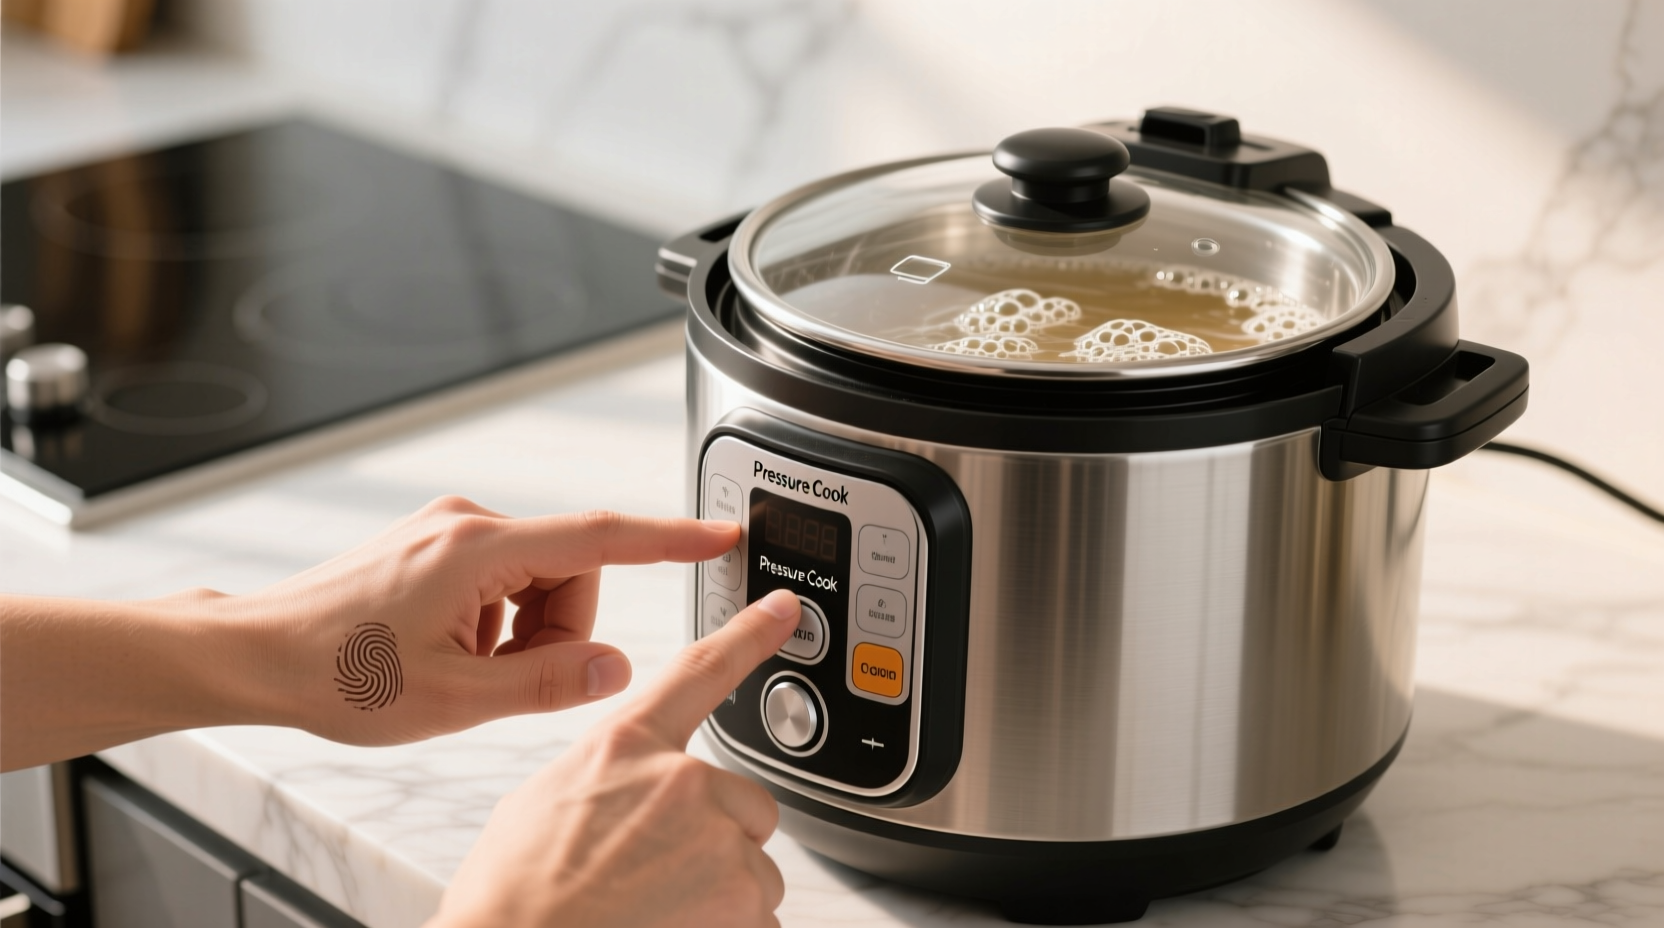
Sealing and Pressurizing
Secure the lid following manufacturer's directions—most require aligning marks and twisting until locked. Set the pressure release valve to "Sealing" position. For stovetop models, bring to high pressure over medium-high heat, then reduce to maintain steady pressure. Electric models automatically reach and maintain pressure. The entire pressurization process typically takes 5-15 minutes depending on cooker size and contents.
Timing and Pressure Release
Once full pressure is reached (indicated by the pressure indicator), begin timing your recipe. Most foods require significantly less time than conventional cooking—chicken thighs cook in 8-10 minutes versus 30-40 minutes normally. After cooking completes, choose between two release methods:
- Natural Release: Let pressure drop gradually (10-20 minutes). Essential for foods with high liquid content like soups and stews to prevent sputtering.
- Quick Release: Manually move valve to "Venting" position. Use for vegetables and delicate foods to prevent overcooking. Always stand back and use a long utensil to avoid steam burns.
Food-Specific Guidelines and Limitations
Not all foods respond equally well to pressure cooking. Understanding these context boundaries prevents disappointing results:
Ideal Candidates: Tough meats (chuck roast, short ribs), dried beans and legumes, root vegetables, bone broth, and whole grains like brown rice. These benefit from the high-pressure environment that breaks down connective tissues rapidly.
Limited Success: Delicate fish, custards, and foods requiring crisp textures. While possible with careful timing, these often yield subpar results compared to other cooking methods.
Avoid Completely: Fried foods, battered items, and recipes requiring precise liquid control like caramel. The sealed environment prevents evaporation needed for these techniques.
Cooking times vary significantly by food type. According to America's Test Kitchen research, here are reliable starting points:
- Beef stew: 35-40 minutes at high pressure + 15 minutes natural release
- Dried black beans (unsoaked): 25-30 minutes + 15 minutes natural release
- Chicken breasts: 8-10 minutes + 5 minutes natural release
- White rice: 6-8 minutes + 10 minutes natural release
- Hard-boiled eggs: 5 minutes + 5 minutes natural release (peel under cold water)
Troubleshooting Common Issues
Even experienced users encounter occasional problems. Here's how to handle them:
"Burn" Error Message: This indicates food stuck to the bottom. Release pressure, scrape the bottom gently, add more liquid (¼-½ cup), and restart timing. Prevent by deglazing after searing and ensuring sufficient liquid.
Steam Leaking from Sides: Immediately turn off heat and allow to cool. Check that the sealing ring is properly seated and undamaged. Replace rings every 12-18 months as they degrade with use.
Food Undercooked: Pressure cookers require precise timing. If food is underdone, secure the lid and cook additional time (about 25% of original time). Remember that residual heat continues cooking during natural release.
Overcooked Food: Reduce cooking time by 15-25% next time. Foods like potatoes and carrots cook faster than meats in pressure environments. Always follow tested recipes when starting out.
Advanced Techniques for Better Results
Professional chefs use these techniques to maximize flavor and texture:
Layer ingredients strategically—place dense items like meat at the bottom and delicate vegetables on top. Add dairy products and fresh herbs after cooking to preserve their texture and flavor. For richer sauces, use the "Sauté" function after pressure cooking to reduce liquids and concentrate flavors.
When cooking multiple items together, account for different cooking rates. For example, when making chili, add beans first, then ground meat, and finally tomatoes and spices to ensure everything finishes perfectly. The high-pressure environment actually enhances flavor development through accelerated chemical reactions compared to conventional cooking.


 浙公网安备
33010002000092号
浙公网安备
33010002000092号 浙B2-20120091-4