
Mastering oven-cooked strip steak transforms an expensive cut into a restaurant-quality meal without the hefty price tag. This method combines stovetop searing with precise oven finishing—the perfect solution when outdoor grilling isn't an option. You'll achieve a beautiful crust while maintaining precise internal temperature control for consistent results every time.
Why Oven Cooking Works Best for Thick Strip Steaks
Strip steaks (also called New York strip or Kansas City strip) typically range from 1-1.5 inches thick. Their substantial size makes them ideal for oven finishing after searing. Unlike thinner cuts that cook entirely on the stovetop, thicker steaks need controlled heat penetration to reach perfect doneness without burning the exterior. The oven's even heat distribution prevents the common problem of overcooked edges with raw centers that plagues many home cooks.
Essential Equipment Checklist
Having the right tools makes this process foolproof:
- Cast-iron skillet - Superior heat retention for perfect searing
- Instant-read thermometer - Critical for precision (Thermoworks MK4 recommended)
- Wire rack - For proper air circulation during resting
- Heavy oven mitts - Safety when handling hot skillet
- Aluminum foil - For tenting during resting phase
Step 1: Proper Steak Preparation (The Critical 48-Hour Process)
Professional results start long before cooking. For optimal texture and flavor development:
- Dry brine 24-48 hours ahead: Pat steak dry, then generously salt (1 teaspoon per pound) and refrigerate uncovered on a wire rack. This draws out moisture, then reabsorbs seasoned liquid for deeper flavor penetration.
- Bring to room temperature: Remove steak from refrigerator 60-90 minutes before cooking. Cold meat creates uneven cooking—the exterior overcooks while the center remains raw.
- Dry the surface thoroughly: Use paper towels to remove all surface moisture. Water prevents proper Maillard reaction (the chemical process creating that desirable brown crust).
| Doneness Level | Internal Temperature | Visual Cues | Approx. Oven Time* |
|---|---|---|---|
| Rare | 120-125°F (49-52°C) | Bright red center | 6-8 minutes |
| Medium Rare | 130-135°F (54-57°C) | Warm red center | 8-10 minutes |
| Medium | 140-145°F (60-63°C) | Pink center | 10-12 minutes |
| Medium Well | 150-155°F (66-68°C) | Small pink center | 12-14 minutes |
*Based on 1.5 inch thick steak starting at room temperature in 400°F oven after searing. Times vary by oven accuracy and steak thickness.
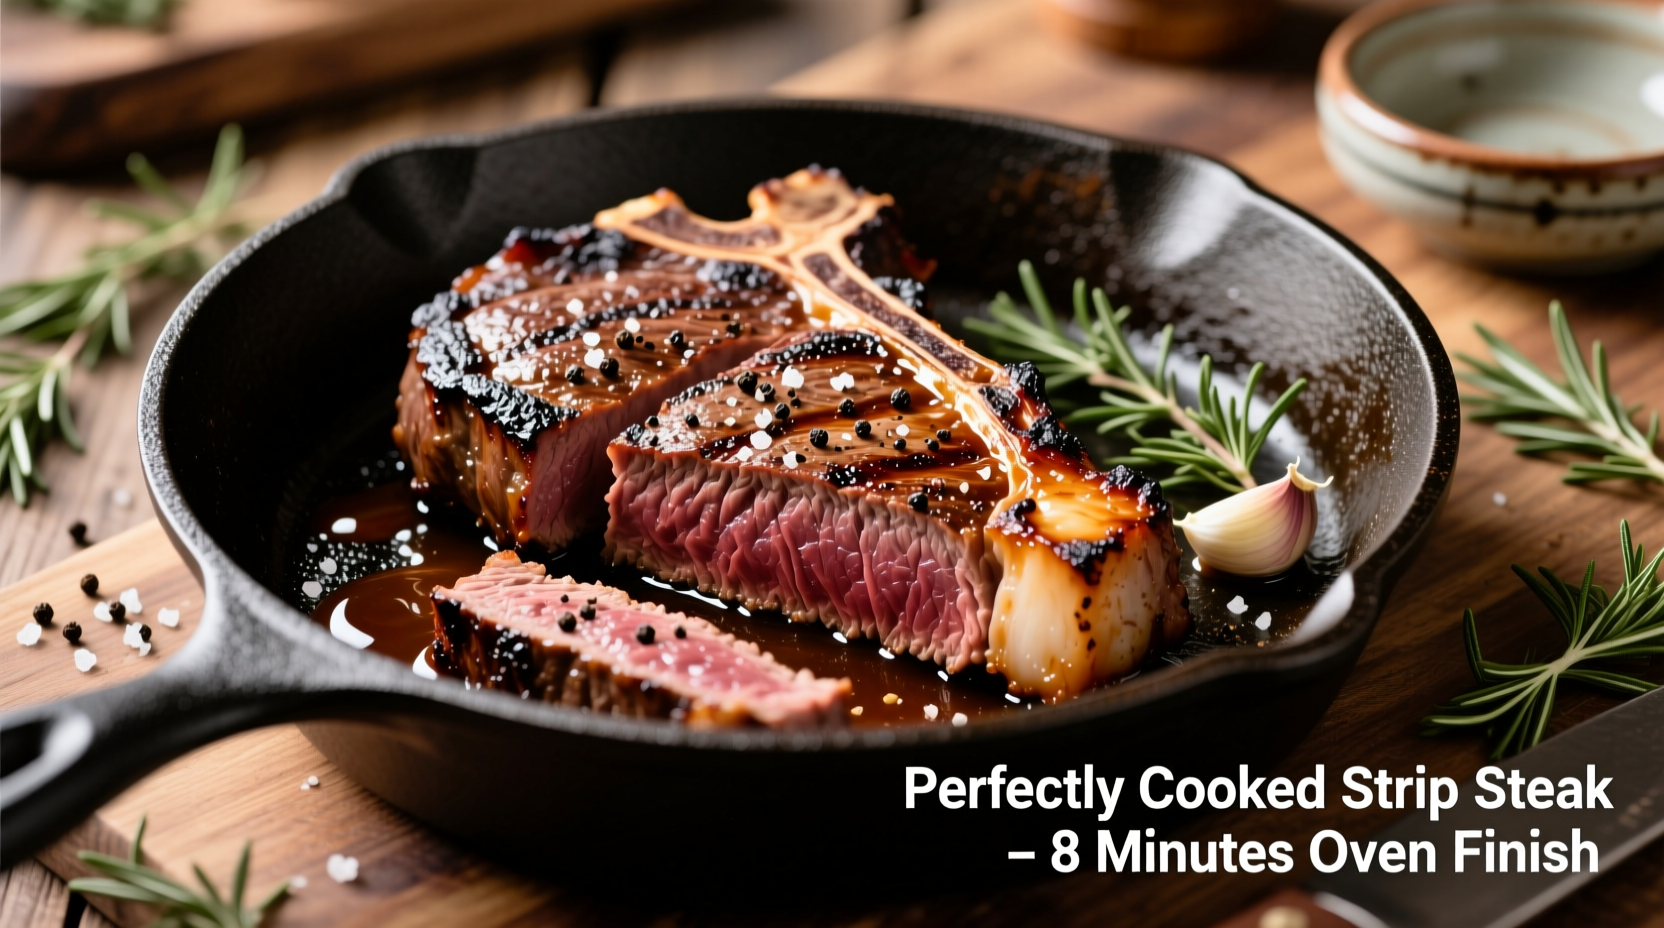
Step 2: The Perfect Sear-to-Oven Technique
This two-stage cooking method delivers professional results:
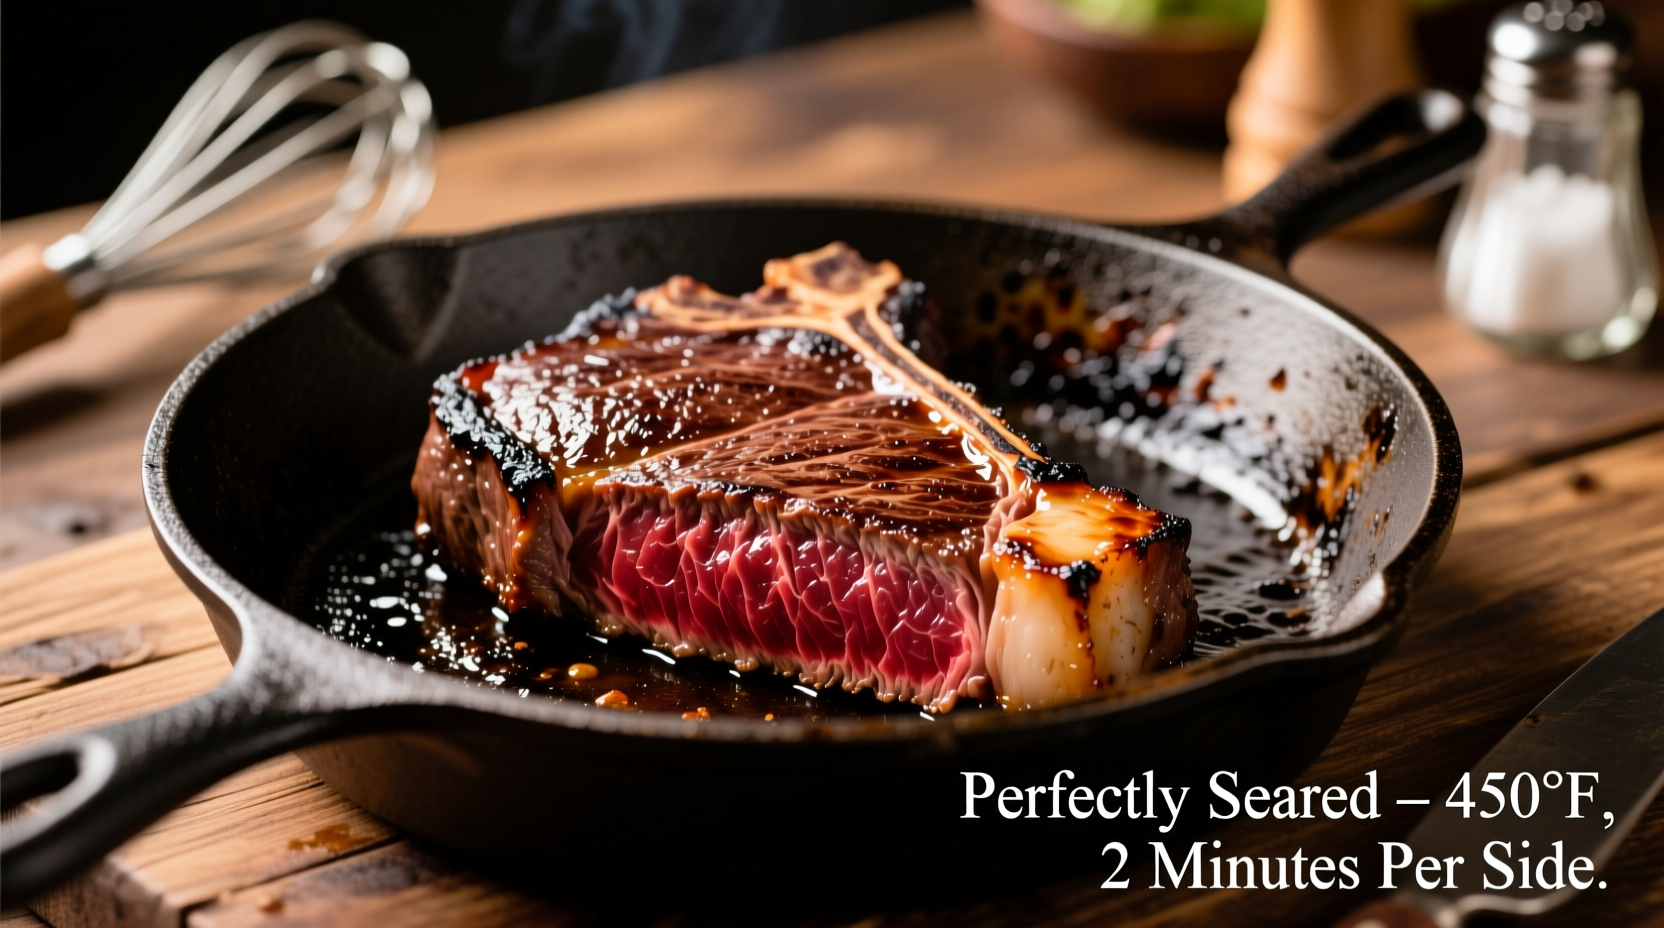
- Preheat oven and skillet: Set oven to 400°F (204°C). Place cast-iron skillet inside to preheat for 15 minutes.
- High-heat sear: Remove hot skillet (use oven mitts!), add 1 tablespoon high-smoke point oil (avocado or grapeseed), then place steak in skillet. Sear undisturbed for 2-3 minutes until deep brown crust forms.
- Flip and sear edges: Turn steak and sear second side 2-3 minutes. Use tongs to briefly sear all edges (about 30 seconds each).
- Oven finish: Immediately transfer skillet to preheated oven. Cook until reaching 5°F below target temperature (carryover cooking will raise final temp).
- Monitor carefully: Insert thermometer horizontally into thickest part, avoiding bone or fat pockets.
Step 3: The Critical Resting Phase
Resting isn't optional—it's essential for juicy results. When you remove steak from heat, the muscle fibers are contracted from cooking. Resting allows:
- Temperature equalization throughout the steak
- Reabsorption of juices into muscle fibers
- Completion of carryover cooking (temperature rises 5-10°F)
Place steak on wire rack, tent loosely with foil, and rest 8-10 minutes for 1-1.5 inch steaks. The USDA Food Safety and Inspection Service confirms that proper resting time ensures both food safety and optimal texture. Cutting too soon releases precious juices onto your cutting board instead of staying in the meat.
Avoid These 3 Common Oven Steak Mistakes
Mistake #1: Skipping the Dry Brine
Surface moisture creates steam instead of sear. The Culinary Institute of America's research on searing techniques confirms that dry-surfaced meat develops superior crust through the Maillard reaction. Salt draws out moisture initially, then allows reabsorption of seasoned liquid for deeper flavor penetration.
Mistake #2: Using the Wrong Thermometer
Don't guess doneness by touch alone. The American Meat Science Association's cooking temperature guidelines emphasize that visual cues alone are unreliable. Invest in a quality instant-read thermometer—the $20 upgrade pays for itself in perfectly cooked steaks.
Mistake #3: Cutting Too Soon
Resting isn't passive waiting—it's active redistribution. As noted by food scientist Harold McGee in On Food and Cooking, muscle fibers relax during resting, allowing juices to redistribute. Cutting immediately after cooking releases up to 40% of the steak's precious juices.
Serving Suggestions for Maximum Impact
Elevate your oven-cooked strip steak with these professional touches:
- Slice against the grain at 45-degree angle for maximum tenderness
- Add finishing salt (Maldon sea salt) just before serving
- Compound butter (try garlic-herb or blue cheese)
- Simple sides that won't compete: roasted asparagus, garlic mashed potatoes


 浙公网安备
33010002000092号
浙公网安备
33010002000092号 浙B2-20120091-4