
Feeling overwhelmed by your first time in the kitchen? You're not alone. Nearly 68% of new cooks abandon cooking attempts within the first month according to USDA food preparation studies. This guide cuts through the confusion with practical, science-backed fundamentals that transform beginners into confident home cooks—no fancy equipment or culinary school required.
Your Cooking Foundation Path
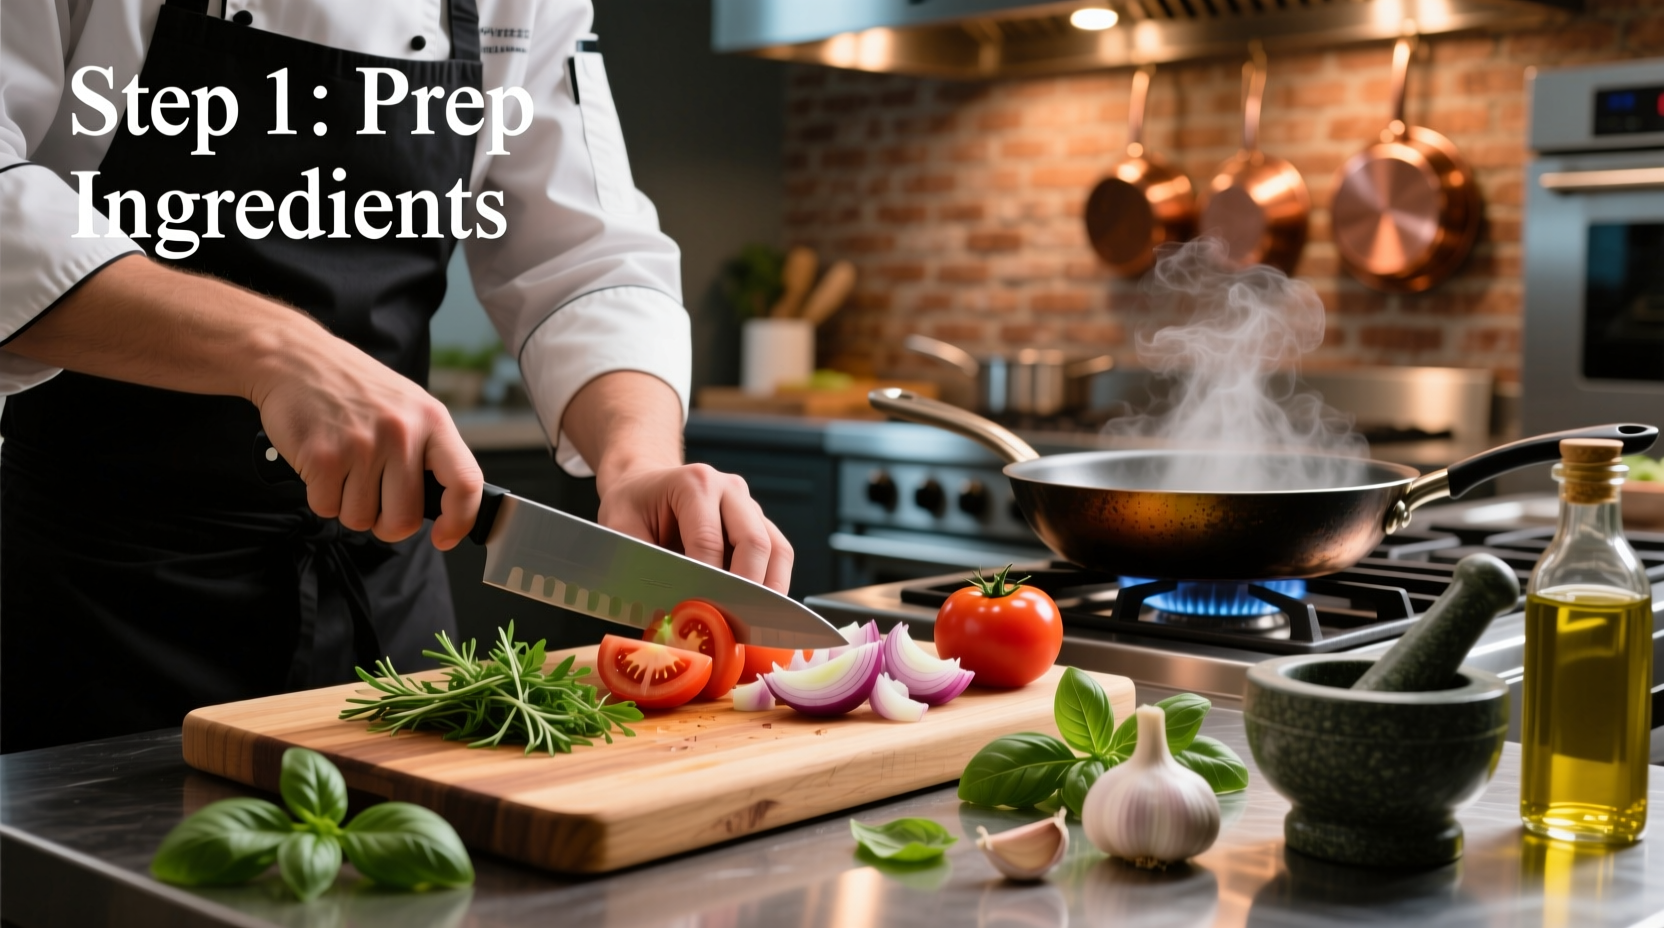
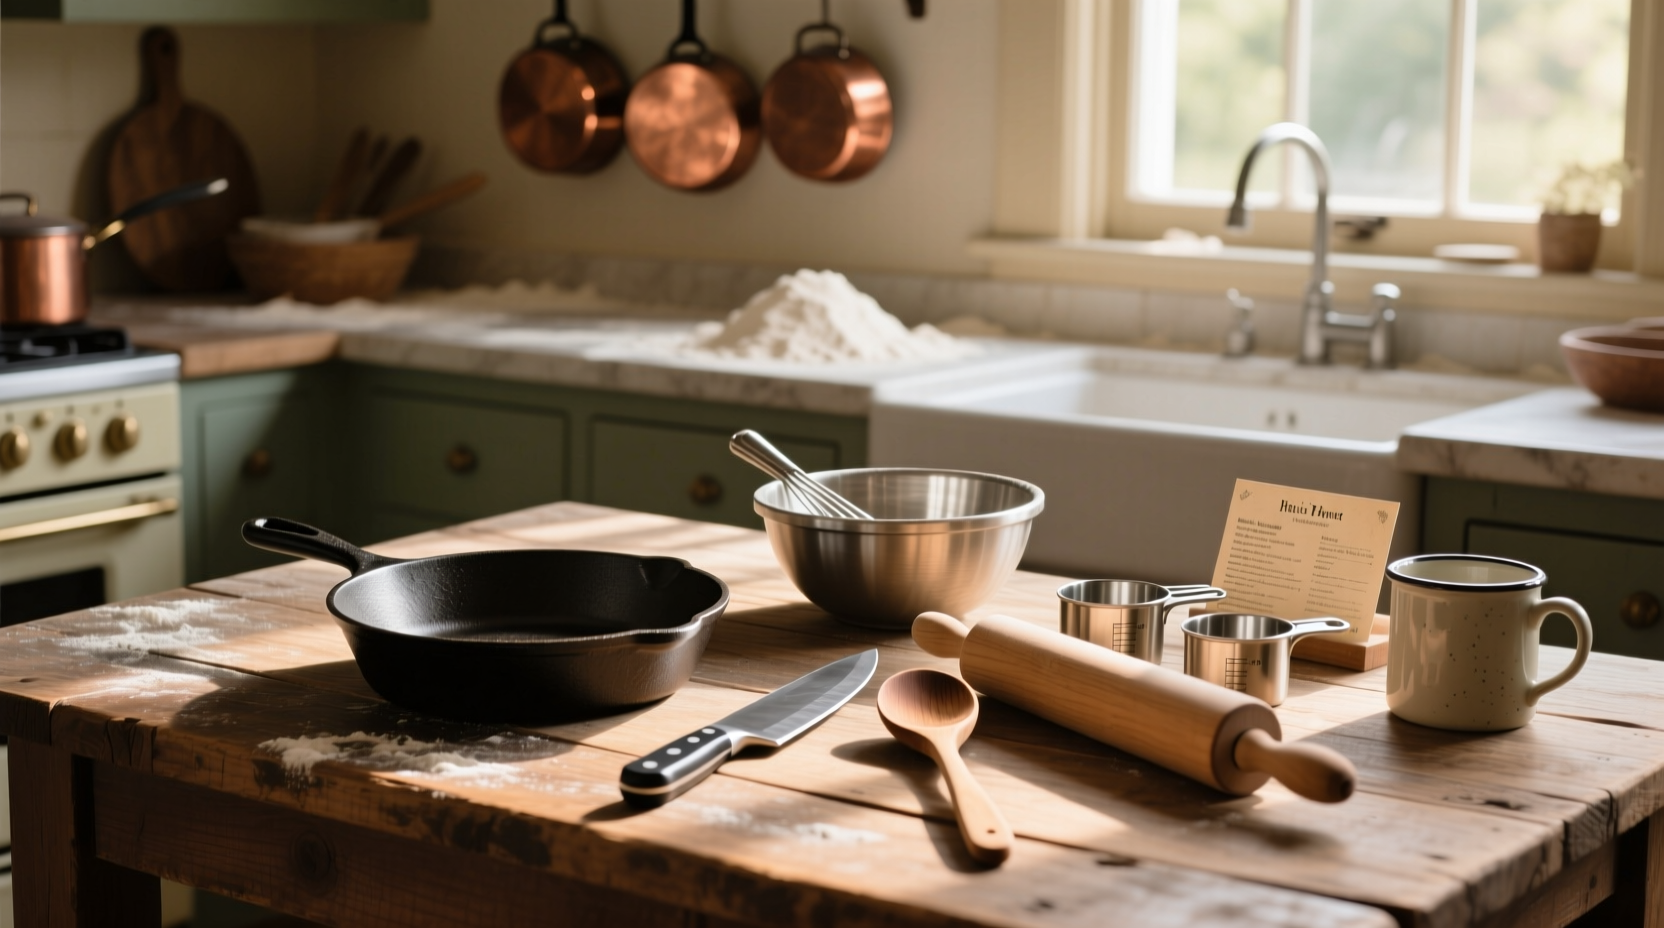
Essential Tools That Actually Matter
Forget expensive gadget collections. Professional chefs consistently identify just seven indispensable tools for beginners:
| Tool | Beginner Purpose | Professional Upgrade Path |
|---|---|---|
| 8-inch chef's knife | Handles 90% of cutting tasks | Japanese carbon steel for precision |
| cutting board | Protects knife edge and counters | End-grain wood for longevity |
| Cast iron skillet | Master heat control for searing | Carbon steel for lighter weight |
| Instant-read thermometer | Prevents under/overcooking | Bluetooth model with app tracking |
"Most cooking failures stem from inadequate tools meeting poor technique," explains Chef Thomas Keller in The French Laundry Cookbook. Start with these essentials before expanding your collection.
Understanding Ingredients: Beyond the Grocery List
Ingredients behave according to scientific principles, not magic. Master these three relationships:
- Salt's dual role: Beyond flavor, salt changes protein structure. Apply 1% of ingredient weight for meats (e.g., 5g salt per 500g chicken) 45 minutes before cooking for optimal moisture retention per American Scientist food chemistry research
- Acid balance: A splash of vinegar or citrus counters excessive richness. Add acids after cooking to preserve brightness
- Fat selection: Olive oil (smoke point 375°F) for finishing, avocado oil (520°F) for high-heat cooking
Five Core Cooking Methods Every Beginner Must Know
Master these foundational techniques before attempting complex recipes:
- Boiling: Submerging food in 212°F (100°C) water. Ideal for pasta, potatoes, and eggs. Pro tip: Add 10g salt per liter of water to season from within
- Steaming: Cooking with vapor heat (212°F). Preserves nutrients in vegetables. Requires 2-3 inches of water in pot with tight-fitting lid
- Roasting: Dry heat in oven (300-450°F). Creates Maillard reaction for flavor development. Always preheat oven for consistent results
- Frying: Submerging in hot fat (325-375°F). Test oil readiness with bread cube—it should sizzle gently without burning
- Baking: Precise oven cooking with chemical leaveners. Measure ingredients by weight for accuracy
Skill Development Timeline for New Cooks
Realistic progression based on Culinary Institute of America training methodology:
- Weeks 1-2: Master knife skills and one cooking method (boiling recommended)
- Weeks 3-4: Learn proper seasoning and timing for proteins
- Weeks 5-8: Combine multiple techniques in single dishes
- Month 3+: Develop intuitive understanding of flavors and adjustments
Context Boundaries: When to Use Which Technique
Not all methods work for every ingredient. Avoid these common beginner mistakes:
- Never boil delicate fish: Use 140°F sous vide or gentle poaching instead
- Avoid frying wet ingredients: Pat proteins dry to prevent dangerous oil splatter
- Don't roast dense vegetables without cutting: Cube potatoes larger than 1 inch for even cooking
- Never bake without preheating: Ovens require 15-20 minutes to reach accurate temperature
Your First Complete Cooking Project
Apply these fundamentals with this simple pan-seared chicken recipe:
- Pat 2 boneless chicken breasts dry with paper towels
- Salt with 1.5g per side (about 1/4 tsp) and rest 30 minutes
- Heat cast iron skillet over medium-high until water droplets dance
- Add 1 tbsp avocado oil and place chicken skin-side down
- Cook 6-8 minutes until golden brown, flip, and finish in 350°F oven for 8 minutes
- Rest 5 minutes before serving (critical for juice retention)
This process demonstrates ingredient preparation, proper heat application, seasoning science, and resting principles—all while creating a complete meal. Track your internal temperature: chicken is safe at 165°F according to USDA Food Safety guidelines.
Troubleshooting Common Beginner Issues
- Burnt food: Your heat is too high. Reduce by one setting and allow pan to reheat gradually
- Soggy results: You overcrowded the pan. Cook in batches with proper spacing
- Bland flavors: Season in layers—not just at the end. Add salt during cooking process
- Dry proteins: You skipped resting time. Always let cooked meats rest 5-10 minutes
Building Your Cooking Confidence
Professional development follows this pattern: technique mastery → recipe adaptation → intuitive cooking. Focus first on understanding why methods work, not just following instructions. Within 8-12 weeks of consistent practice, you'll develop the confidence to adjust recipes based on available ingredients and personal taste preferences—transforming you from recipe follower to creative cook.
What's the most important cooking skill for beginners to master first?
Knife skills are the most critical foundational skill. Proper cutting technique affects cooking time, texture, and flavor distribution. Start with the claw grip for safety and practice uniform dicing—this ensures even cooking. According to culinary institutes, mastering basic knife cuts reduces cooking errors by 40% for beginners.
How can I fix food that's too salty?
For soups or sauces, add an uncooked potato chunk to absorb excess salt (remove after 15 minutes). For solid foods, balance with acid (lemon juice or vinegar) or sweetness (a pinch of sugar). The American Test Kitchen recommends diluting oversalted dishes with additional unsalted components rather than trying to remove salt directly.
Why does my food always stick to the pan?
Food sticks when either the pan isn't hot enough or you move it too soon. Proper technique: heat pan until water droplets bead and dance, add oil that shimmers but doesn't smoke, then place food without overcrowding. Wait for natural release—when proteins have properly seared, they'll detach from the surface. This process takes 2-3 minutes depending on ingredient density.
How do I know when meat is cooked properly without a thermometer?
Use the hand test: press your thumb to different fingers while touching the fleshy part of your palm. Index finger = rare (soft), middle finger = medium (springy), ring finger = well done (firm). However, the USDA strongly recommends using thermometers for food safety, as visual cues alone can be unreliable, especially for poultry and ground meats.


 浙公网安备
33010002000092号
浙公网安备
33010002000092号 浙B2-20120091-4