
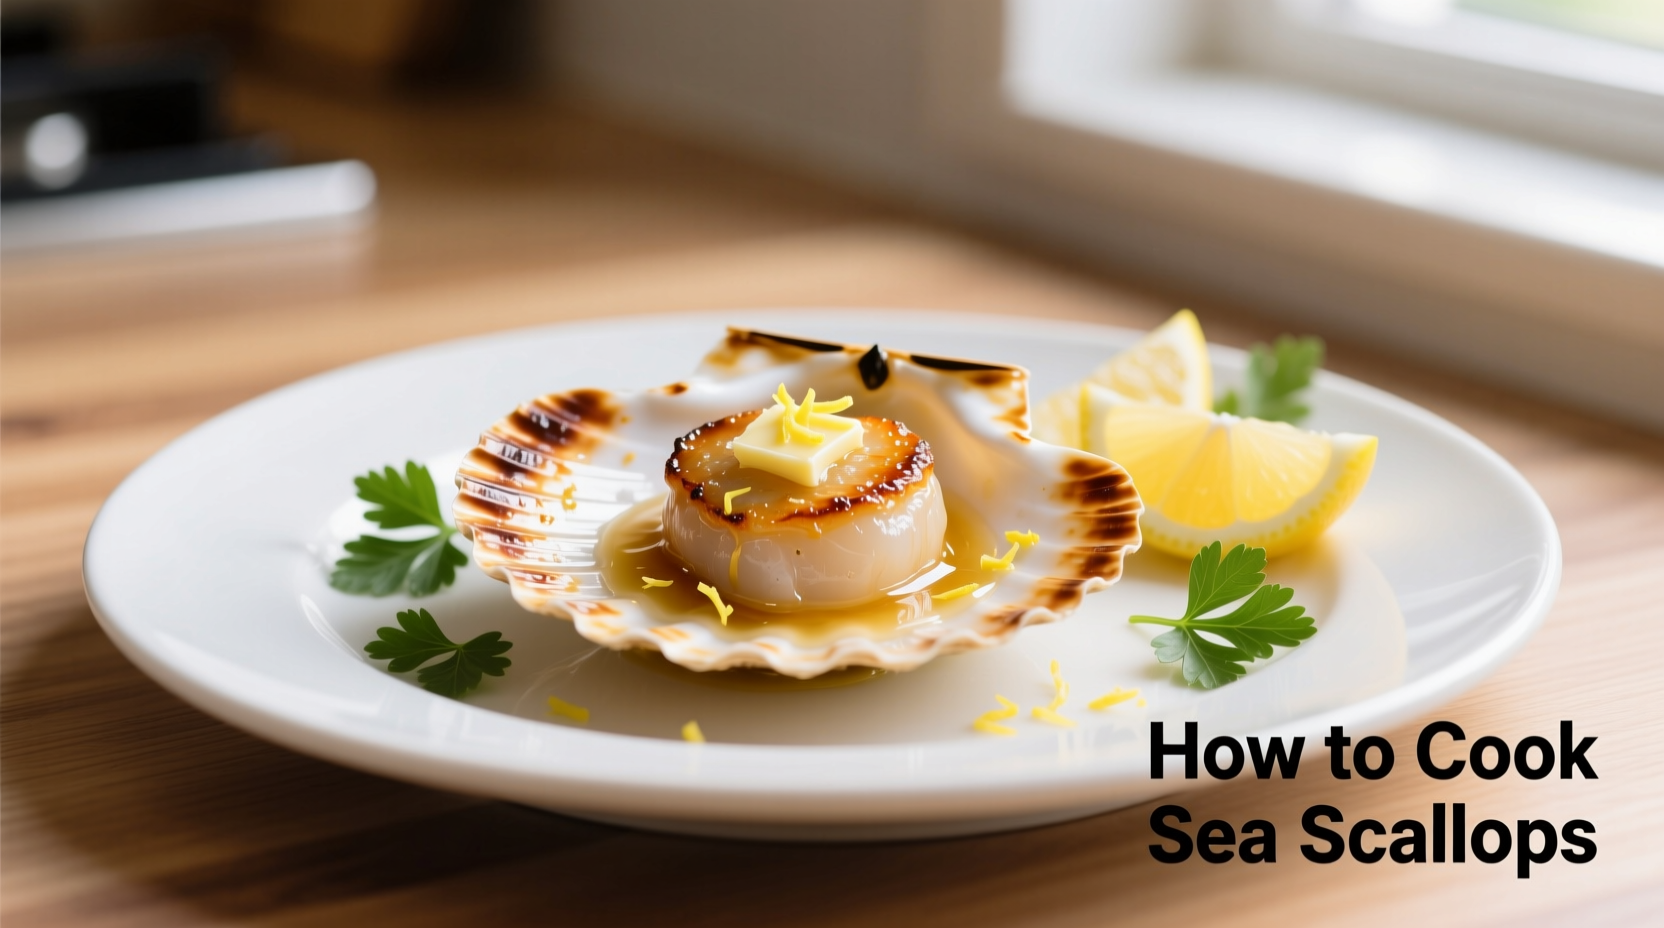
Selecting Quality Sea Scallops: Your Foundation for Success
Before you even think about cooking, selecting the right scallops makes or breaks your dish. Not all scallops are created equal, and understanding the difference prevents disappointing results before you start.
| Characteristic | Dry-Packed Scallops | Wet-Packed Scallops |
|---|---|---|
| Treatment | No chemical additives | Treated with sodium tripolyphosphate (STPP) |
| Appearance | Ivory or light pink, slightly matte | Bright white, shiny, almost translucent |
| Texture | Firm, slightly dry to touch | Slippery, waterlogged |
| Cooking Result | Perfect sear, golden crust | Steams instead of sears, rubbery texture |
| Source Verification | FDA Seafood Guidelines | FDA on seafood additives |
According to the U.S. Food and Drug Administration, dry-packed scallops contain no additives and represent the purest form of the seafood, while wet-packed varieties treated with STPP can absorb up to 30% additional water weight. This moisture prevents proper searing—the critical step for achieving that restaurant-quality crust.
Preparation: The Critical 10 Minutes Before Cooking
What happens before scallops hit the pan determines 80% of your success. Professional chefs emphasize these non-negotiable preparation steps:
- Dry thoroughly: Pat scallops with paper towels until no moisture transfers (takes 2-3 minutes)
- Remove the muscle: That small, tough side tab should be peeled off
- Temperature equilibrium: Let scallops sit at room temperature for 15-20 minutes before cooking
- Season simply: Light salt only—pepper can burn at high searing temperatures
Food science explains why this matters: moisture creates steam when hitting hot oil, preventing the Maillard reaction (browning) that creates complex flavors. The Culinary Institute of America's food science department confirms that surface moisture must be eliminated for proper caramelization to occur.
Essential Equipment for Perfectly Seared Scallops
You don't need professional equipment, but certain tools dramatically increase your success rate:
- Pan type: Carbon steel or cast iron (avoid non-stick for searing)
- Oil selection: Avocado oil (smoke point 520°F) or refined peanut oil (450°F)
- Heat source: Gas burner preferred for precise temperature control
- Timing tool: Kitchen timer—you'll need it for precision
Context matters here: attempting to sear scallops in a non-stick pan often fails because these pans can't reach the necessary 400-450°F temperature range without damaging the coating. This represents a clear context boundary—certain techniques only work with appropriate equipment.
Step-by-Step Cooking Process: Timing is Everything
Follow this exact sequence for foolproof results every time:
- Heat your pan over medium-high heat for 3-4 minutes until smoking slightly
- Add oil and wait 30 seconds until shimmering (not smoking)
- Place scallops in pan, leaving 1-inch space between each
- Do not move them for the first 90 seconds—this is critical
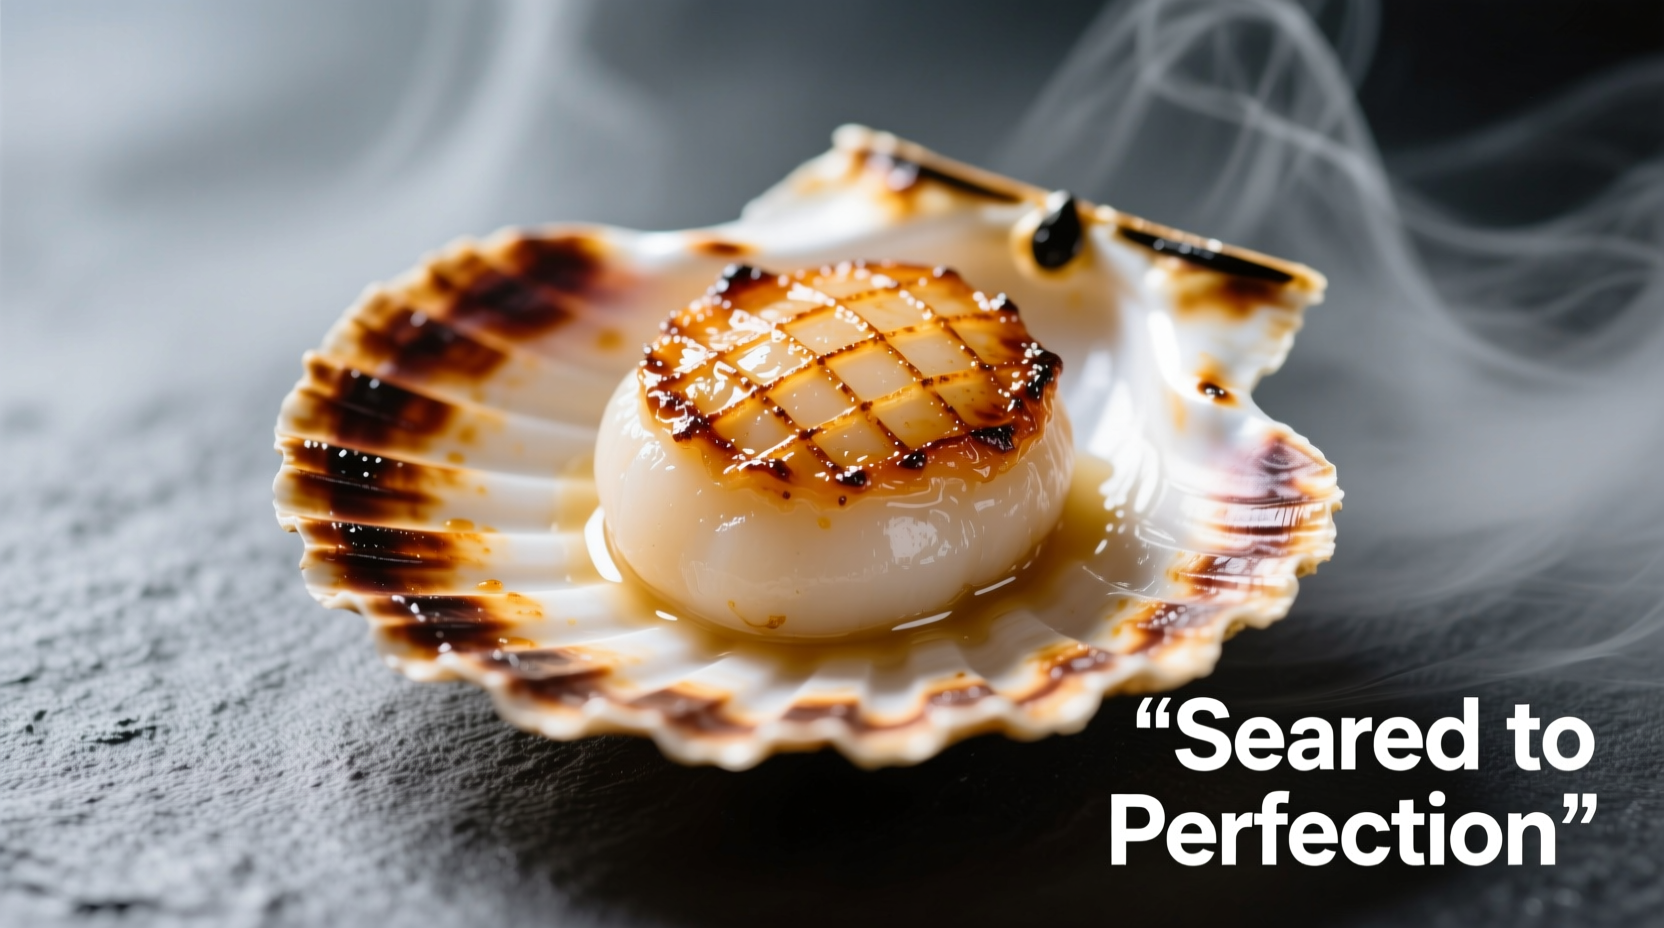
- Check for golden crust formation, then flip with a thin metal spatula
- Cook 1-2 minutes more until interior reaches 115-125°F
- Remove immediately to prevent carryover cooking
The USDA Food Safety and Inspection Service recommends seafood reach 125°F for optimal texture, noting that carryover cooking will raise the temperature another 5-10 degrees after removal from heat. This precise temperature range keeps scallops tender while ensuring food safety.
Avoiding Common Scallops Cooking Mistakes
Even experienced home cooks make these critical errors that ruin otherwise good scallops:
- Overcrowding the pan: Causes steaming instead of searing—cook in batches if needed
- Moving too soon: Prevents crust formation—wait until they release naturally
- Overcooking: Scallops become tough and rubbery past 130°F internal temperature
- Seasoning with pepper before cooking: Burns at high temperatures creating bitter flavors
- Skipping the resting period: Let scallops sit 15 minutes at room temperature first
Flavor Pairings and Finishing Touches
Once perfectly cooked, elevate your scallops with these chef-recommended finishing techniques:
- Add a tablespoon of cold butter and fresh herbs during the last 30 seconds of cooking
- Squeeze fresh lemon juice over finished scallops just before serving
- Create a simple pan sauce using deglazed fond with white wine and shallots
- Serve immediately—scallops don't wait for anyone
For timing context, the entire cooking process from pan heating to plating should take no more than 8-10 minutes. This time-sensitive nature explains why professional chefs emphasize mise en place—having everything prepared before starting the actual cooking process.
Storage and Reheating: What Most Cooks Get Wrong
While freshly cooked scallops are ideal, proper storage techniques can preserve quality:
- Refrigerate cooked scallops within 2 hours in an airtight container
- Consume within 24 hours for best quality (texture degrades quickly)
- Never freeze cooked scallops—they become rubbery when thawed
- Reheat gently in a skillet over low heat with a splash of liquid
Important context boundary: reheating scallops requires completely different techniques than initial cooking. High heat will ruin reheated scallops, demonstrating how technique must adapt to context. The delicate proteins in scallops respond poorly to second heating, making proper initial cooking even more critical.
Troubleshooting Your Scallops Results
Diagnose common problems and fix them for next time:
- Steamed instead of seared: Scallops were wet-packed or not dried properly
- Pale with no crust: Pan wasn't hot enough or oil smoked too early
- Stuck to the pan: Moved too soon or pan wasn't properly preheated
- Tough and rubbery: Overcooked by even 30 seconds—use a thermometer
- Uneven cooking: Scallops weren't uniform size—group similar sizes together


 浙公网安备
33010002000092号
浙公网安备
33010002000092号 浙B2-20120091-4