
Combine red, yellow, and blue food coloring in a 5:3:2 ratio to create rich brown food coloring. For natural alternatives, simmer cocoa powder with water or blend instant coffee with liquid. Adjust ratios to achieve light tan, chocolate brown, or deep espresso shades perfect for baking and decorating.
Why You'll Master Brown Food Coloring in Minutes
Creating professional-quality brown food coloring doesn't require special equipment or hard-to-find ingredients. Whether you're decorating cakes for a rustic wedding, coloring gingerbread houses, or making realistic dirt for a themed birthday cake, this guide gives you three reliable methods using ingredients already in your pantry. You'll learn precise color ratios that work every time, avoid the common mistake of creating muddy gray instead of warm brown, and discover how to customize shades from light caramel to dark chocolate.
Gathering Your Brown Coloring Toolkit
Before mixing colors, assemble these essential components. Having the right tools ensures consistent results and prevents wasted ingredients.
Essential Ingredients
- Liquid food coloring: Primary colors (red, yellow, blue) in professional-grade liquid form
- Natural alternatives: Unsweetened cocoa powder, instant coffee granules, or strong brewed coffee
- Carrier liquid: Water, clear extract, or clear alcohol (like vodka) for better dispersion
Required Equipment
- White ceramic or glass mixing bowl (color shows truer than plastic)
- Small measuring spoons (1/8 and 1/4 teaspoon sizes)
- Wooden coffee stirrers or toothpicks for precise mixing
- Small dropper bottles for storage
| Color Ratio | Resulting Shade | Best For |
|---|---|---|
| 5 parts red : 3 parts yellow : 2 parts blue | Rich chocolate brown | Cake batter, chocolate frosting |
| 4 parts red : 4 parts yellow : 1 part blue | Warm caramel | Caramel drizzle, butterscotch fillings |
| 3 parts red : 2 parts yellow : 3 parts blue | Cool cocoa | Dark chocolate decorations |
| 2 tbsp cocoa : 1 tbsp water | Natural chocolate | Health-conscious baking |
Creating Brown Through Color Mixing
This professional method gives you complete control over shade intensity and undertones. Unlike pre-mixed brown food coloring which often lacks versatility, this approach lets you customize for specific applications.
Step-by-Step Color Mixing Process
- Start with your base liquid (water, extract, or alcohol) in a white bowl
- Add 5 drops of red food coloring
- Mix in 3 drops of yellow food coloring
- Gradually add 2 drops of blue while stirring
- Test on a white paper towel to check shade
- Adjust by adding single drops of red for warmth or blue for depth
Pro tip: Always add blue sparingly—this is the most potent color and quickly turns mixtures gray if overused. The FDA confirms that food coloring ingredients are safe when used in normal culinary amounts, but recommends using only approved color additives for food applications (FDA Color Additives).
Natural Brown Coloring Alternatives
For those avoiding artificial dyes, these natural methods provide authentic brown hues while adding complementary flavors.
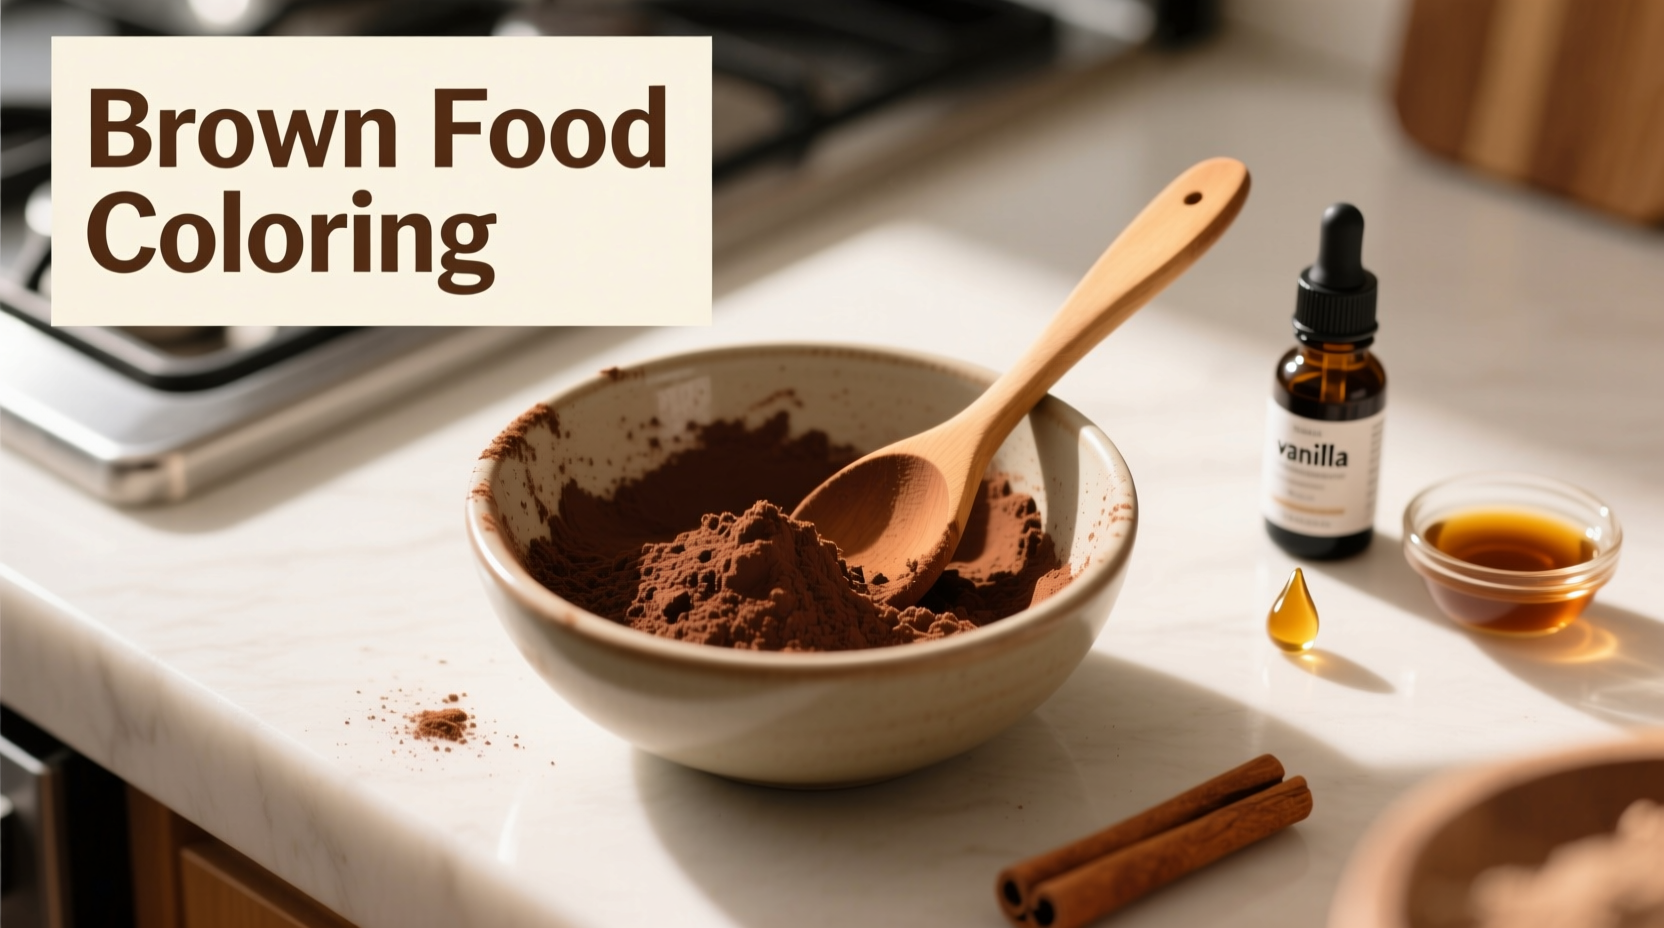
Cocoa Powder Method
Mix 2 tablespoons unsweetened cocoa powder with 1 tablespoon hot water until smooth. This creates a rich chocolate brown ideal for chocolate cakes where the cocoa flavor enhances rather than competes. Strain through a fine mesh sieve to remove any lumps before adding to your recipe.
Coffee Concentrate Method
Dissolve 1 tablespoon instant coffee granules in 2 tablespoons hot water. This produces a warm, reddish-brown shade perfect for coffee-flavored desserts. Stronger concentrations create darker shades but may affect texture in delicate recipes.
When to Choose Artificial vs. Natural Coloring
Understanding these context boundaries prevents disappointing results in your baking projects:
- Use artificial coloring when: You need intense color without flavor impact (like coloring vanilla cake brown for a "dirt" effect)
- Choose natural methods when: Baking chocolate or coffee-flavored items where complementary flavors enhance the final product
- Avoid natural coloring for: White cakes or delicate pastries where cocoa or coffee would alter flavor profile
- Never use: Non-food items like craft dyes or spices with uncertain purity for food coloring
Troubleshooting Common Brown Coloring Problems
Even experienced bakers encounter these issues—here's how to fix them immediately:
Gray Instead of Brown
This happens when blue dominates the mixture. Add small amounts of red and yellow (equal parts) to warm the color. Start with 1/4 drop of each and test on paper towel before adding more.
Too Dark Too Quickly
If your mixture becomes too dark before reaching proper brown, dilute with additional base liquid rather than starting over. Add liquid 1/2 teaspoon at a time until desired intensity.
Inconsistent Coloring in Final Product
Ensure thorough mixing of colored liquid into your batter or frosting. For cake batter, mix for 30 seconds after color disappears to ensure even distribution. The American Association of Baking Institutes confirms that proper emulsification prevents streaking in finished products.
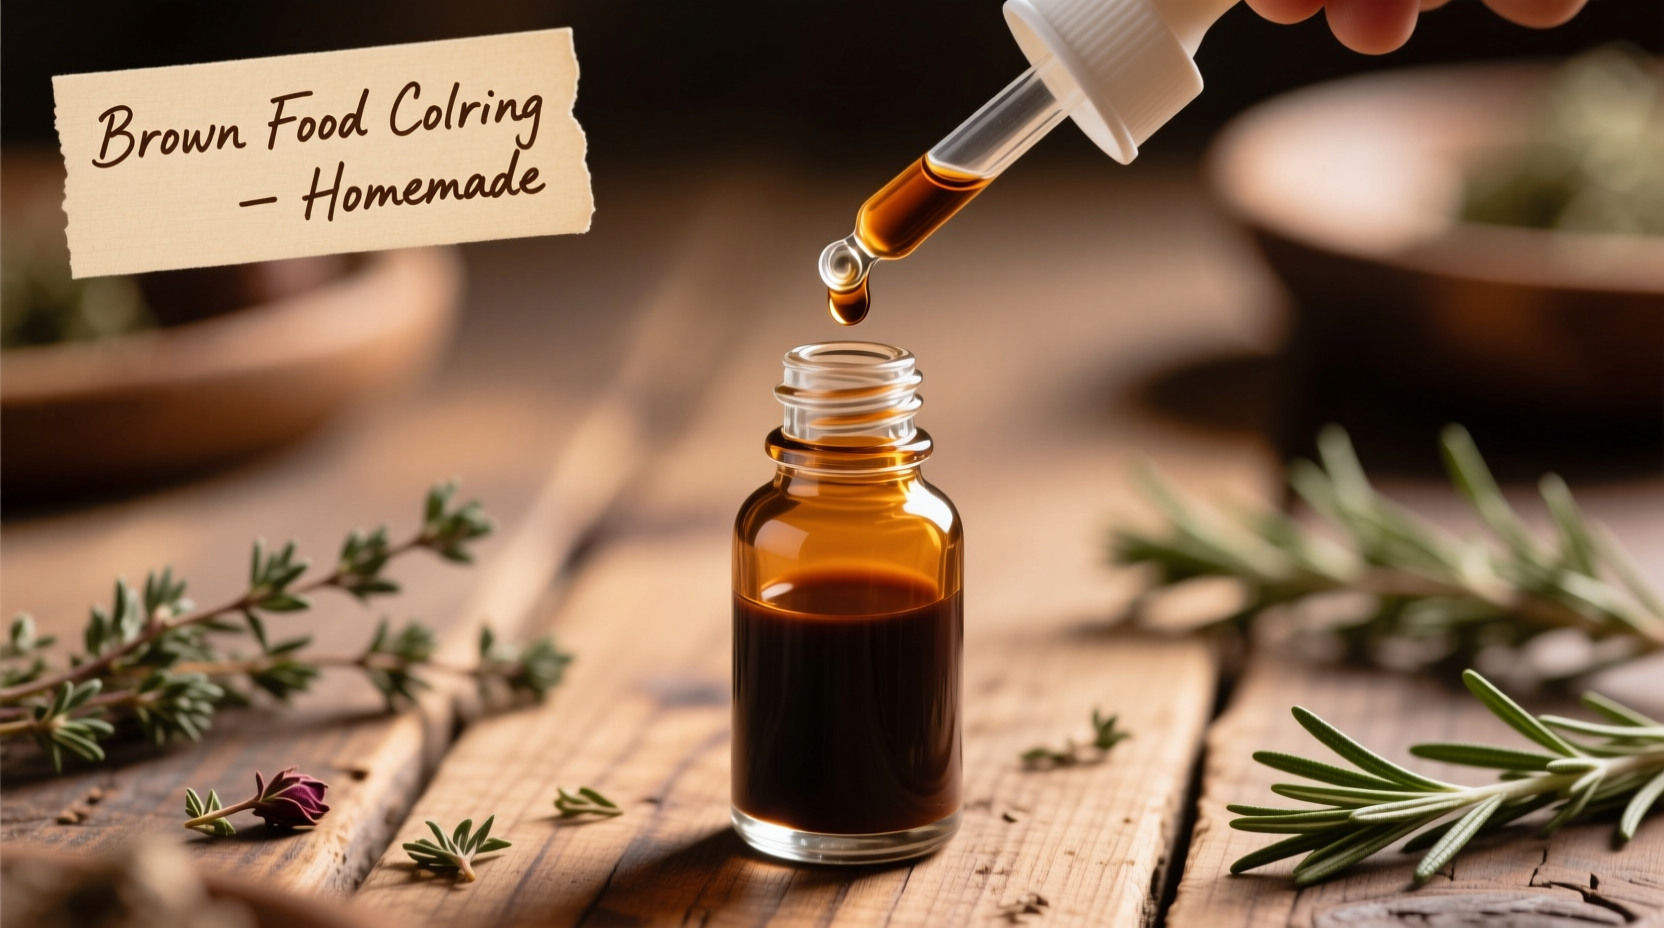
Storing and Using Your Homemade Brown Coloring
Transfer your custom brown coloring to small dropper bottles for easy use. Properly stored in a cool, dark place, artificial color mixtures last 12 months while natural versions should be used within 2 weeks. Always label bottles with creation date and shade type.
When incorporating into recipes, add coloring gradually until you achieve the desired shade. Remember that colors often deepen slightly during baking—aim for a shade slightly lighter than your target in raw batter.


 浙公网安备
33010002000092号
浙公网安备
33010002000092号 浙B2-20120091-4