
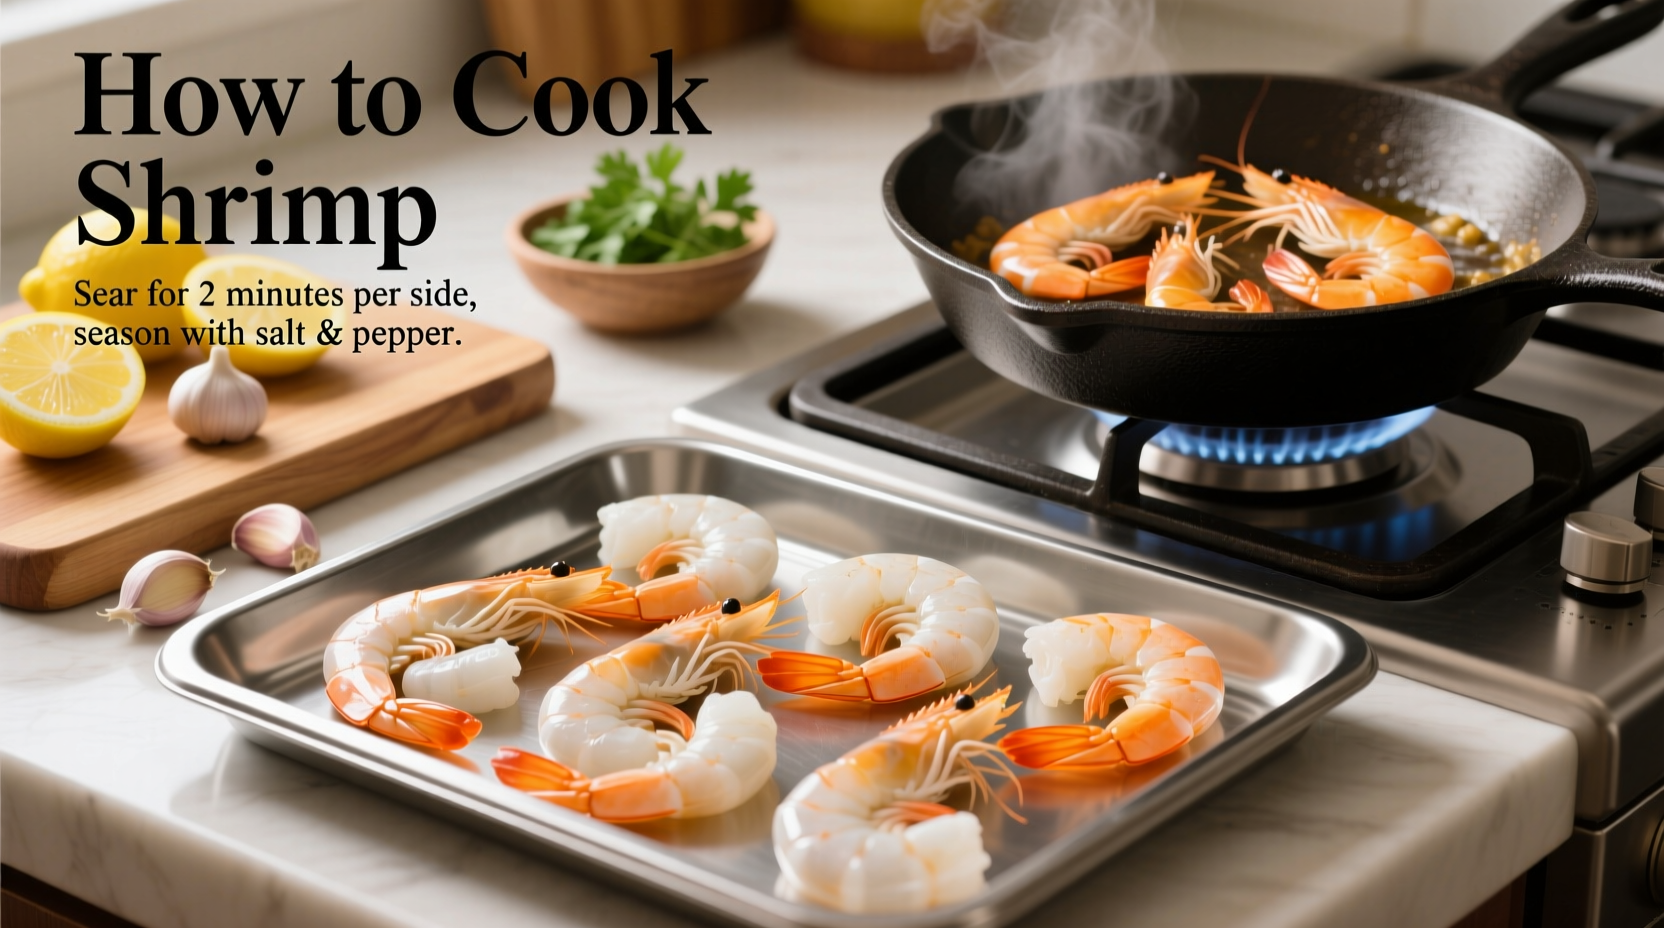
Perfectly cooked shrimp should be opaque and firm with a slight curl, taking just 2-3 minutes per side when sautéing. The internal temperature must reach 145°F (63°C) for food safety. Whether you're pan-searing, grilling, or boiling, the key is avoiding overcooking - shrimp become rubbery within seconds past doneness.
Mastering shrimp preparation transforms this delicate seafood from potentially rubbery to restaurant-quality at home. As a chef who's cooked everything from Michelin-starred kitchens to beachside taco stands, I've seen how proper technique makes all the difference. This guide delivers exactly what home cooks need: no-nonsense methods that guarantee perfect results every time, whether you're preparing a quick weeknight dinner or entertaining guests.
Why Shrimp Cooking Time Matters More Than You Think
Shrimp's delicate protein structure changes rapidly with heat. Unlike chicken or fish, they cook in mere minutes - and that narrow window between perfect and ruined separates novice cooks from confident seafood preparers. The USDA Food Safety and Inspection Service confirms that shrimp must reach 145°F internal temperature to be safe, but professional kitchens use visual cues as the primary indicator since checking temperature can damage delicate flesh.
| Cooking Method | Time Per Side | Visual Doneness Indicator |
|---|---|---|
| Sautéing/Pan-frying | 1.5-2 minutes | Opaque pink with slight curl |
| Grilling | 2-3 minutes | Char marks, firm texture |
| Boiling | 2-3 minutes total | Buoyant, bright pink |
| Baking | 8-10 minutes | Uniform opacity, slight browning |
Your Shrimp Preparation Checklist
Before heating your pan, proper preparation ensures optimal results:
Selection and Thawing
Choose shrimp with firm flesh and a mild ocean scent - never ammonia-like. The Monterey Bay Aquarium's Seafood Watch program recommends looking for MSC-certified or ASC-labeled products for sustainable choices. For frozen shrimp, thaw overnight in the refrigerator rather than at room temperature to maintain texture and safety. Rush thawing? Place sealed bag in cold water for 15-20 minutes, changing water every 5 minutes.
Cleaning Techniques That Make a Difference
Deveining isn't just about appearance - the digestive tract can contain sand and affect flavor. Using a paring knife, make a shallow cut along the back and remove the vein with the tip. For delicate preparations like shrimp ceviche, this step becomes critical for both texture and presentation. Rinse under cold water and pat thoroughly dry - moisture is the enemy of proper searing.
Four Foolproof Cooking Methods Compared
1. Sautéing: The Weeknight Hero
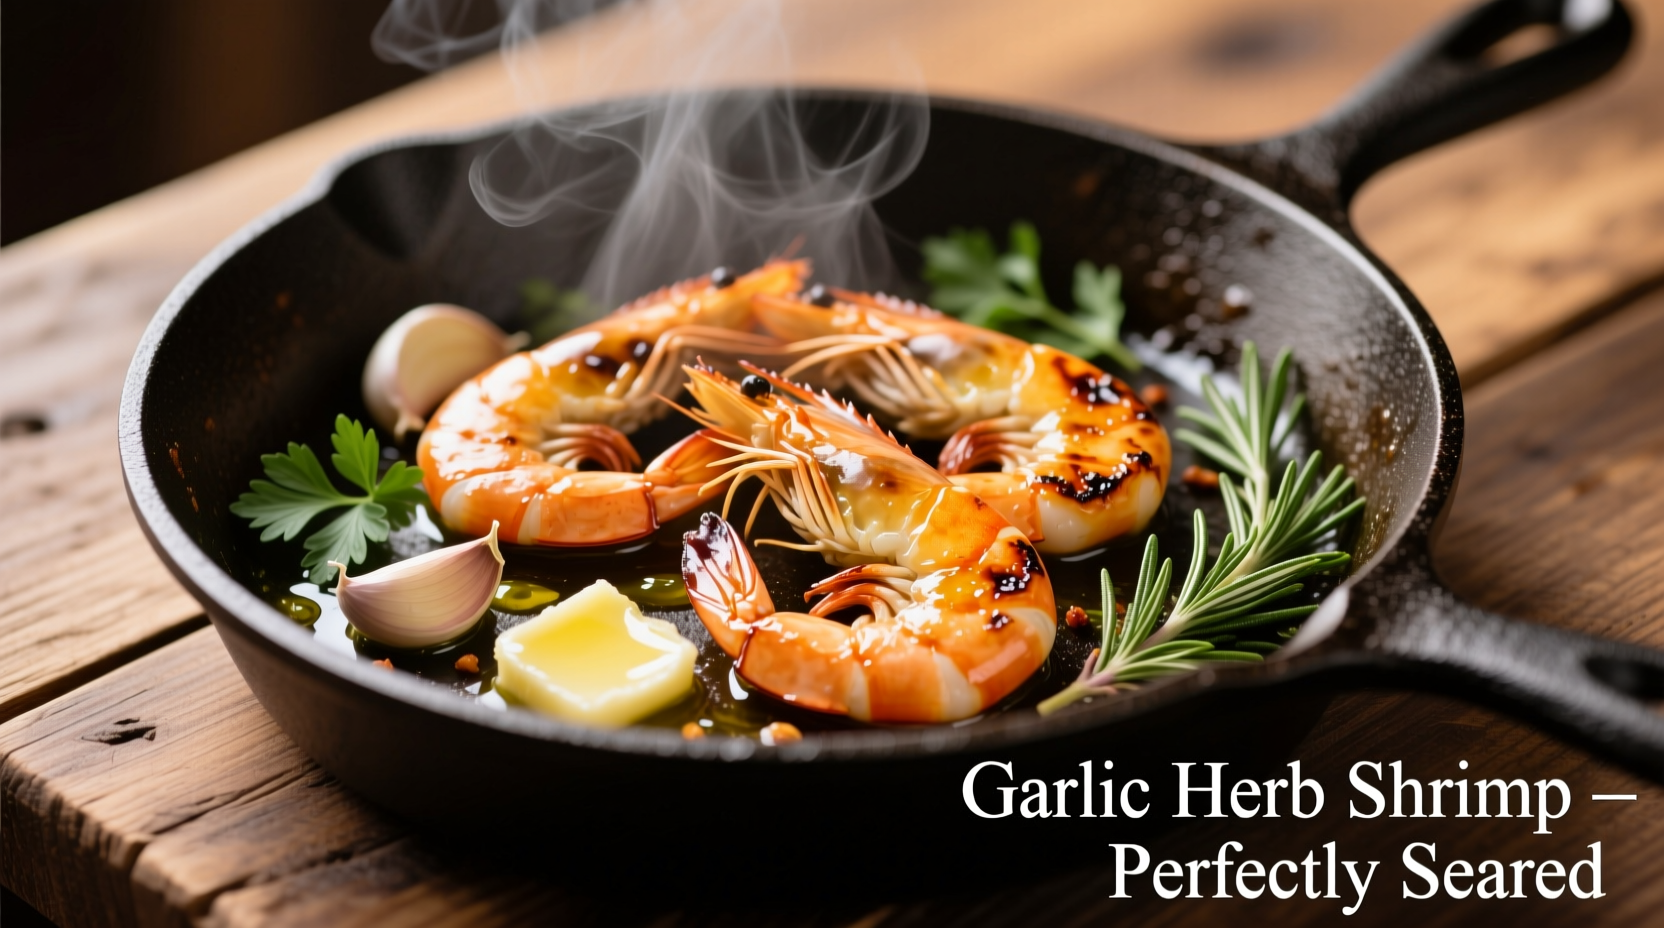
I've found this method produces the most consistent results for home cooks. Heat 1 tablespoon oil in a skillet over medium-high until shimmering. Add shrimp in a single layer (crowding causes steaming). Cook 1.5-2 minutes per side until opaque. For garlic butter shrimp that stays tender, add minced garlic during the last 30 seconds to prevent burning. The Culinary Institute of America emphasizes that removing shrimp from heat just before they appear fully cooked allows carryover cooking to finish the process without overcooking.
2. Grilling: Charred Perfection
Prevent sticking by threading shrimp onto skewers after marinating in olive oil and citrus. Grill over direct medium heat (375-400°F), turning once, for 2-3 minutes total. Watch for the C-shaped to O-shaped transformation - when shrimp form a tight 'O', they're likely overdone. For delicate preparations like shrimp tacos, this visual cue prevents rubbery texture.
3. Boiling: The Foolproof Approach
Bring 4 cups water with 1 tablespoon salt and optional aromatics to rolling boil. Add shrimp and cook 2-3 minutes until they float and turn pink. Immediately transfer to ice bath to stop cooking. This method works best for shrimp cocktail preparation where uniform texture matters most. According to seafood safety guidelines from FDA, properly boiled shrimp maintains optimal moisture while reaching safe internal temperatures.
4. Air Frying: Modern Convenience
For crispy shrimp without deep frying, toss peeled shrimp with 1 teaspoon oil and air fry at 400°F for 6-8 minutes, shaking basket halfway. The rapid hot air circulation creates a texture similar to pan-searing with less oil. This method shines for shrimp lettuce wraps where crisp exterior matters.
Avoid These 3 Costly Mistakes
- Overcrowding the pan - leads to steaming instead of searing
- Adding salt too early - draws out moisture, preventing proper browning
- Using high heat throughout - burns exteriors before interiors cook
When preparing lemon garlic shrimp pasta, I recommend cooking shrimp separately and adding to finished dish. This prevents overcooking from residual heat in the pasta mixture. Similarly, for shrimp fried rice, cook the shrimp first, remove, then add back at the end.
Serving and Storage Guidelines
Serve immediately for best texture. Leftovers keep refrigerated for 2 days - reheat gently in microwave at 50% power to prevent rubberiness. Never refreeze previously frozen shrimp after cooking. The USDA Food Safety and Inspection Service warns that improper storage leads to texture degradation and potential food safety issues.
Flavor Variations Worth Trying
Once you've mastered basic preparation, experiment with these globally-inspired options:
- Mediterranean shrimp: Toss with olive oil, lemon zest, oregano, and roasted red peppers
- Asian sesame shrimp: Marinate in soy, ginger, and sesame oil before quick-searing
- Cajun blackened shrimp: Coat with paprika, cayenne, and thyme for bold flavor


 浙公网安备
33010002000092号
浙公网安备
33010002000092号 浙B2-20120091-4