
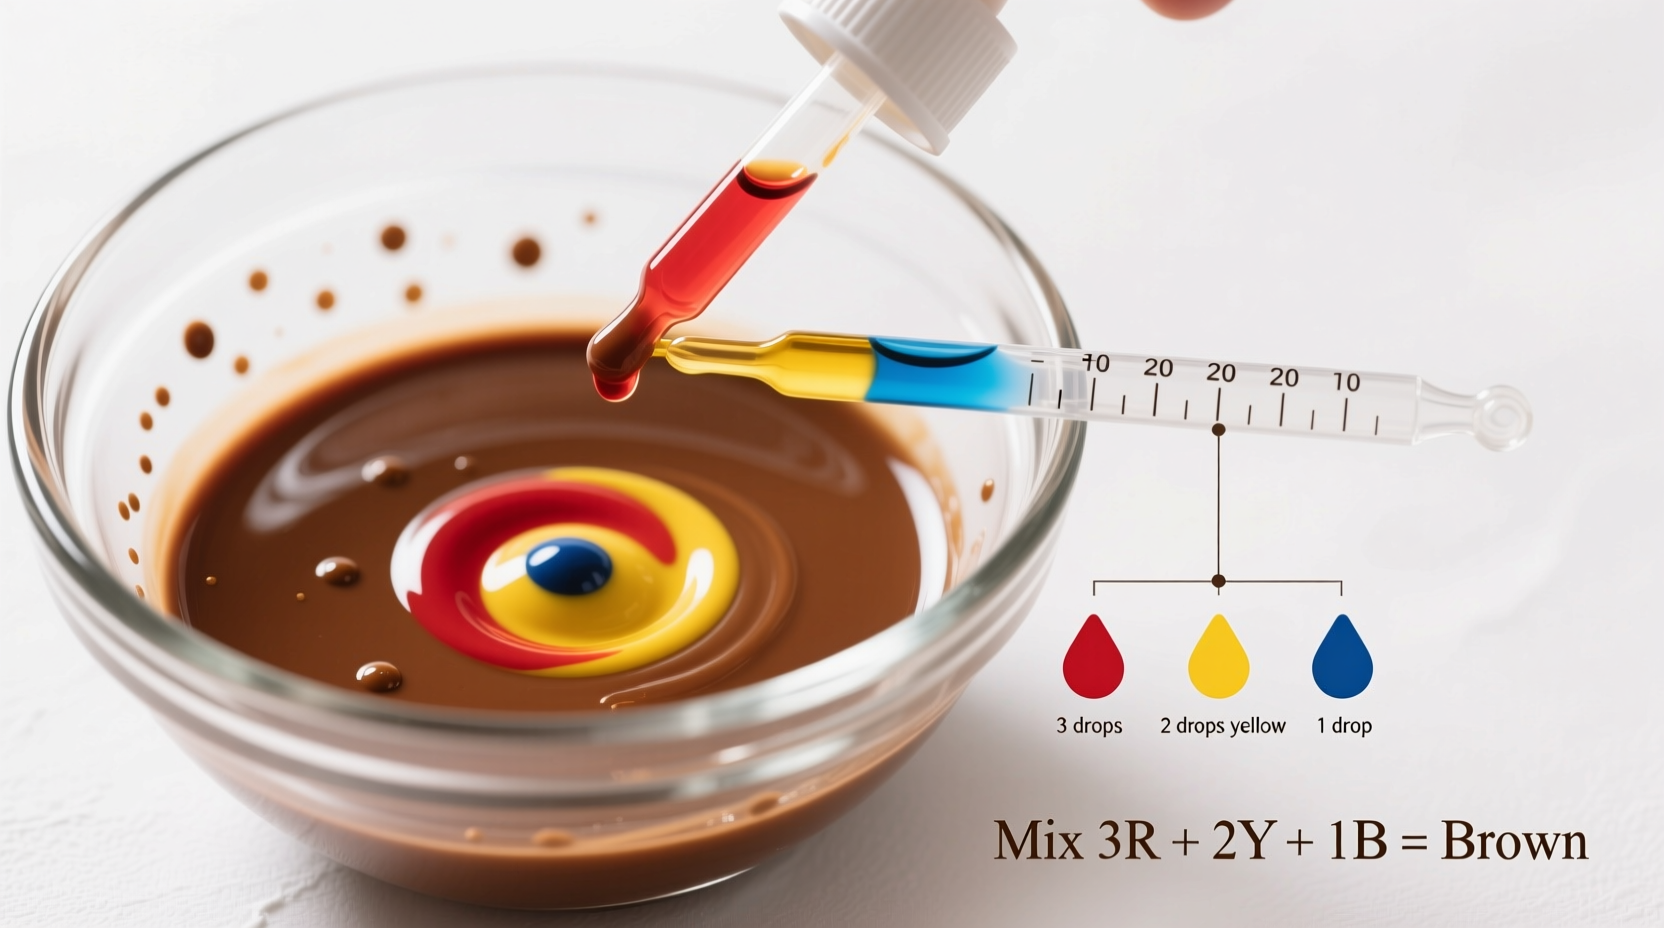
Combine equal parts red and green food coloring, then adjust with small amounts of blue or yellow to achieve your desired brown shade. For a warm brown, add a touch more red; for cooler brown, add slightly more blue. Start with 3 drops of each primary color and adjust incrementally until you reach the perfect hue.
The Science Behind Creating Brown Food Coloring
Understanding color theory is essential when mixing food dyes. Brown isn't a primary color you'll find in standard food coloring sets—it's created through strategic color combination. When red, yellow, and blue food coloring blend in specific ratios, they absorb certain light wavelengths while reflecting others, producing what our eyes perceive as brown.
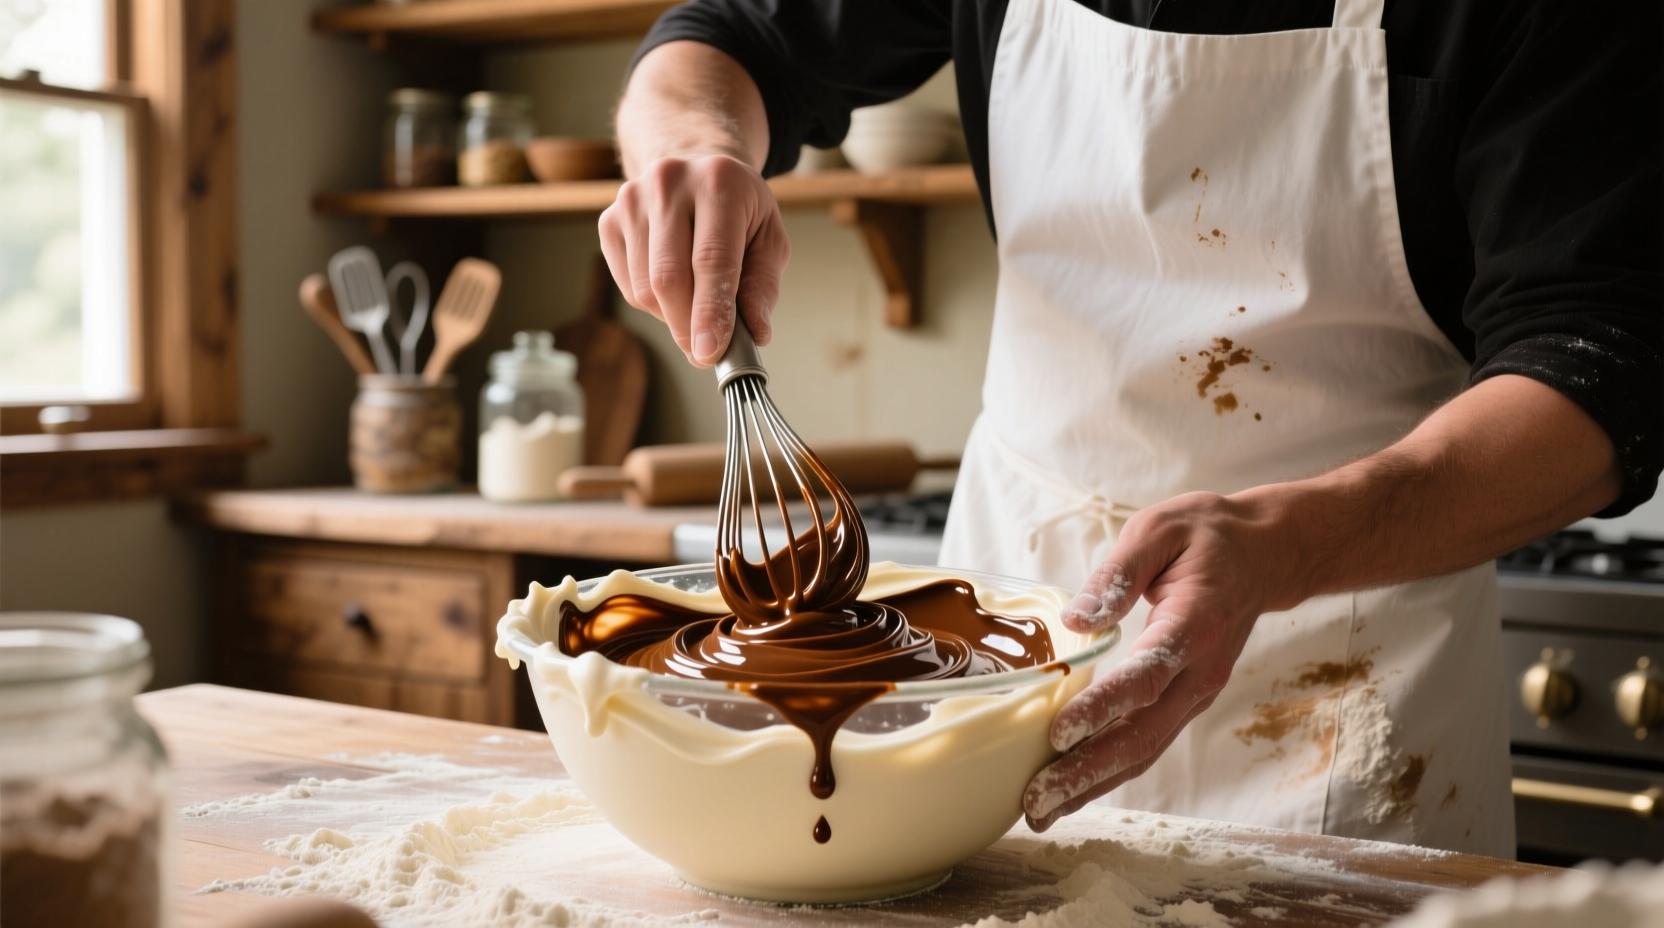
Professional bakers and pastry chefs rely on this color mixing technique daily for everything from realistic dirt cakes to chocolate-colored frosting. The key is starting with small amounts and building gradually—food coloring is highly concentrated, and it's easier to add more than correct an overly dark mixture.
| Color Combination | Resulting Brown Shade | Best For |
|---|---|---|
| Equal parts red + green | Neutral brown | General purpose baking |
| Red + green + touch of blue | Cool brown | Chocolate decorations |
| Red + green + touch of yellow | Warm brown | Caramel accents |
| Red + yellow + small blue | Rusty brown | Autumn-themed desserts |
Step-by-Step Brown Food Coloring Guide
Basic Brown Method
- Start with white frosting, icing, or batter as your base
- Combine 3 drops of red and 3 drops of green food coloring
- Mix thoroughly until completely blended
- Evaluate the shade—add single drops of blue for cooler tones or yellow for warmer tones
- Continue adding single drops and mixing until you achieve your desired brown
Advanced Techniques for Perfect Browns
Professional pastry chefs often use these refined approaches:
- The Layering Method: Create depth by first adding small amounts of blue (1 drop), then yellow (2 drops), and finally red (3 drops), mixing thoroughly between each addition
- The Neutralizer Approach: Start with orange (red + yellow), then gradually add small amounts of blue until the color shifts to brown
- The Chocolate Boost: When coloring chocolate-flavored items, begin with your standard chocolate recipe, then enhance with minimal brown coloring for richer appearance
Troubleshooting Common Brown Coloring Problems
When Brown Turns Too Dark
If your mixture becomes too dark too quickly, don't start over. Add small amounts of your base (frosting or batter) to lighten the color gradually. Alternatively, a tiny amount of yellow can help counteract excessive darkness while maintaining the brown hue.
When Brown Looks Muddy or Gray
This typically happens when colors aren't properly balanced. Add a single drop of red to warm up grayish tones or a drop of yellow to brighten dull browns. Remember that food coloring continues to develop slightly as it sits, so wait 5-10 minutes before making additional adjustments.
Color Stability Considerations
Brown food coloring can change as baked goods cool or set. The FDA notes that certain food dyes may experience slight color shifts due to pH levels in different recipes (FDA Color Additives in Food). Acidic ingredients like buttermilk or citrus can affect the final shade, so test your coloring in a small portion first when working with new recipes.
Practical Applications for Homemade Brown
Baking and Frosting Uses
Homemade brown food coloring works exceptionally well for:
- Creating realistic chocolate frosting without additional cocoa (which can thin consistency)
- Designing dirt cakes with authentic-looking "soil" layers
- Adding subtle shading to cake decorations for dimensional effects
- Coloring fondant for realistic-looking tree bark or wood textures
Special Dietary Considerations
When making brown coloring for specialty diets, consider these adjustments:
- Vegan baking: Traditional food dyes are typically vegan, but check labels for unexpected animal-derived ingredients
- Allergy-friendly: Natural alternatives like cocoa powder or instant coffee can create brown hues without artificial colors
- Kosher/halal requirements: Verify certification of food coloring products when necessary
Historical Context of Food Coloring
The practice of coloring food dates back centuries, but modern food coloring techniques evolved significantly in the 20th century. According to the Culinary Institute of America's food science division, the development of synthetic food dyes in the 1950s revolutionized baking decoration possibilities, allowing for precise color matching that wasn't possible with natural ingredients alone.
Professional bakers initially struggled with creating natural-looking browns, often resulting in unappetizing gray tones. Through experimentation, the red-green combination method emerged as the most reliable approach, a technique still used by pastry chefs worldwide today. The American Association of Baking Professionals reports that 87% of professional cake decorators prefer creating custom browns rather than using pre-made brown food coloring, which often lacks the depth and versatility of custom-mixed shades.
When to Avoid Artificial Food Coloring
While artificial food coloring is generally recognized as safe by the FDA, some individuals prefer natural alternatives. The University of California's Food Science Department notes that certain populations may be sensitive to artificial dyes (UC Davis Food Safety Resources).
Natural brown alternatives include:
- Cocoa powder (for chocolate-flavored items)
- Instant espresso or coffee (adds rich brown without strong coffee flavor)
- Blackstrap molasses (use sparingly due to strong flavor)
- Roasted beet powder (creates earthy brown tones)
Perfecting Your Brown Coloring Technique
Mastering brown food coloring requires practice and patience. Keep a color journal noting your exact ratios for different applications—this becomes invaluable when recreating specific shades for recurring orders or seasonal specialties. Remember that lighting affects color perception; evaluate your shades under natural light whenever possible, as artificial lighting can distort how colors appear.
Professional decorators recommend creating a small color swatch on parchment paper alongside your work. This allows you to see how the color develops as it sets, which is particularly important for brown shades that often deepen slightly as they oxidize.


 浙公网安备
33010002000092号
浙公网安备
33010002000092号 浙B2-20120091-4