
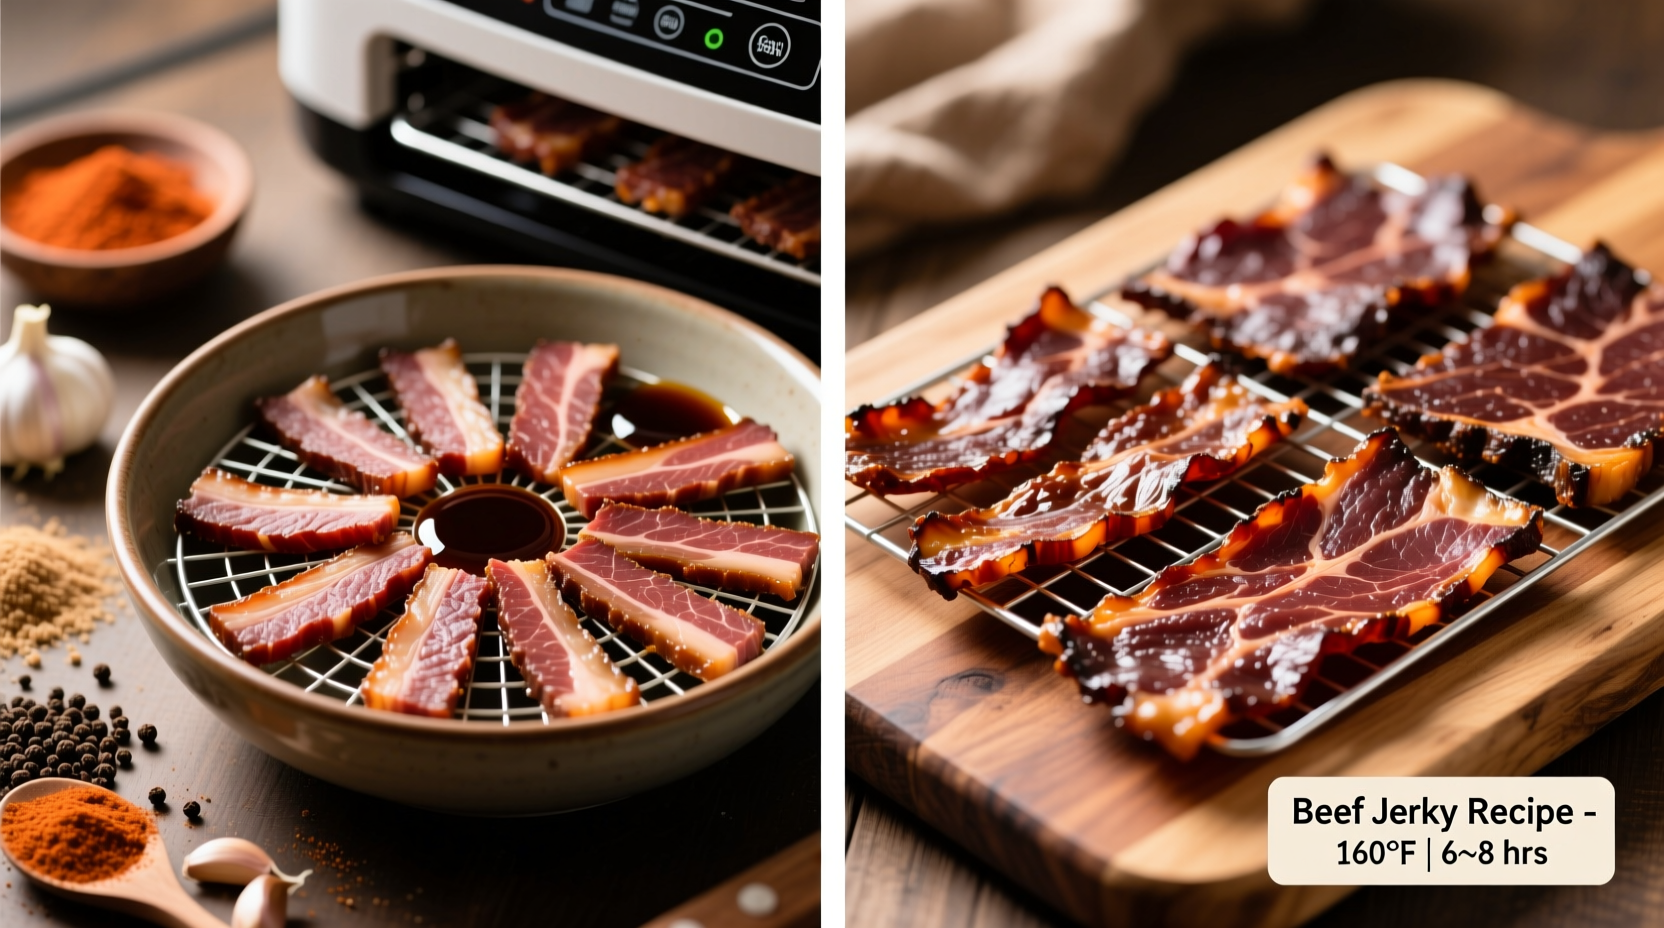
Make perfect beef jerky in a food dehydrator by selecting lean cuts like top round or flank steak, slicing against the grain to 1/8-inch thickness, marinating for 4-24 hours, then dehydrating at 160°F (71°C) for 4-6 hours until the jerky bends but doesn't crack. Always heat meat to 160°F internally before dehydrating for food safety.
Creating delicious, shelf-stable beef jerky at home has never been easier with a food dehydrator. This method gives you complete control over ingredients and flavors while ensuring consistent results every time. Forget store-bought versions packed with preservatives—your homemade jerky will be fresher, healthier, and customized to your exact taste preferences.
Why a Dehydrator Beats Other Jerky Methods
While you can make jerky in an oven or smoker, a dedicated food dehydrator offers distinct advantages for home cooks. Dehydrators maintain precise, consistent temperatures without cooking the meat, use significantly less energy than ovens, and allow you to make larger batches without monitoring. Unlike smoking, dehydrators won't impart strong smoke flavors, letting your marinade shine through. The circulating air system ensures even drying without flipping required—perfect for hands-off preparation.
Essential Equipment Checklist
Before you begin, gather these critical items:
- Food dehydrator (minimum 5 trays for efficient batch processing)
- Sharp slicing knife or meat slicer
- Cutting board (dedicated for raw meat)
- Zip-top bags or non-reactive container for marinating
- Meat thermometer (instant-read)
- Freezer (for firming meat before slicing)
| Equipment | Why It Matters | Pro Tip |
|---|---|---|
| Dehydrator with adjustable temp | Essential for maintaining safe 160°F drying temperature | Models with digital controls offer most precision |
| Sharp boning knife | Enables clean, consistent 1/8" slices against grain | Chill blade briefly for cleaner cuts |
| Instant-read thermometer | Verifies internal meat reaches 160°F before drying | Test multiple pieces for accuracy |
Step 1: Selecting and Preparing Your Meat
The foundation of great jerky starts with proper meat selection. Choose lean cuts with minimal marbling to prevent spoilage—top round, eye of round, and flank steak work best. Avoid fatty cuts like ribeye that can turn rancid during storage. According to USDA Food Safety and Inspection Service guidelines, freezing the meat for 1-2 hours before slicing firms it up for cleaner, more consistent cuts.
Slice against the grain for tender jerky or with the grain for chewier results. Aim for uniform 1/8-inch thickness—too thick and it won't dry properly; too thin and it becomes brittle. Trim all visible fat, as it doesn't dehydrate well and can cause spoilage. Properly prepared meat should bend easily but not break when folded.
Step 2: Crafting Your Marinade (3 Proven Formulas)
Marinade time directly impacts flavor penetration. For optimal results, marinate for 4-24 hours in the refrigerator—longer for thicker cuts. Always use non-reactive containers like glass or food-grade plastic. Here are three reliable base recipes scaled for 2 pounds of meat:
Classic Teriyaki Marinade
- 1/2 cup soy sauce (low sodium)
- 1/4 cup pineapple juice
- 2 tbsp brown sugar
- 1 tbsp Worcestershire sauce
- 1 tsp garlic powder
- 1/2 tsp black pepper
Spicy Southwest Blend
- 1/3 cup lime juice
- 2 tbsp smoked paprika
- 1 tbsp chipotle powder
- 1 tbsp honey
- 2 tsp cumin
- 1 tsp onion powder
Simple Salt & Pepper
- 1/4 cup liquid aminos
- 2 tbsp maple syrup
- 1 tbsp black pepper (coarsely ground)
- 1 tsp garlic salt
- 1/2 tsp onion salt
Remember: Acidic ingredients like vinegar or citrus juice help tenderize but can "cook" the meat if left too long. Never reuse marinade that's contacted raw meat.
Step 3: The Critical Pre-Dehydration Safety Step
Food safety experts at the USDA emphasize a crucial step many home cooks skip: heating meat to 160°F internally before dehydrating. This kills harmful bacteria that could survive the drying process. Here's the safe method:
- Arrange marinated strips on dehydrator trays without overlapping
- Preheat dehydrator to 160°F (71°C)
- Place trays in dehydrator and monitor internal temperature
- Remove pieces once they reach 160°F internally (usually 30-60 minutes)
- Continue drying at 160°F until jerky reaches desired texture
This two-stage process ensures safety while achieving perfect texture. Skipping this step risks foodborne illness from pathogens like E. coli that can survive in improperly dried meat.
Step 4: Dehydrating Timeline and Texture Testing
Drying time varies based on meat thickness, humidity, and dehydrator model. Use this visual timeline to monitor progress:
- Hour 1-2: Meat darkens and begins to firm. Surface feels dry but bends easily.
- Hour 3-4: Significant moisture loss. Jerky bends without cracking but shows slight resistance.
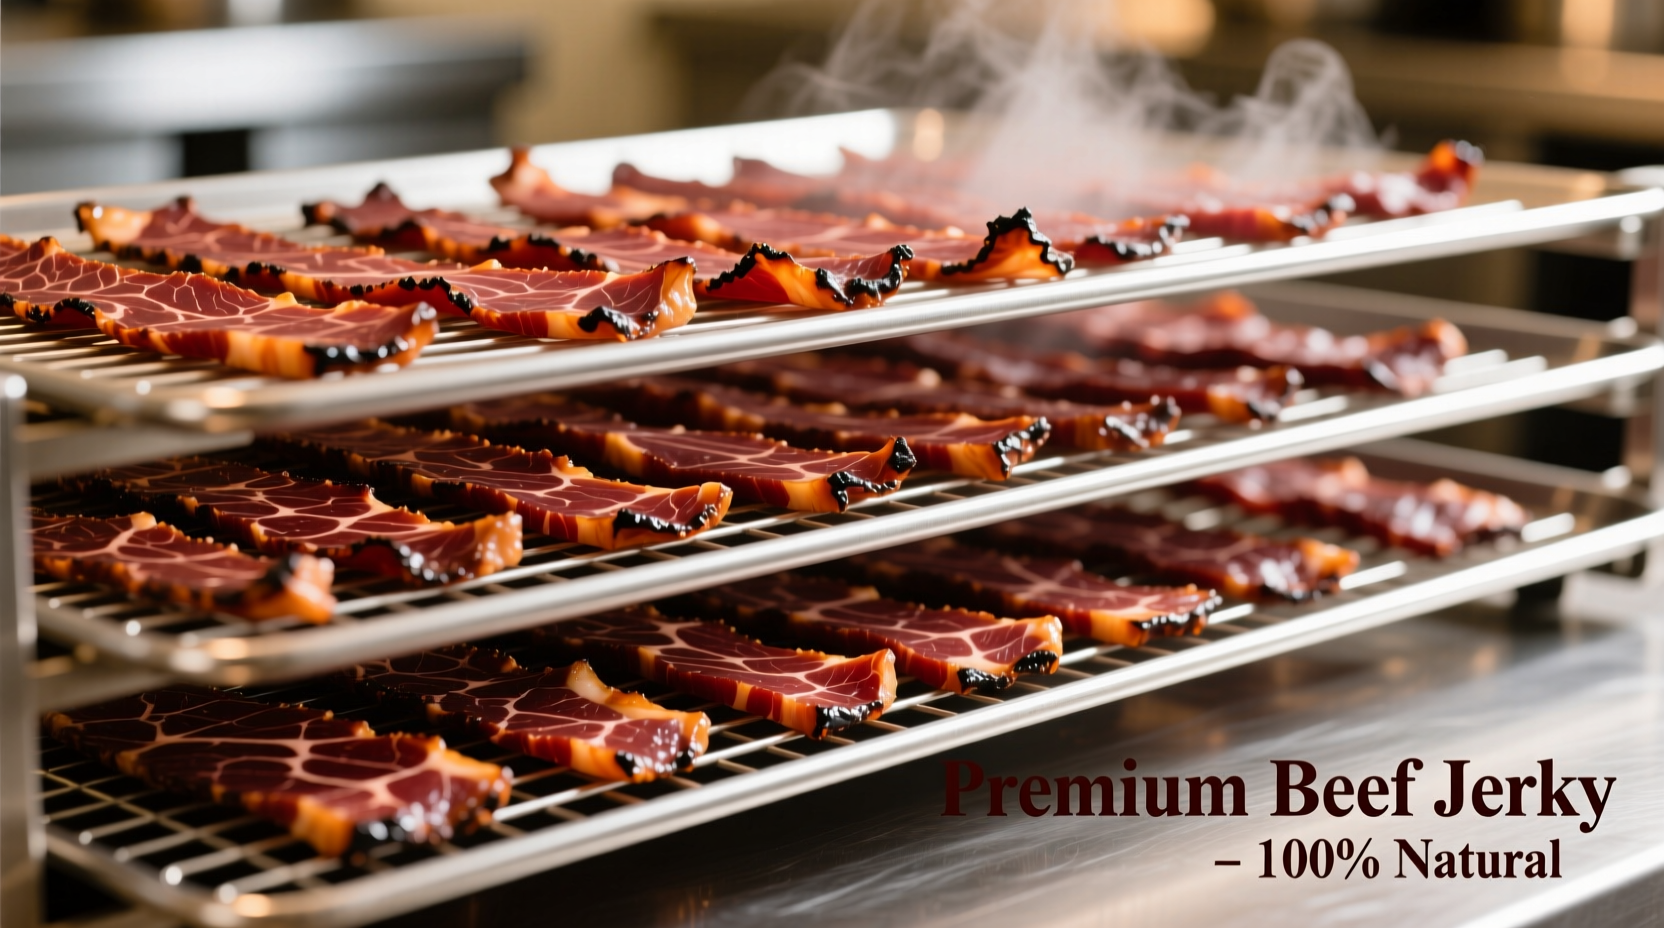
- Hour 5-6: Reaches ideal texture—bends 90 degrees without cracking, snaps when folded sharply.
The "bend test" is more reliable than timing alone. Properly dried jerky should feel dry to the touch with no moist spots. When cooled completely, it should snap cleanly when bent sharply but bend smoothly at a 90-degree angle. Over-dried jerky becomes brittle and loses flavor; under-dried jerky develops mold during storage.
Storage Guidelines for Maximum Freshness
Proper storage determines your jerky's shelf life. After cooling completely (1-2 hours), store in airtight containers with oxygen absorbers. For best results:
- Room temperature: 1-2 months in vacuum-sealed bags
- Refrigerated: 6 months in glass containers
- Freezer: 1 year when properly packaged
Always check for moisture beads or off odors before consuming. The National Center for Home Food Preservation recommends conditioning jerky for 1-2 days in airtight containers to equalize moisture before long-term storage.
Troubleshooting Common Jerky Problems
Even experienced jerky makers encounter issues. Here's how to fix them:
- Jerky too tough: Sliced too thin or over-dried. Next time, increase thickness slightly and check texture earlier.
- Jerky too moist: Inadequate drying time or humidity issues. Extend drying time by 1-2 hours and ensure proper air circulation.
- Bitter flavor: Overuse of liquid smoke or acidic ingredients. Reduce by half in next batch.
- Mold development: Insufficient drying or improper storage. Always verify internal temperature reached 160°F and use oxygen absorbers.
Flavor Customization Without Compromising Safety
Once you've mastered the basics, experiment with these safe flavor enhancements:
- Add 1-2 tsp of curing salt (Prague Powder #1) per 5 lbs meat for deeper color and preservation
- Infuse marinades with fresh herbs like rosemary or thyme (remove before drying)
- Finish with citrus zest added after dehydration for bright flavor notes
- Create texture variations by partially freezing meat before slicing
Remember that sugar content affects drying time—sweeter marinades require longer dehydration. Always maintain the critical 160°F internal temperature regardless of flavor variations.


 浙公网安备
33010002000092号
浙公网安备
33010002000092号 浙B2-20120091-4