
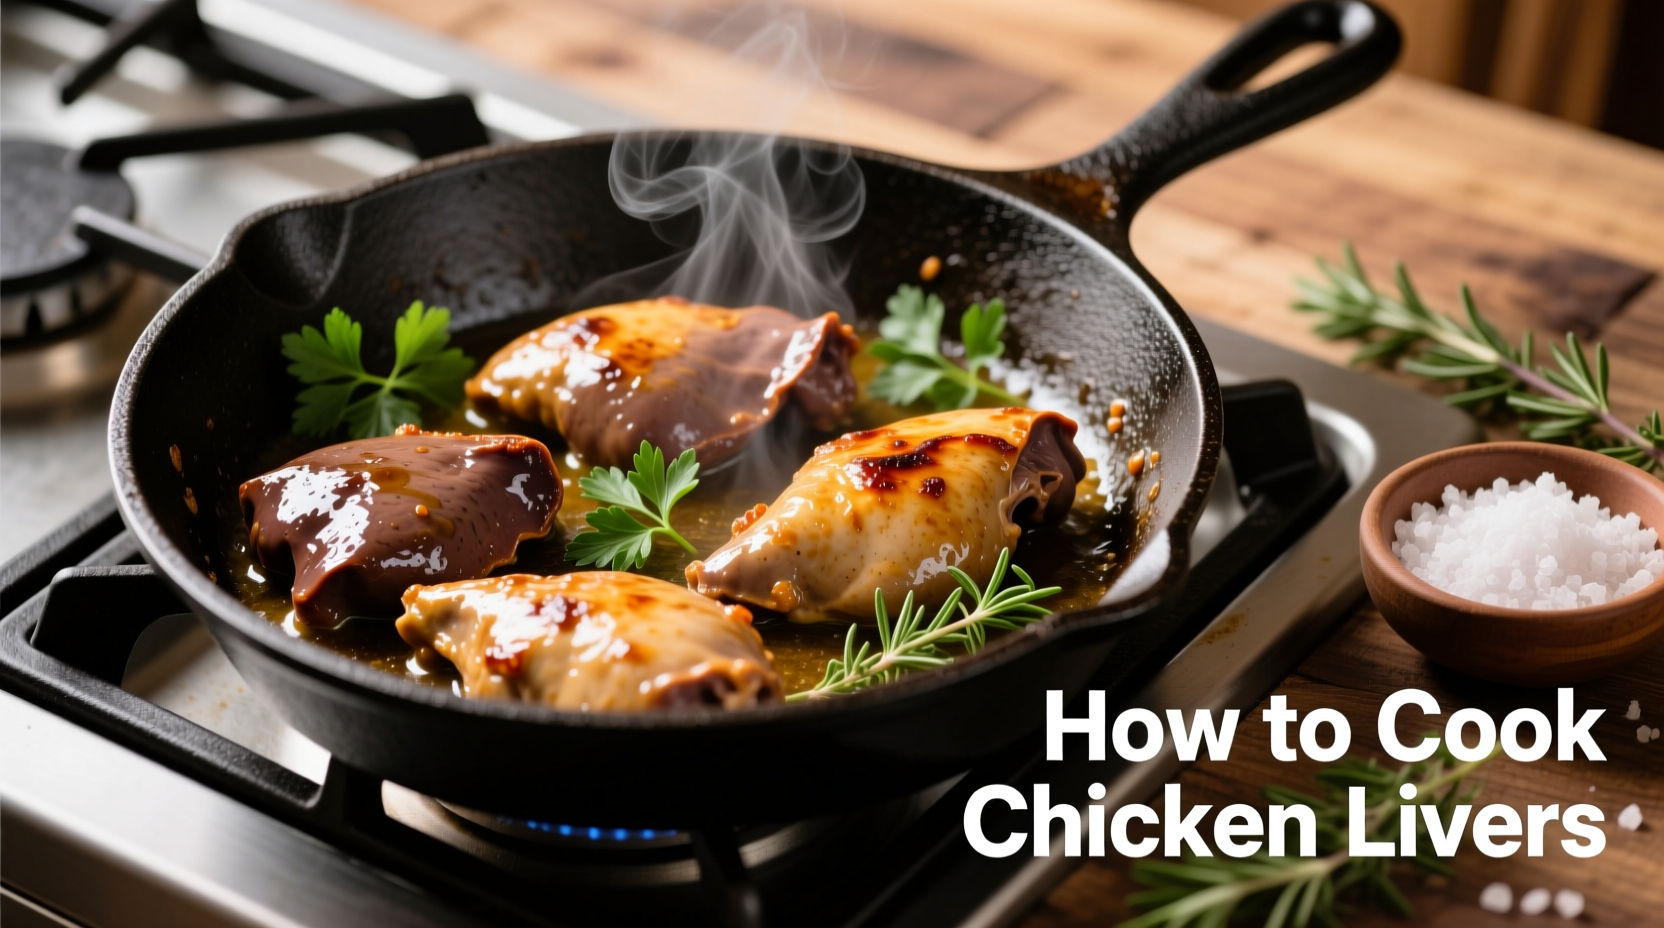
Perfectly cooked chicken livers should be seared quickly over medium-high heat for 3-4 minutes per side until browned on the outside but still slightly pink inside. Overcooking makes them rubbery, while proper technique yields tender, richly flavored results that pair beautifully with onions, garlic, and acidic elements like lemon or vinegar.
The Essential Guide to Cooking Tender, Flavorful Chicken Livers
Chicken livers offer an affordable, nutrient-dense protein option that many home cooks overlook due to improper preparation techniques. When cooked correctly, they transform from potentially rubbery and strong-tasting into a delicacy with a rich, earthy flavor and creamy texture. This comprehensive guide walks you through every step of the process to ensure consistently excellent results.Why Chicken Livers Deserve a Place in Your Kitchen
Often dismissed as "offal" or organ meat, chicken livers actually pack impressive nutritional benefits. According to the USDA Food Safety and Inspection Service, a 3-ounce serving of cooked chicken liver contains more than 100% of your daily recommended intake of vitamin A and vitamin B12, plus significant amounts of iron and copper. Their relatively mild flavor compared to other organ meats makes them an ideal entry point for exploring offal.| Nutrient | Per 3-Ounce Serving | Daily Value % |
|---|---|---|
| Vitamin A | 11,308 IU | 226% |
| Vitamin B12 | 15.6 mcg | 650% |
| Iron | 7.6 mg | 42% |
| Copper | 10.2 mg | 113% |
Preparation: The Foundation of Perfect Chicken Livers
Your cooking journey begins long before the livers hit the pan. Proper preparation directly impacts final texture and flavor:- Selection: Choose livers that are deep reddish-brown with a firm texture and no dark spots. Fresh livers should have a clean, slightly metallic smell—not overly pungent.
- Cleaning: Rinse under cold water, then carefully trim away any greenish bile ducts and connective tissue. These bitter elements can ruin your entire dish if left intact.
- Soaking (optional but recommended): Soak in milk or buttermilk for 30-60 minutes to mellow any strong flavors and tenderize the meat. The lactic acid helps break down proteins gently.
- Drying: Pat thoroughly dry with paper towels before cooking. Moisture is the enemy of proper searing.
Mastering the Cooking Process: Timing is Everything
The critical factor in chicken liver preparation is precise timing. Unlike muscle meats that benefit from longer cooking, livers require quick, high-heat cooking to achieve optimal texture.Equipment and Ingredients Checklist
- Cast iron or stainless steel skillet (avoid non-stick for best browning)
- Medium-high heat source
- High smoke point oil (avocado, grapeseed, or clarified butter)
- Seasoning: Salt, freshly ground black pepper, optional dried herbs
- Optional flavor enhancers: Shallots, garlic, thyme, lemon juice, or vinegar
Step-by-Step Cooking Method
- Heat your pan: Place skillet over medium-high heat until hot but not smoking (about 2 minutes). Add 1-2 tablespoons of oil.
- Season just before cooking: Lightly season livers with salt and pepper immediately before placing in pan. Seasoning too early draws out moisture.
- Sear without crowding: Place livers in single layer with space between each piece. Crowding lowers pan temperature and causes steaming.
- Timing is critical: Cook 3-4 minutes per side. They're done when exterior is deeply browned but interior remains slightly pink when cut into. Internal temperature should reach 160°F (71°C).
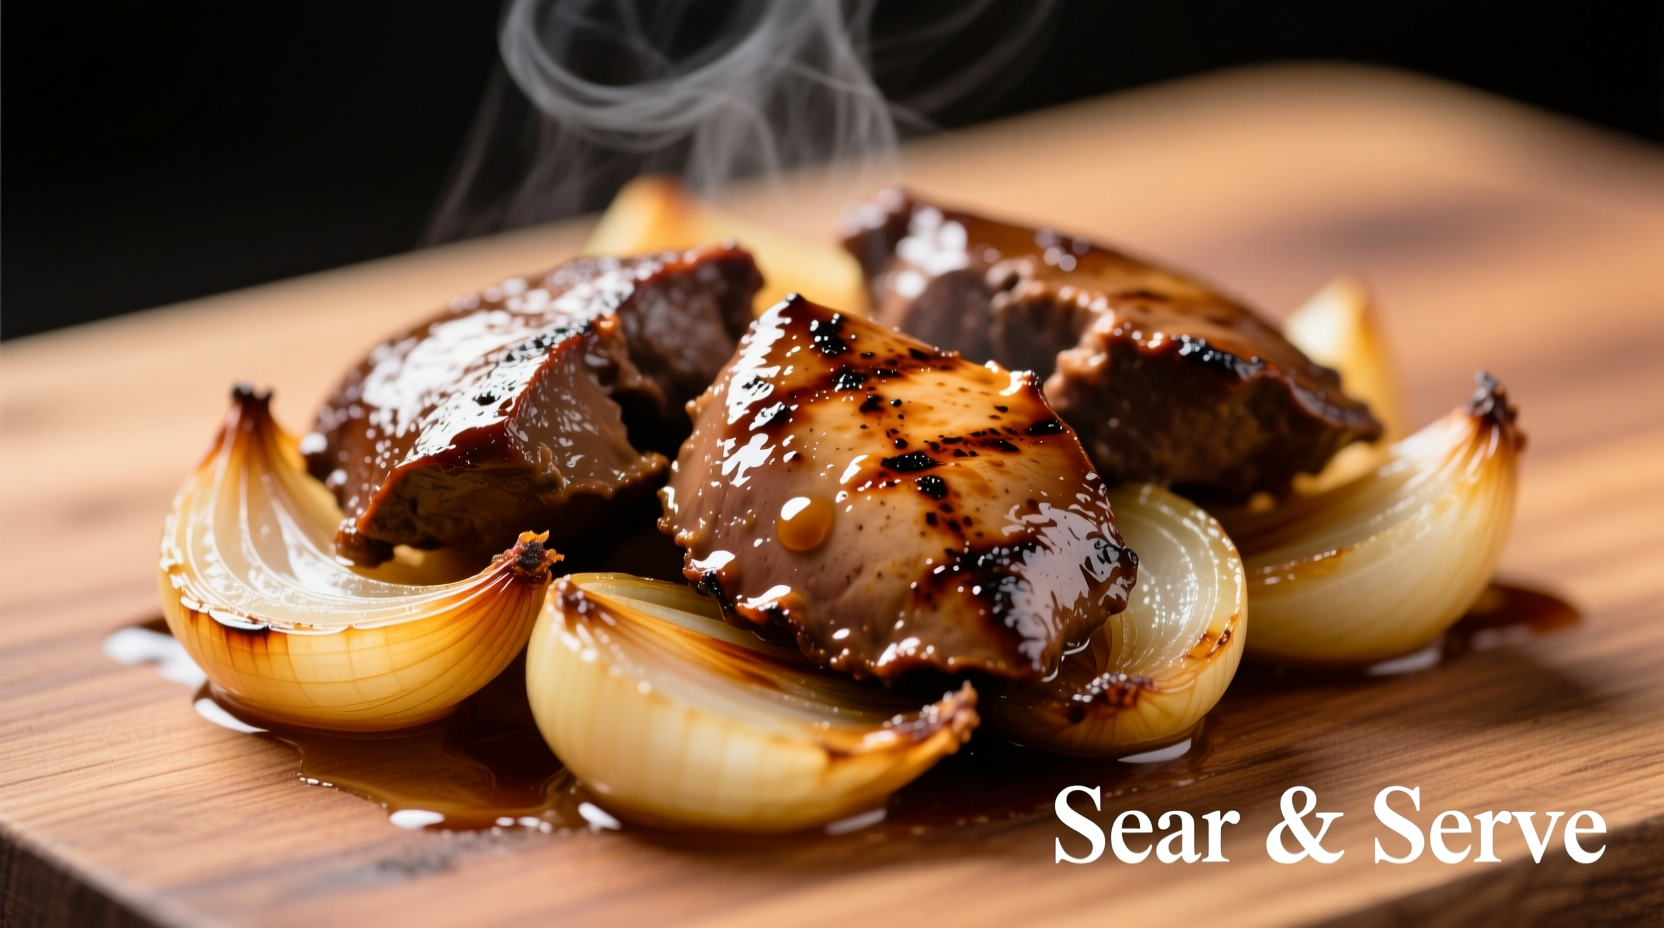
- Add aromatics: In the last minute, add minced garlic, shallots, or herbs to infuse flavor without burning.
- Finish with acid: Remove from heat and deglaze pan with lemon juice, vinegar, or wine for balanced flavor.
- Rest briefly: Let rest 2-3 minutes before serving to allow juices to redistribute.
Troubleshooting Common Chicken Liver Problems
Even experienced cooks encounter issues with chicken livers. Understanding these common pitfalls ensures better results:- Rubbery texture: Almost always caused by overcooking. Remember they continue cooking after removal from heat.
- Bitter flavor: Usually from not removing bile ducts during preparation. Inspect carefully before cooking.
- Insufficient browning: Pan wasn't hot enough or livers were too wet. Ensure proper drying and adequate preheating.
- Strong metallic taste: Try soaking in milk before cooking or pairing with strong flavors like bacon, garlic, or acidic components.
Pro Chef Techniques for Elevated Results
Professional kitchens employ several advanced techniques that home cooks can easily adopt:- Temperature control: Use an instant-read thermometer to verify 160°F internal temperature—this prevents overcooking.
- Resting on a rack: Place cooked livers on a wire rack instead of a plate to prevent steaming and maintain crisp exterior.
- Flavor layering: Build complexity by adding aromatics early (shallots), mid-cooking (garlic), and at the end (fresh herbs).
- Resting liquid: Spoon pan drippings over livers during resting for extra flavor infusion.
Serving Suggestions and Pairings
Chicken livers pair beautifully with complementary flavors that balance their richness:- Classic French style: Served with caramelized onions, cornichons, and Dijon mustard on toasted baguette
- Mediterranean approach: Tossed with lemon, capers, and fresh parsley over arugula salad
- Comfort food pairing: Alongside mashed potatoes and roasted root vegetables
- Asian-inspired: With ginger, scallions, and a splash of rice vinegar over jasmine rice
Storage and Reheating Guidelines
Proper handling after cooking ensures food safety and maintains quality:- Refrigerate within 2 hours of cooking in airtight container
- Consume within 3-4 days for best quality
- To reheat, use low-temperature methods: warm gently in skillet over low heat with a splash of liquid, or place in covered dish in 250°F oven until heated through
- Avoid microwaving which makes livers rubbery
- Freeze for longer storage (up to 3 months) in vacuum-sealed bags with minimal air


 浙公网安备
33010002000092号
浙公网安备
33010002000092号 浙B2-20120091-4