
Growing garlic from a single clove is one of the simplest and most rewarding gardening projects you can undertake. Unlike many vegetables that require seeds, garlic reproduces vegetatively through individual cloves, making it accessible even for beginner gardeners. This method works because each clove contains all the genetic information needed to develop into a complete garlic bulb with multiple new cloves. Whether you're using cloves from the grocery store or saved from last year's harvest, proper planting technique and seasonal timing determine your success.
Best Time to Plant Garlic Cloves
The optimal planting window depends on your climate zone. In most regions, fall planting (4-6 weeks before your first hard frost) produces larger bulbs because garlic needs cold exposure to properly form cloves. This process, called vernalization, triggers bulb formation when temperatures warm in spring. Gardeners in zones 3-7 should plant between September and November. If you missed the fall window, early spring planting works in colder climates, though bulbs will be smaller. Avoid planting when soil temperatures consistently exceed 50°F (10°C) in fall, as premature growth can damage plants during winter.
Selecting Quality Garlic Cloves for Planting
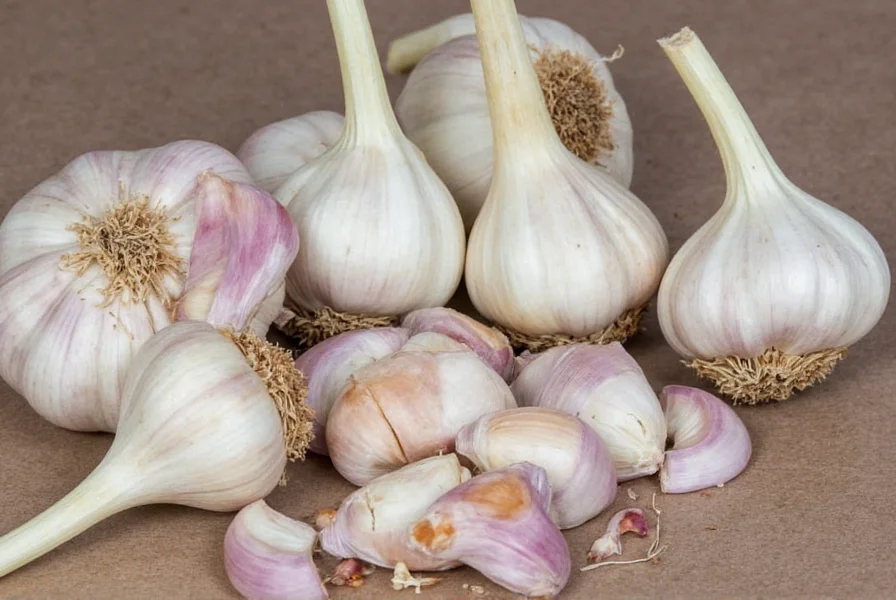
Not all garlic cloves produce equally well. For best results when growing garlic from grocery store cloves, select:
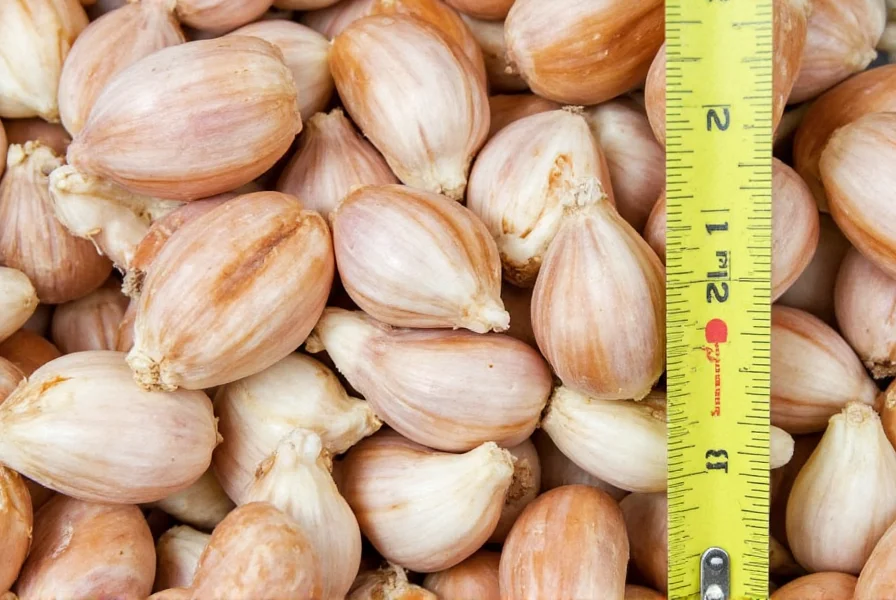
- Large, firm cloves without blemishes or mold
- Organic garlic (conventional grocery garlic may be treated with sprout inhibitors)
- Hardneck varieties for cold climates (produce scapes and larger cloves)
- Softneck varieties for warmer regions (store longer but have smaller cloves)
Separate bulbs into individual cloves 1-2 days before planting. Keep the papery husk intact, as it protects against moisture loss and disease. Never plant cloves that show signs of sprouting prematurely or have soft spots.
Step-by-Step Garlic Planting Guide
Follow these steps for successful how to plant garlic cloves in soil results:
- Prepare your soil: Amend with 2-3 inches of compost and work into the top 8-12 inches of soil. Garlic prefers slightly acidic to neutral pH (6.0-7.5).
- Create planting rows: Space rows 12-18 inches apart for adequate air circulation.
- Position cloves correctly: Place each clove pointy-end up, flat root-end down. This orientation matters significantly for proper growth.
- Plant at proper depth: Bury cloves 2-3 inches deep in heavy soil, 3-4 inches in sandy soil. This addresses the common question of how deep to plant garlic cloves.
- Space appropriately: Position cloves 4-6 inches apart within rows to prevent overcrowding.
- Cover and mulch: After planting, cover with soil and apply 3-6 inches of straw or shredded leaves to regulate soil temperature.
Garlic Care Throughout the Growing Season
Proper maintenance ensures healthy bulb development. During the garlic growing timeline from clove to harvest, focus on these key care practices:
| Season | Watering Needs | Additional Care |
|---|---|---|
| Fall (after planting) | 1 inch per week until ground freezes | Apply mulch after soil cools |
| Winter | None (natural precipitation sufficient) | Ensure mulch remains intact |
| Spring | 1-2 inches per week | Remove mulch when shoots emerge |
| Early Summer | Gradually reduce watering | Cut scapes on hardneck varieties |
Water consistently during active growth but reduce irrigation 2-3 weeks before harvest to prevent rot. Remove flower stalks (scapes) from hardneck varieties when they curl to redirect energy to bulb development. This practice significantly increases final bulb size. Avoid high-nitrogen fertilizers after spring growth begins, as they promote leafy growth at the expense of bulb development.
Harvesting and Curing Your Garlic
Timing your harvest correctly affects storage longevity. Watch for these signs that indicate when to harvest garlic:
- Lower third of leaves turn brown while upper leaves remain green
- Bulb wrappers become dry and papery
- Individual cloves fill out the wrapper but haven't separated
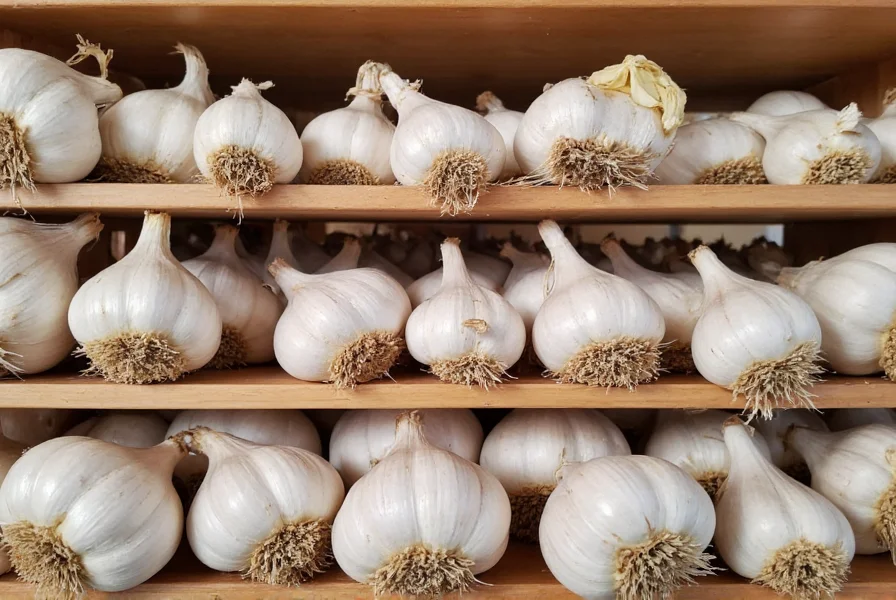
Use a garden fork to carefully lift bulbs from soil, avoiding punctures. Brush off excess soil but don't wash. Cure garlic in a warm, dry, shaded area with good air circulation for 2-3 weeks. Properly cured garlic develops the characteristic papery wrapper and develops its full flavor profile. Store cured bulbs in mesh bags or braids in a cool, dry place with moderate humidity (60-70°F with 60-70% humidity).
Common Mistakes to Avoid When Growing Garlic
Many gardeners encounter issues with common mistakes when growing garlic from cloves. Prevent these problems:
- Planting too deep or shallow: Cloves planted deeper than 4 inches may not emerge; shallow planting exposes bulbs to temperature fluctuations
- Using poor quality cloves: Grocery store garlic often contains sprout inhibitors that prevent growth
- Overwatering in cold weather: Soggy soil causes cloves to rot before sprouting
- Harvesting too early or late: Early harvest yields small bulbs; late harvest causes cloves to separate and reduce storage life
- Skipping crop rotation: Planting garlic in the same spot yearly depletes nutrients and increases disease risk
Troubleshooting Garlic Growing Problems
If your garlic isn't thriving, consider these solutions for common issues:
- Yellowing leaves: Could indicate overwatering, nutrient deficiency, or pests. Test soil and adjust watering.
- Small bulbs: Often caused by late planting, overcrowding, or insufficient nutrients. Space cloves properly and plant in fall.
- Rotted cloves: Usually from planting in cold, wet soil. Improve drainage and plant after soil cools but before hard freeze.
- No bulb formation: May result from insufficient cold exposure. Ensure cloves experience 4-8 weeks below 40°F (4°C).
Frequently Asked Questions
Can I grow garlic from cloves bought at the grocery store?
Yes, but with limitations. Organic grocery garlic often works well, but conventional garlic may be treated with sprout inhibitors that prevent growth. For reliable results, use seed garlic from gardening suppliers which is guaranteed disease-free and adapted to your climate zone.
How long does it take to grow garlic from a single clove?
From planting to harvest, garlic typically takes 7-9 months. Fall-planted garlic requires overwintering and is harvested in mid-summer. Spring-planted garlic matures in 90-120 days but produces smaller bulbs. The complete growth cycle includes root development (4-6 weeks), vegetative growth (spring), and bulb formation (early summer).
Should I remove the papery skin from garlic cloves before planting?
No, keep the papery husk intact when planting. This protective layer prevents moisture loss and protects against soil pathogens. Removing the skin increases the risk of drying out or infection. Only remove outer layers if they're damaged or moldy, but always leave the thin skin directly attached to the clove.
Why are my garlic plants producing flowers instead of large bulbs?
Hardneck garlic varieties naturally produce flower stalks (scapes) that divert energy from bulb development. For larger bulbs, cut scapes when they make their first curl but before they straighten. Removing scapes redirects the plant's energy to bulb formation, typically increasing bulb size by 20-30%. Softneck varieties rarely produce scapes.
How do I prevent my garlic from rotting in wet soil?
Improve drainage by planting in raised beds or amending soil with compost and sand. Plant cloves deeper in sandy soils (3-4 inches) and shallower in clay soils (2-3 inches). Apply mulch after soil cools to regulate moisture. In consistently wet climates, consider planting in spring rather than fall to avoid winter saturation. Rotate planting locations annually to prevent disease buildup.


 浙公网安备
33010002000092号
浙公网安备
33010002000092号 浙B2-20120091-4