
Learning how to draw food begins with breaking down complex subjects into manageable components. Whether you're sketching fruits, vegetables, baked goods, or full meals, the process follows fundamental artistic principles adapted specifically for culinary subjects. This guide provides actionable techniques used by professional food illustrators, with step-by-step methods that work for beginners and intermediate artists alike.
Understanding Food Drawing Fundamentals
Food drawing requires observing more than just shape—it's about capturing texture, shine, and the three-dimensional quality that makes food visually appealing. Unlike other subjects, food often features complex surface details like the bumps on a strawberry, the gloss on a glazed donut, or the flakiness of pastry layers. Professional food illustrators focus on these distinctive characteristics to create mouth-watering drawings that feel authentic.
| Food Category | Key Textural Features | Drawing Technique |
|---|---|---|
| Fruits & Vegetables | Surface texture, shine, irregular shapes | Light hatching for skin texture, smooth gradients for shine |
| Baked Goods | Crust texture, crumb structure, steam effect | Cross-hatching for crust, stippling for crumbs |
| Liquids & Sauces | Transparency, viscosity, reflections | Smooth blending with highlights for reflections |
| Meat & Proteins | Fat marbling, grill marks, surface moisture | Directional strokes for grain, precise highlight placement |
Step-by-Step Food Drawing Process
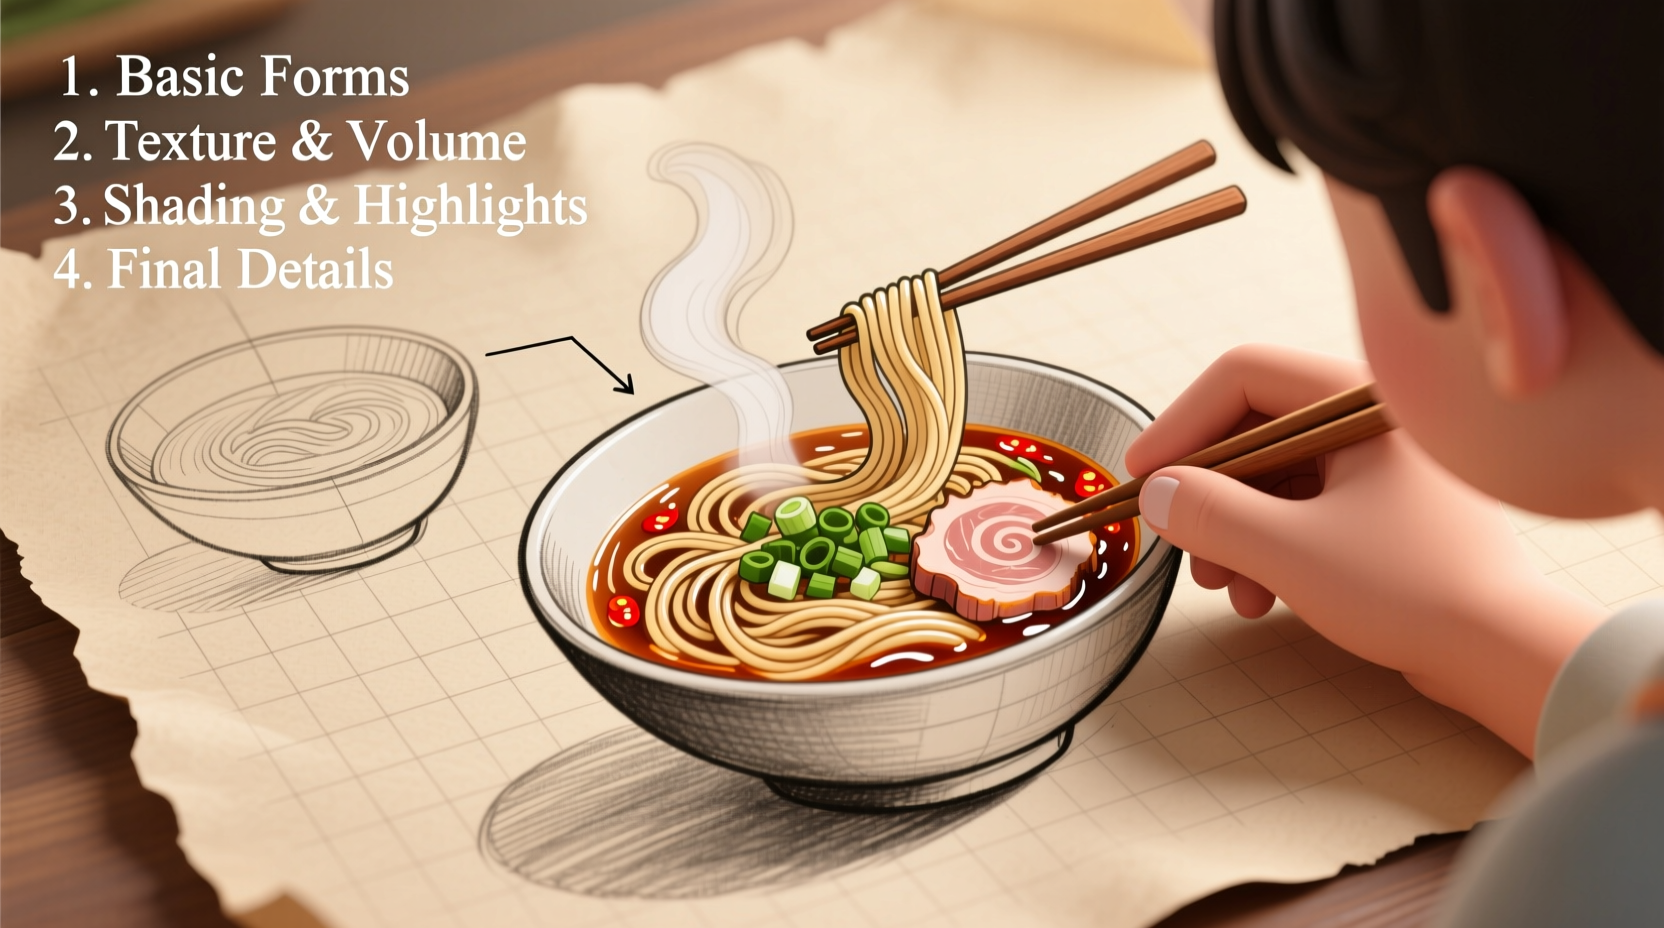
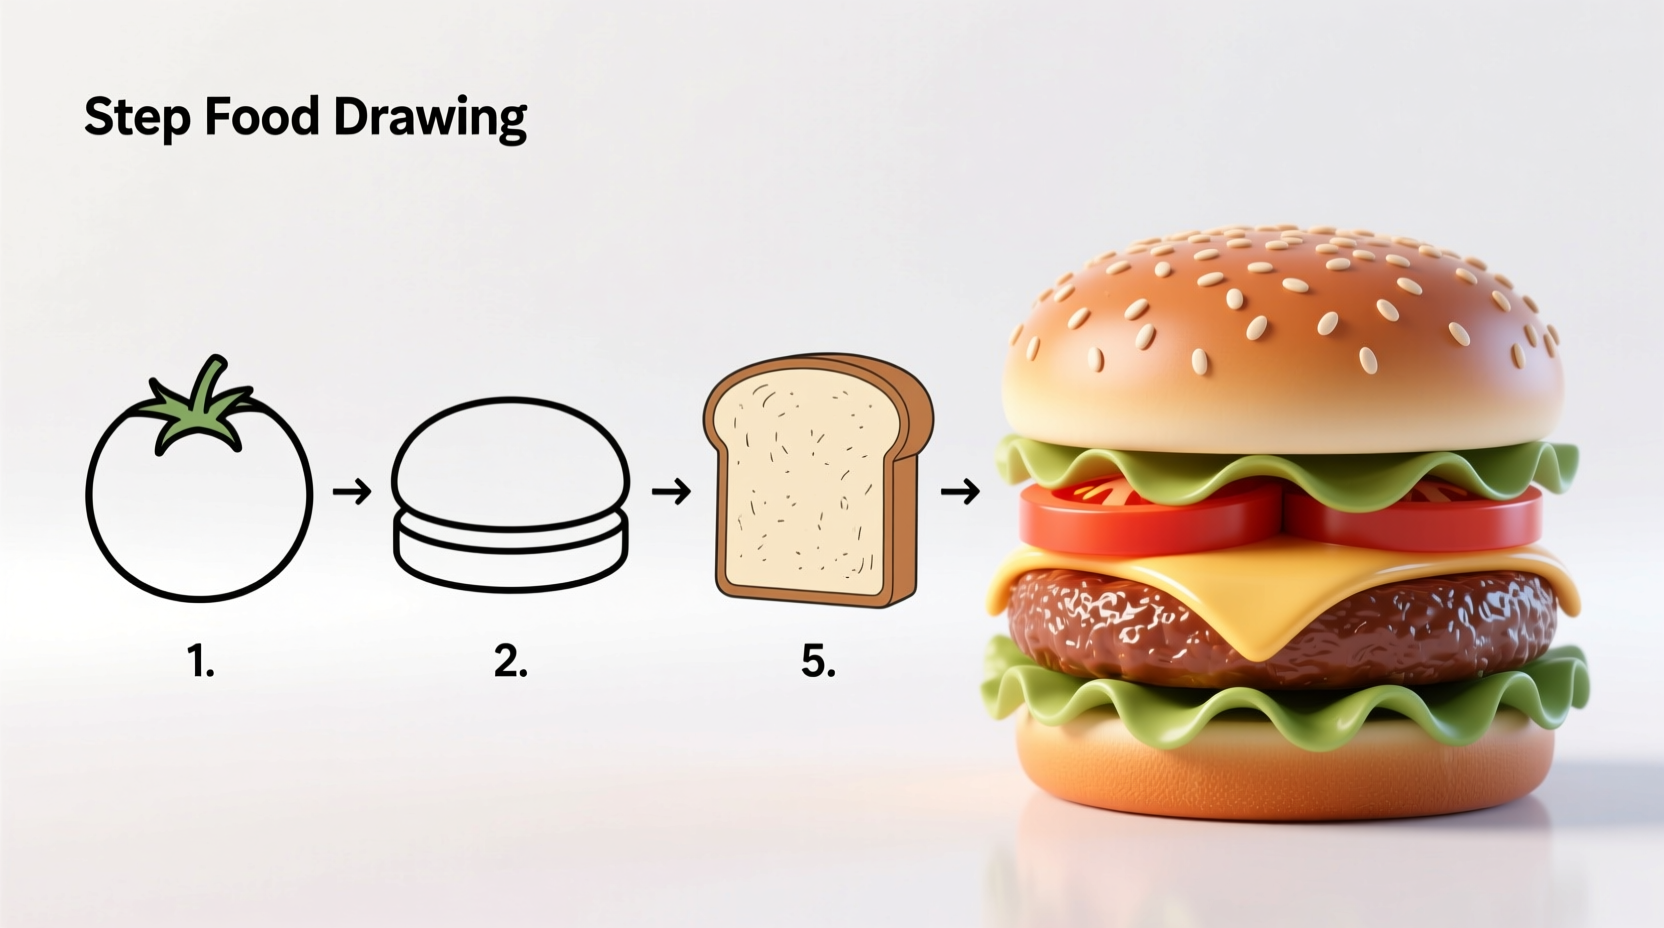
1. Basic Shape Construction
Every food item starts with simple geometric forms. An apple becomes a circle with a slight indentation, a loaf of bread transforms into a rectangular prism with rounded edges. Professional food artists use this method to ensure proper proportions before adding details. Sketch these basic shapes lightly in pencil, then refine the outline to match your reference photo. This approach prevents common beginner mistakes like disproportionate elements that make food look unnatural.
2. Contour Drawing Practice
Before adding shading, practice contour drawing—focusing solely on the outer edges and significant internal lines of your subject. This technique improves hand-eye coordination and helps you notice subtle curves and angles you might otherwise miss. Try the 'blind contour' method where you draw without looking at your paper, forcing your eyes to truly observe the food's shape. This exercise dramatically improves your ability to capture realistic food outlines.
3. Mastering Food Textures
Texture makes or breaks food drawings. Different foods require distinct mark-making techniques:
- Glossy surfaces (like glazed donuts): Use sharp highlights with smooth transitions between light and shadow
- Rough textures (like bread crust): Apply cross-hatching with varying pressure
- Translucent items (like onions): Create subtle value shifts rather than hard edges
- Shiny metals (like cooking utensils): Include reflected shapes from surrounding objects
Food illustration has evolved significantly over centuries, moving from purely functional depictions in cookbooks to the highly stylized food photography and illustration we see today. Historical food drawings from the 18th century focused on botanical accuracy for identification purposes, while modern food illustration emphasizes emotional appeal and sensory suggestion. Contemporary artists blend traditional drawing techniques with digital enhancements to create hyper-realistic food illustrations that stimulate viewers' appetites.
4. Lighting and Shadow Techniques
Food appears appetizing when lighting reveals its three-dimensionality. Set up a single light source (a desk lamp works perfectly) to create clear highlights and shadows. Notice how light interacts with different food surfaces—how it reflects off glossy icing, diffuses through translucent jelly, or creates soft shadows in the folds of a croissant. Professional food artists often use a 45-degree lighting angle as it reveals the most texture while maintaining natural appearance.
5. Adding Color Realistically
When coloring food drawings, start with light base tones before building up layers. Food colors are rarely pure—they contain subtle variations that make them look realistic. A red apple isn't just red; it contains hints of yellow, green, and purple depending on lighting conditions. Study how colors change at transition points between light and shadow—these areas often contain the most complex color mixes that give food its lifelike appearance.
Common Food Drawing Challenges and Solutions
Every artist encounters specific hurdles when drawing food. Understanding these challenges and their solutions will accelerate your progress:
Challenge: Making Food Look Appetizing
The key to creating mouth-watering food drawings lies in capturing freshness and texture. A slightly imperfect banana with natural speckles looks more authentic than a perfectly smooth, idealized version. Food that appears recently prepared—with steam rising from hot items or condensation on cold beverages—triggers stronger sensory responses. Professional food illustrators often exaggerate certain elements slightly (like the gloss on a sauce) while keeping other aspects perfectly accurate to enhance visual appeal without crossing into unrealistic territory.
Challenge: Drawing Reflective Surfaces
Metallic cookware and glass containers present unique challenges. The secret is observing what's reflected in these surfaces rather than focusing on the surface itself. A shiny pot reflects surrounding objects with distorted shapes—notice how straight lines become curved in reflections. When drawing these elements, identify the main reflected shapes and simplify them rather than attempting photographic precision. This approach creates the impression of reflectivity without overwhelming detail.
Challenge: Food-Specific Limitations
Certain foods present specific drawing challenges that require adapted techniques:
- Liquids: Show container shape through the liquid, not just the liquid's surface
- Steam: Suggest with wispy, irregular lines—not perfect swirls
- Transparency: Vary line weight where objects show through
- Complex textures (like broccoli): Focus on overall shape first, then suggest texture
Practical Exercises to Improve Your Food Drawing
Develop your skills with these targeted practice activities:
1. Daily Food Sketch Challenge
Draw one food item daily using only basic shapes first, then refine. Start with 5-minute quick sketches to capture essence, then spend 20 minutes on a more detailed version. This builds your ability to recognize underlying forms in complex subjects—essential for how to draw realistic food step by step.
2. Texture Study Grid
Create a 3x3 grid on your paper and draw nine different food textures in each square: smooth cheese, crumbly cookie, shiny apple, fluffy cake, etc. This focused practice helps you develop a mental library of mark-making techniques for various food surfaces.
3. Lighting Experiment
Place an apple under different lighting conditions (direct overhead, side lighting, multiple sources) and draw each variation. This exercise teaches how light transforms the appearance of food and helps you understand how to create dimension through value changes.
Essential Tools for Food Drawing
You don't need expensive equipment to start drawing food. A basic toolkit includes:
- Graphite pencils (HB, 2B, 4B, 6B for varying darkness)
- Blending stumps or tortillons for smooth transitions
- Eraser (kneaded for subtle lightening, plastic for clean removal)
- Quality paper (smooth Bristol board works well for detailed food drawings)
- Reference photos of actual food (not stylized illustrations)
Digital artists might prefer a graphics tablet with pressure sensitivity and software that mimics traditional media. However, mastering traditional pencil techniques first provides invaluable understanding of light and shadow that translates well to digital food illustration.


 浙公网安备
33010002000092号
浙公网安备
33010002000092号 浙B2-20120091-4