
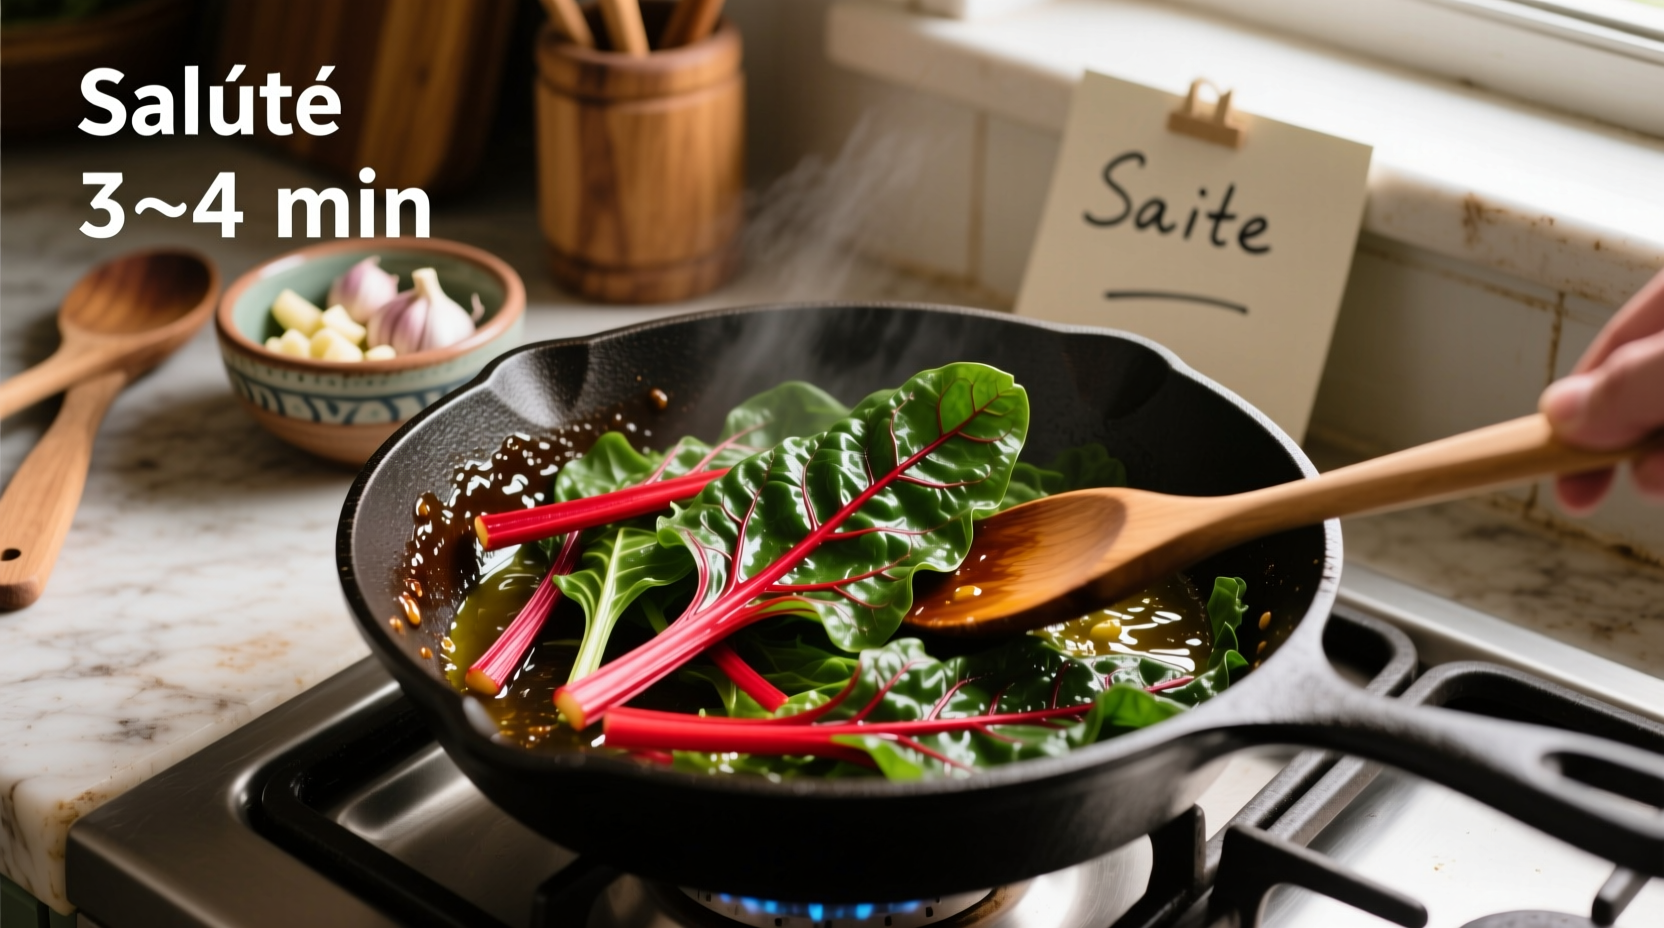
Red chard transforms from earthy raw leaves to tender, flavorful greens in just minutes when cooked properly. Separate the colorful stems from leaves, sauté stems first for 3-4 minutes, then add leaves for 2-3 more minutes until wilted but vibrant. This method preserves both texture and maximum nutrition while developing rich flavor.
Why Red Chard Deserves a Place in Your Kitchen
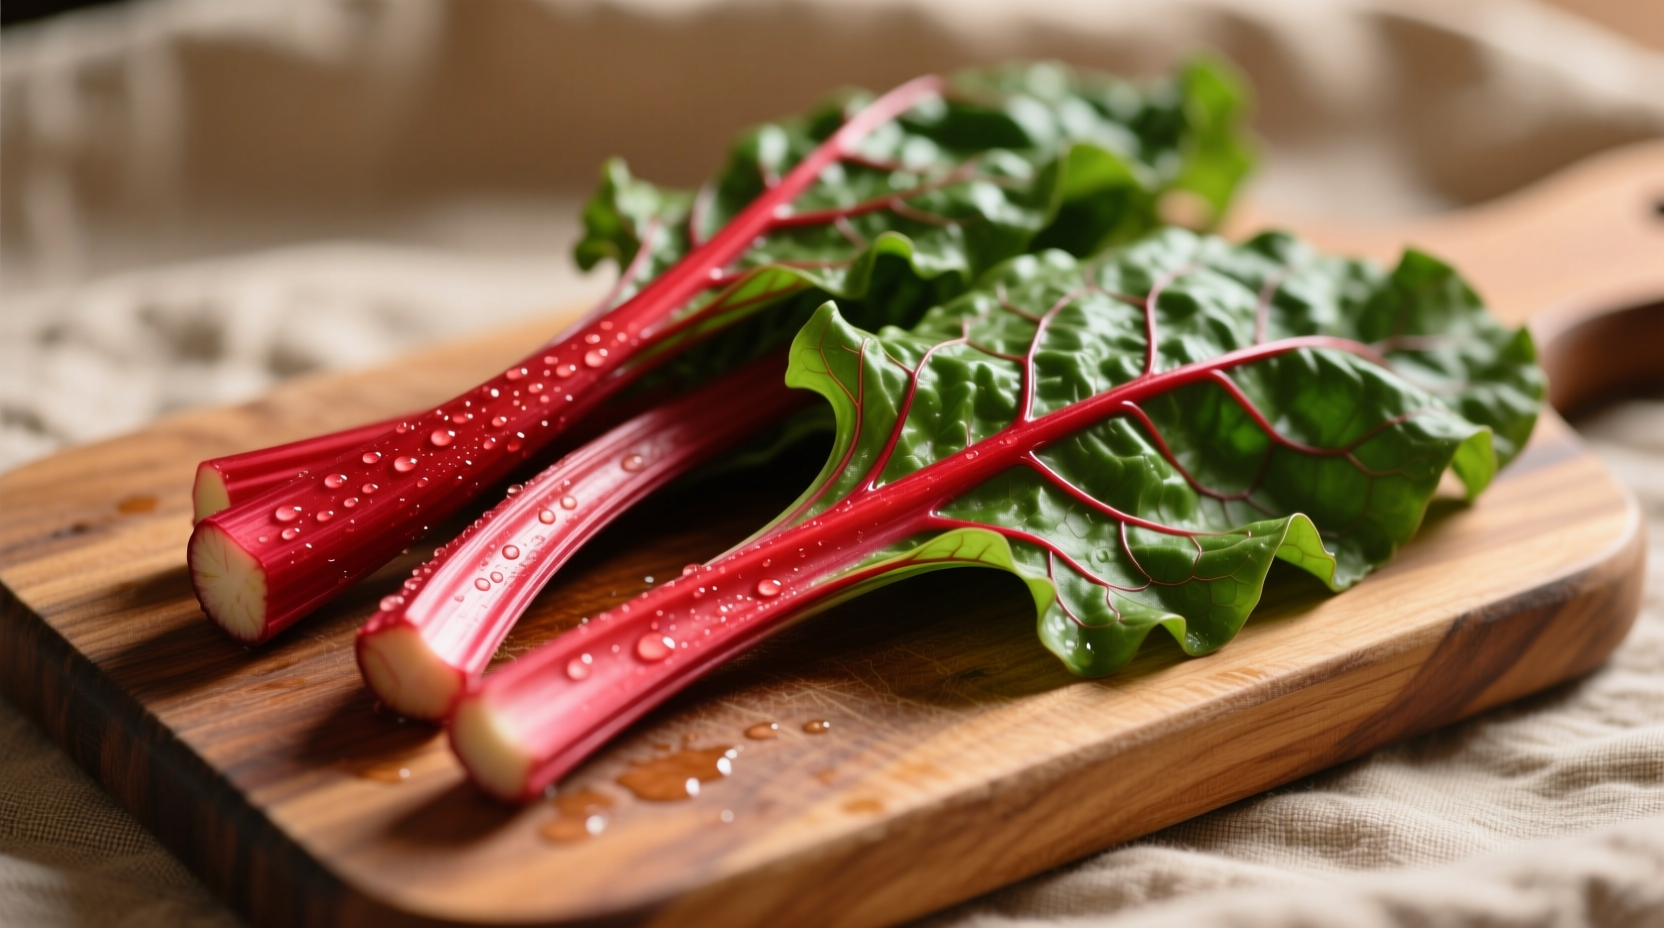
Often mistaken for rainbow chard or beet greens, red chard (Beta vulgaris subsp. vulgaris) features deep burgundy stems and dark green leaves with a mild, slightly earthy flavor. Unlike spinach, it maintains structure when cooked and offers superior nutritional density. According to USDA FoodData Central, one cup of cooked red chard delivers 300% of your daily vitamin K needs, 70% of vitamin A, and 50% of vitamin C—plus magnesium and potassium.
| Cooking Method | Time | Vitamin Retention | Best For |
|---|---|---|---|
| Sautéing | 5-7 minutes | 85-90% | Quick weeknight meals |
| Steaming | 4-6 minutes | 90-95% | Nutrient-focused dishes |
| Roasting | 15-20 minutes | 75-80% | Concentrated flavor |
| Blanching | 2-3 minutes | 80-85% | Salads or freezing |
Selecting and Storing Red Chard Properly
Fresh red chard should have crisp, deeply colored stems and vibrant green leaves without yellowing or wilting. The University of Minnesota Extension recommends storing it wrapped in a damp paper towel inside a perforated plastic bag in your refrigerator's crisper drawer. Properly stored, it maintains quality for 4-5 days—significantly longer than spinach but less than kale.
Preparation: The Critical First Step
Never skip stem separation—this single technique makes or breaks your dish. The thick stems require longer cooking than delicate leaves:
- Rinse leaves under cold running water, swishing to remove trapped sand
- Lay flat and cut 1 inch below where stems meet leaves
- Peel fibrous outer layer from thick stems using a vegetable peeler
- Cut stems into ½-inch pieces for even cooking
- Stack leaves, roll tightly, and slice into 1-inch ribbons
5 Professional Cooking Methods That Actually Work
Sautéing: The Weeknight Standard
This method develops complex flavor while preserving texture. Heat 1 tbsp olive oil over medium heat. Add stems with pinch of salt and cook 3-4 minutes until slightly tender. Add 1 minced garlic clove and cook 30 seconds until fragrant. Add leaves in batches, stirring until wilted (2-3 minutes). Finish with lemon juice and black pepper.
Steaming: Maximum Nutrient Preservation
Place stems in steamer basket over 1 inch boiling water. Steam 2 minutes, then add leaves and steam 2-3 more minutes until tender-crisp. The Academy of Nutrition and Dietetics confirms this method preserves water-soluble vitamins better than boiling. Toss with toasted pine nuts and balsamic reduction.
Roasting: Flavor Concentration Technique
Toss separated stems and leaves with 1 tbsp olive oil, salt, and pepper. Spread on parchment-lined baking sheet. Roast at 400°F (200°C)—stems first for 10 minutes, then add leaves for 8-10 more minutes. This caramelizes natural sugars while maintaining structure. Perfect for heartier winter dishes.
Blanching: For Salads and Freezing
Boil stems 1 minute, add leaves and boil 1 more minute. Immediately plunge into ice water. This stops cooking while preserving vibrant color. Ideal for adding to grain salads or freezing for later use. Chef-tested tip: Add 1 tsp salt to blanching water to maintain color intensity.
Raw Preparation: Underutilized Technique
Thinly slice young stems and massage leaves with lemon juice to tenderize. Use in salads with apples, walnuts, and feta. The FDA recommends massaging raw chard for at least 2 minutes to break down tough fibers and improve digestibility.
Flavor Pairings That Elevate Red Chard
Red chard's mild earthiness pairs beautifully with:
- Citrus (lemon, orange)
- Garlic and shallots
- Toasted nuts (pine nuts, walnuts)
- Cheeses (feta, parmesan)
- Vinegars (balsamic, apple cider)
For Mediterranean dishes, add olives and capers. For Asian-inspired preparations, use ginger and sesame oil—but avoid soy sauce which overwhelms the delicate flavor.
Common Mistakes That Ruin Red Chard
Even experienced cooks make these errors:
- Not separating stems and leaves—results in mushy leaves and crunchy stems
- Overcooking—leaves become slimy and lose vibrant color
- Skipping the salt—enhances natural sweetness and reduces bitterness
- Using high heat—burns garlic and creates bitter flavors
When Different Methods Work Best
Understanding context boundaries ensures perfect results every time:
- Sautéing works best for mature chard with thick stems
- Steaming shines with young, tender chard where maximum nutrition matters
- Roasting transforms winter-harvested chard with deeper earthy notes
- Blanching is essential when freezing or using in cold preparations
- Raw preparation only works with baby chard—mature leaves are too tough
Historical Context: Red Chard's Culinary Journey
Originating in the Mediterranean, red chard was cultivated by ancient Greeks and Romans primarily for medicinal purposes. By the 19th century, Swiss farmers developed the colorful varieties we know today. Unlike kale's recent popularity surge, chard has maintained consistent culinary relevance across European cuisines due to its year-round availability and versatility. Food historians note its role in traditional Swiss Chard and Potato Pie dates back to the 1830s, demonstrating its longstanding place in European cooking traditions.


 浙公网安备
33010002000092号
浙公网安备
33010002000092号 浙B2-20120091-4