
Nothing ruins a cooking experience faster than struggling with an onion. Whether you're a beginner cook or just want to improve your knife skills, learning the proper onion cutting technique transforms meal preparation from tearful chore to efficient process. This guide reveals the professional chef method that minimizes crying while producing perfectly uniform pieces every time.
Why Proper Onion Cutting Technique Matters
Most home cooks approach onions with hesitation, leading to inconsistent cuts, wasted ingredients, and unnecessary tears. The science behind onion-induced crying involves syn-propanethial-S-oxide, a volatile compound released when onion cells are damaged. According to USDA food science research, proper cutting technique can reduce tear production by up to 60% by minimizing cell rupture.
| Cutting Technique | Best For | Tear Production Level |
|---|---|---|
| Standard Dicing | Sauces, soups, salsas | Moderate |
| Julienne Slicing | Stir-fries, fajitas | Low |
| Chiffonade Method | Garnishes, salads | High |
Essential Tools for Perfect Onion Cutting
Your equipment makes a significant difference in both safety and results. Professional chefs consistently recommend:
- 8-10 inch chef's knife - A sharp blade (honed weekly) cuts cleanly through cells rather than crushing them
- Stable cutting board - Wood or composite boards provide better grip than plastic
- Bowl of water nearby - Helps reduce airborne compounds
- Optional: Ventilated goggles - Not chef-style fashion statement but practical tear prevention
The Professional 5-Step Onion Cutting Method
Follow this sequence used in professional kitchens to achieve consistent results while minimizing tears:
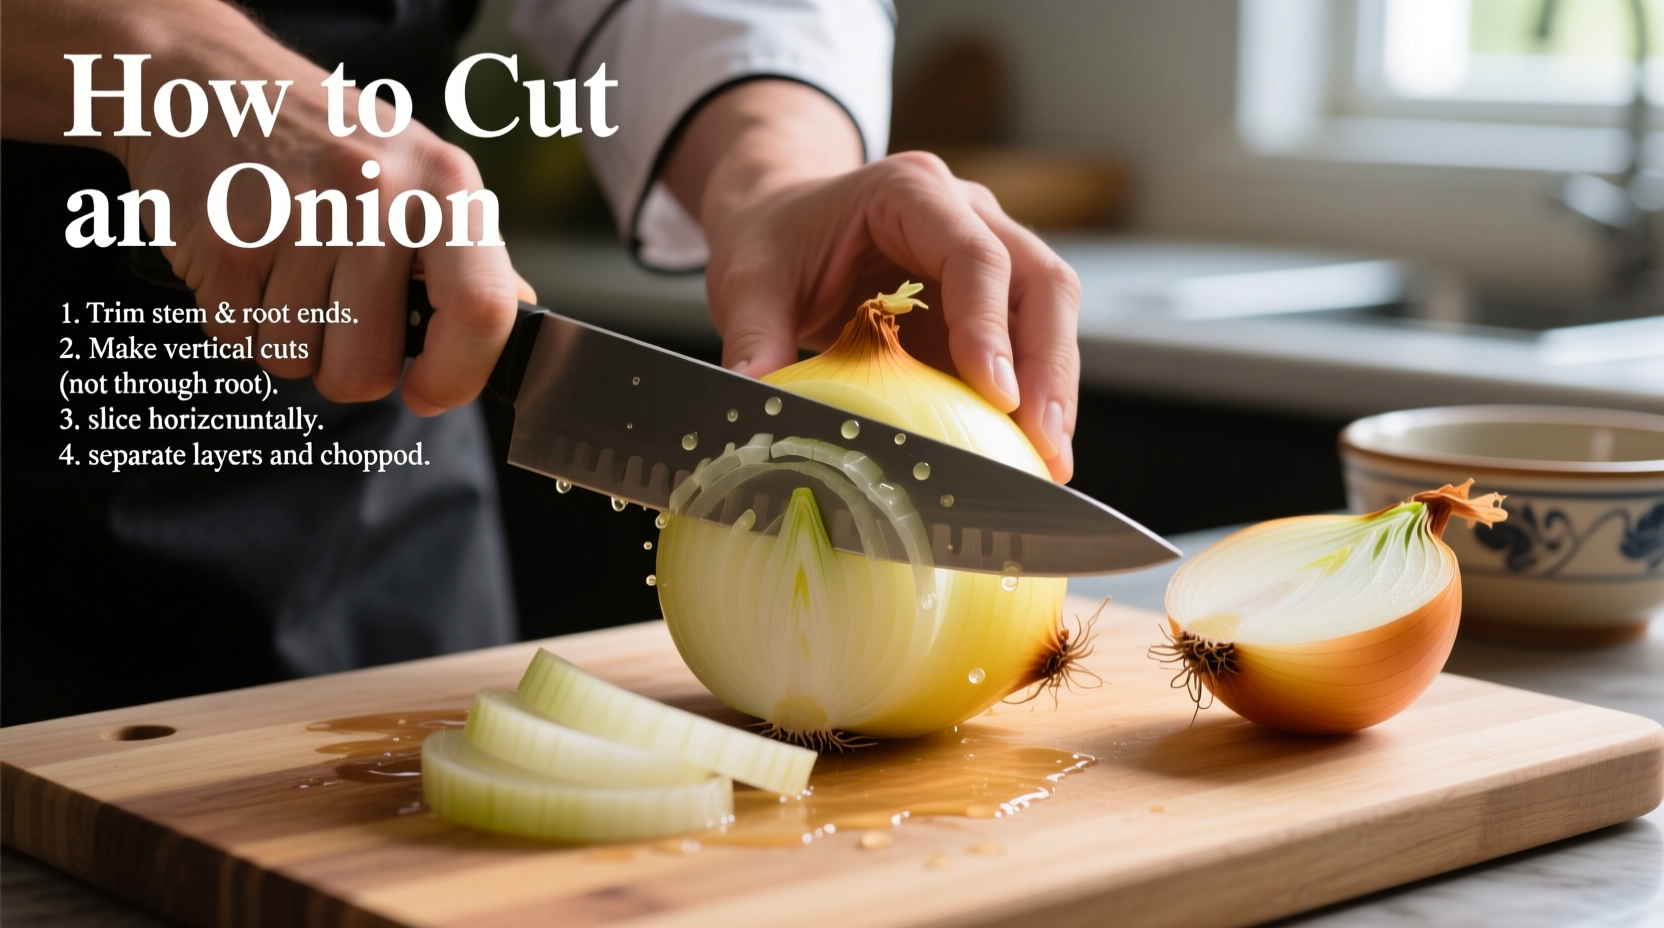
Step 1: Prepare Your Workspace
Place your cutting board near a running fan or open window. Keep a damp towel nearby to wipe your hands - this helps remove onion residue that can transfer to your eyes later. Ensure your knife is properly sharpened; a dull knife requires more pressure and creates more cell damage.
Step 2: Initial Trimming
Place the onion on its side. Using a sharp chef's knife, slice 1/4 inch off both the root and stem ends. This creates stable, flat surfaces while removing the most concentrated tear-inducing compounds found at the ends.
Step 3: Peeling and Halving
Remove the papery outer skin. Place the onion flat-side down and cut vertically through the root end, dividing it into two equal halves. Keep the root end intact until the final cutting stage - this preserves the onion's structure and reduces tear compounds.
Step 4: Creating Parallel Cuts
Place one half flat-side down. Make vertical cuts from the top toward the root end, spacing them according to your desired dice size (1/8 inch for fine mince, 1/4 inch for medium dice, 1/2 inch for large chunks). Crucially, don't cut all the way through the root end - leave about 1/4 inch intact to hold the onion together.
Step 5: Final Slicing
Rotate the onion 90 degrees and slice perpendicularly through your previous cuts. The root end will keep everything in place until the final slices, resulting in perfectly uniform pieces. Only after completing your cuts should you remove the root end.
Advanced Techniques for Specific Recipes
Different dishes require different onion preparations. Understanding these variations elevates your cooking:
- For caramelized onions: Slice uniformly 1/8 inch thick across the grain for even browning
- For French onion soup: Cut root-to-stem into thin rings, keeping root end intact for structural integrity during long cooking
- For pico de gallo: Use the "chefs dice" method with 1/4 inch spacing for consistent texture
- For onion rings: Cut horizontally across the equator for perfect ring formation
Troubleshooting Common Onion Cutting Problems
Even with proper technique, issues can arise. Here's how to solve them:
- Excessive tearing: Chill onions for 30 minutes before cutting - cold temperatures slow enzyme activity. Alternatively, cut under running water (though this affects flavor absorption).
- Inconsistent pieces: Check your knife angle - maintain consistent pressure and angle throughout each cut.
- Slippery cutting board: Dampen a paper towel and place under your board to create instant stability.
- Wasted onion: Proper technique yields 85-90% usable onion versus 60-70% with amateur methods.
Safety First: Knife Handling Best Practices
According to the National Safety Council, kitchen knives cause over 387,000 emergency room visits annually in the US. Protect yourself by:
- Using the "claw grip" with fingertips curled under
- Keeping your non-knife hand clear of the blade path
- Never attempting to catch a falling knife
- Storing knives in a block or on a magnetic strip, never loose in drawers
Storing Cut Onions Properly
Proper storage maintains freshness and prevents flavor transfer. The FDA recommends:
- Refrigerate cut onions in airtight containers within 2 hours
- Use within 7-10 days for best quality
- Never store cut onions near strongly flavored foods like fish
- Freeze diced onions for long-term storage (up to 6 months)


 浙公网安备
33010002000092号
浙公网安备
33010002000092号 浙B2-20120091-4